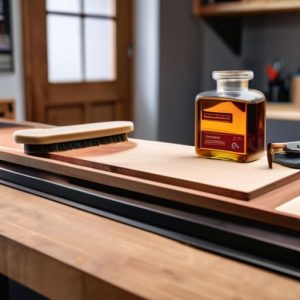
Restoring a Boot Sale Chisel
 Callum Reith-Sowande
I was sitting at my bench last Tuesday, staring at a rusted piece of Sheffield steel I’d pulled from a junk bin, when a young lad from the college walked in. He was complaining about how his new, expensive set of chisels couldn't hold an edge to save their lives. I just shook my head. The truth is, most people think they need to buy a new kit every time a blade goes dull, but they've forgotten the most important lesson: a tool is only as good as the man maintaining it. Learning how to restore an old chisel isn't about buying fancy new gadgets; it’s about understanding the metal and having the patience to respect the edge.
In this guide, I’m not going to sell you on any miracle stones or expensive workshop setups you don't need. I’m going to show you the honest, methodical way to strip away years of rust, flatten a neglected back, and bring a forgotten tool back to life. We’ll go through the grit and the grease step-by-step so you can stop fighting the wood and start feeling the cut again. By the time we're done, you'll have a tool that performs better than anything you'll find in a modern hardware store.
Guide Overview
Tools & Supplies
- Bench vise to hold the chisel securely
- Emery cloth or sandpaper for smoothing metal
- Sharpening stones or whetstones for edge honing
- Microplane or scraper for removing heavy rust
- WD-40 or penetrating oil for rust removal
- Fine-grit sandpaper (400 to 2000 grit)
- Honing compound for final polishing
- Rag or cloth for cleaning and applying oil
Step-by-Step Instructions
- 1. First, you need to strip the thing back to its bare bones. If there’s old, crusty wood or a rusted-on handle, get it off. I don't care if it looks a bit ugly at first; you can't work on what you can't see. Use a bit of fine sandpaper or even a wire brush to clear away the surface grime, but don't go hacking at the metal like you're clearing brush. You're looking for the true surface of the steel.
- 2. Once the junk is cleared, you'll likely find some pitting or rust spots. Grab a bit of medium-grade emery cloth and some light oil—even a bit of 3-in-One will do—and start working the metal. You aren't trying to make it look like a piece of jewelry; you just want a clean, flat plane to work from. If the rust is deep, you'll have to spend more time here, but don't rush it.
- 3. Now we get to the business end: the bevel. If the edge is chipped or badly nicked, you’re going to have to grind some metal away to reset that angle. I prefer using a coarse whetstone for this. Lay the bevel flat and move in steady, even strokes. You'll know you're getting somewhere when you start to see a shiny line appearing at the very tip of the blade. That’s the sign you’re actually hitting the edge.
- 4. After you've reset the bevel, it’s time to move to the finer stones. This is where most people lose their patience, but this is where the real work happens. Switch to a medium grit and keep that angle consistent. I always tell my students: if you can't hold the angle, you're just polishing the mistake. Work until that edge feels smooth under your thumb—carefully, mind you—and looks like a mirror.
- 5. The next step is the secret most modern tool manufacturers won't tell you about: honing the back. A chisel is useless if the back isn't perfectly flat. Take your finest stone and rub the flat side of the blade against it. You aren't sharpening the edge here; you're ensuring the foundation is true. If the back is bowed or wavy, that sharp edge you just worked so hard for won't ever actually bite into the grain.
- 6. Finally, we do the strop. Grab a piece of leather, slap some polishing compound on it, and give the edge a few light pulls. This isn't about removing metal; it's about aligning the microscopic teeth of the steel. When you can take a single shaving of wood off a piece of pine with nothing more than a light push, you'll know you've done it right. That's the moment you stop fighting the wood and start working with it.
Removing Rust From Steel Without Losing the Temper
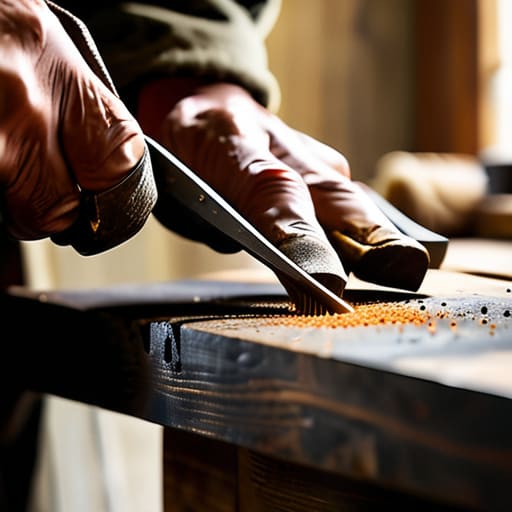
Now, here is where most people go wrong. They see a bit of orange oxidation and reach for the heavy-duty grinders or a harsh chemical bath, thinking they can just blast the problem away. That’s a mistake. If you get the steel too hot while you're grinding off that rust, you’ll ruin the temper. Once that steel loses its hardness, it’ll never hold an edge again, and you’ve just turned a fine tool into a very expensive piece of scrap metal. When removing rust from steel, I always prefer a slow, controlled approach. A bit of fine-grade sandpaper or a brass brush used with a bit of light oil is much safer for the metal's integrity.
If the pitting is deep, you might have to spend more time on the manual work, but patience is part of the job. I’ve spent many an afternoon at my bench using gentle metal polishing techniques to get the surface smooth again. You aren't just looking for shine; you're looking for a surface that is perfectly flat and ready for the next stage. This bit of workshop tool maintenance is what separates a craftsman from a hobbyist. If you rush the cleaning, you'll spend twice as long later trying to fix the scratches you've made.
Honing a Bevel Edge for Surgical Precision
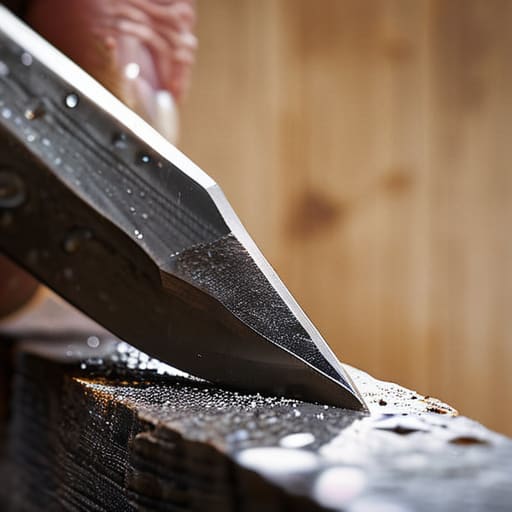
Once you’ve finished removing the rust, you’re left with a clean piece of steel, but it isn't a tool yet. Now comes the real work: honing a bevel edge until it can actually slice through a grain without hesitation. I’ve spent more hours than I care to admit at the sharpening stone, and if there’s one thing I’ve learned, it’s that patience is your best bit of kit. Don't rush the angle. If you're off by even a fraction of a degree, you'll spend the next twenty minutes trying to correct a mistake you could have avoided if you'd just slowed down.
When you're working the stone, keep your movements steady. You aren't just grinding metal; you're realigning the very soul of the tool. I always tell my former students that you should feel the burr forming under your finger—that's your signal that you've actually reached the edge. This bit of workshop tool maintenance is what separates a man with a piece of scrap metal from a craftsman with a precision instrument. If you treat the bevel with respect, the wood will reward you every single time.
Five Things I Wish My Apprentices Had Understood
- Don't go hunting for a new chisel just because the steel looks tired. Most of the old stock from forty years ago has better temper than the rubbish you'll find in a big-box hardware store today. A bit of pitting is just character; you can grind it out if you've got the patience.
- Watch your angles. I see lads trying to fix a nicked edge by grinding away half the bevel. You'll end up with a tool that's too thin to hold an edge for more than five minutes. Take small, controlled passes and respect the original geometry.
- Stop using those cheap, electric sharpening systems that do all the thinking for you. If you don't feel the steel meeting the stone, you aren't sharpening; you're just sanding. You need to feel that "burr" forming under your finger to know the job is done.
- Oil is your best friend, but don't be heavy-handed. A light wipe of camellia oil or even a bit of paraffin after you've finished your work keeps the moisture away. If you leave a tool sitting naked on a damp workbench, you're just inviting the rust back in.
- Check the handle before you start the steel. There's no point in having a razor-sharp bit if the wooden handle is cracked or wobbling in the socket. A proper chisel needs to feel like an extension of your arm, not a loose stick held together by luck.
The Work is Never Truly Done
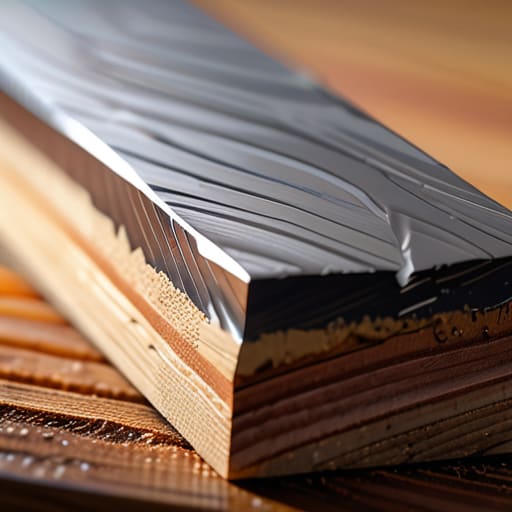
Once you’ve finished stripping that rust away and you’ve finally got that bevel sitting flat and true on the stone, you aren't just looking at a piece of steel anymore. You’ve turned a piece of scrap back into a proper instrument. It takes patience to go through the cleaning, the flattening, and that final, delicate honing, but it's the only way to ensure the tool behaves when you actually put it to the grain. Remember, a chisel is only as good as the person who maintains it, and if you treat the edge with respect, it will reward you with a clean cut every single time you pick it up.
I’ve spent forty years on site and another ten in the classroom, and I’ve seen more lads throw away perfectly good steel because they were too impatient to spend twenty minutes at the sharpening stone. Don't be one of them. There is a certain kind of quiet satisfaction that comes from knowing you can fix what is broken and sharpen what has gone dull. It’s about more than just woodworking; it’s about owning tools that last a lifetime. So, put the power sander away, pick up your honing guide, and get back to basics. The wood is waiting.