A Wooden Mitre Box Worth Making
 Callum Reith-Sowande
I remember standing on a site in the late eighties, watching a lad struggle with a cheap, plastic mitre box that wobbled every time he touched it with a saw. He was sweating, cursing, and trying to force a straight cut through a piece of oak that just wouldn't cooperate. That’s the problem with most modern gear; it’s designed to be replaced, not to work. People think you need some expensive, motorized station to get a clean corner, but that’s a lie. If you want real precision, you need to learn how to build a mitre box that actually stays true to the line. A bit of solid timber and a bit of patience will beat a vibrating, battery-operated mess any day of the week.
In this guide, I’m not going to sell you on any fancy gadgets or complicated jigs that’ll end up in a scrap heap in six months. I'll show you how to construct a sturdy, reliable guide using nothing but basic offcuts and a few honest joints. We’ll focus on creating a base that won't budge and a fence that stays square, so you can finally stop fighting your tools and start actually cutting.
Guide Overview
Tools & Supplies
- Handsaw (for making the cuts)
- Measuring tape (for accurate markings)
- Square (to ensure 90-degree angles)
- Pencil (for layout)
- Plywood or MDF (1 piece, approx. 12x12 inches)
- Wood glue (1 small bottle)
- Screws or nails (small pack)
- Sandpaper (1 sheet)
Step-by-Step Instructions
- 1. Start with a decent piece of timber for the base, something stable like a thick piece of beech or even a well-seasoned scrap of oak. You don't want a thin bit of plywood that's going to warp the moment the humidity changes. I always say, if the foundation is crooked, nothing you do on top of it will ever be straight. Plane it down until it's dead flat.
- 2. Now, you need to cut your guide runners. These are the two strips of wood that sit on either side of your workpiece to keep the saw in its lane. Don't just grab any old offcut; these need to be perfectly square and identical in thickness. If one is even a hair thicker than the other, your saw is going to wander off course, and you'll be fighting it the whole way through the cut.
- 3. Once you've got your runners, it's time to fix them to the base. This is where most people go wrong by using too much glue or big, ugly screws that interfere with the saw blade. I prefer using a few small, countersunk screws to keep them tight. Make sure they are perfectly parallel to each other. If they aren't, you might as well be trying to cut a straight line with a spoon.
- 4. Next, we need the backstop. This is the piece of wood that sits at the very end of the box to act as your reference point. It needs to be held firmly against the base. I like to use a bit of glue and a couple of pins to keep it from moving. It has to be square to the runners, otherwise, your mitre won't be a true 45 degrees, and you'll spend the rest of the afternoon trying to hide the gaps with wood filler.
- 5. Now, take your saw—and please, make sure it’s actually sharp—and test the fit within the runners. You want a snug fit where the saw stays upright on its own, but you don't want it so tight that you're fighting friction. If it's sticking, don't force it; just take a light pass with a plane or some sandpaper on the inside of the runners until it glides.
- 6. Finally, give the whole thing a proper once-over with a bit of oil or wax. It keeps the wood from swelling and makes the runners slide even better. A bit of beeswax goes a long way. Once that's done, you've got a tool that'll outlast any plastic gadget you could buy in a shop window, provided you treat it with a bit of respect.
Mastering Accurate Angle Cutting Without the Noise
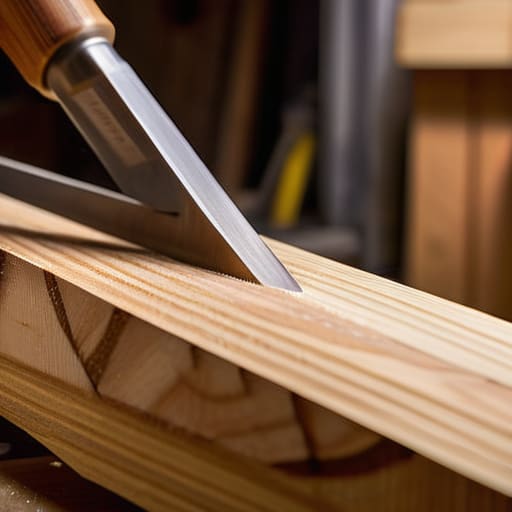
Once you’ve got the box assembled, the real work begins with how you actually use it. Most people think the box does all the heavy lifting, but it’s nothing without a well-tuned saw. If you’re using a cheap, thin-bladed saw, you’ll find it wanders mid-cut, ruining your hard work. I always tell my students that accurate angle cutting starts with the tension and the teeth of your blade. You want a saw that slices rather than tears. If the blade is even slightly bent, your mitre will never sit flush, no matter how sturdy your timber is.
Another thing to keep in mind is how you secure your workpiece. If the wood shifts even a fraction of a millimetre while you're mid-stroke, you've wasted the piece. Instead of just relying on a flimsy clamp, I prefer making a miter jig or using a dedicated stop block to keep everything dead straight. It takes a bit more time to set up, but it saves you from the frustration of constant measuring and re-cutting. Slow down, check your alignment, and let the tool do the work.
Making a Miter Jig That Outperforms Power Tools
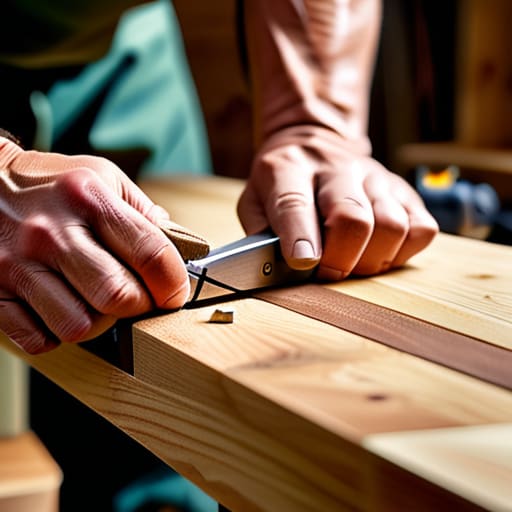
If you want to move beyond the basic setup, you need to stop thinking about a mitre box as a mere tray and start seeing it as a precision instrument. Most people settle for a flimsy bit of scrap wood, but if you're serious about making a miter jig that lasts, you should be looking at how you secure the workpiece. I always tell my students that a jig is only as good as its ability to stay still. I prefer using a small, heavy-duty screw clamp or even a simple wedge system to hold the timber dead-flat against the base. If the wood moves even a fraction of a millimetre while you're working, you've wasted your time and your edge.
The real secret to beating a power saw isn't just the box itself; it's the integration of your hand saw woodworking techniques with a stable platform. Instead of relying on a preset plastic guide, I build my jigs with slightly oversized slots. This allows me to fine-tune the angle by hand, just a hair at a time, until the fit is perfect. It’s about control over speed. When you can feel the teeth of the saw biting into the grain without the vibration of a motor, you'll realize that true accuracy comes from the connection between your hand and the wood.
Five Things Most People Get Wrong About Their Mitre Box
- Don't bother with thin plywood. If the walls of your box are flimsy, they'll flex the moment your saw blade touches them, and you'll be left with nothing but gaps in your joints. Use a decent piece of hardwood or a thick, stable MDF; you need something with actual weight to it.
- Check your square before you even pick up the glue. I've seen too many lads build a box, assume it's perfect, and then spend three hours wondering why their 45-degree cuts look like 42. Use a machinist's square to verify every single corner is dead on before you let it set.
- The slot is everything. Most people cut the saw way too tight because they want "accuracy," but they end up binding the blade halfway through the cut. Leave a hair of breathing room in that groove so the saw can travel freely without fighting you.
- Secure it to the bench. A mitre box that slides around while you're working isn't a tool; it's a nuisance. Screw it down or use heavy-duty clamps to make sure that box and your workpiece move as one single, solid unit.
- Stop relying on the markings. Don't just trust a line drawn with a pencil. Use a marking knife to score your cuts; it severs the wood fibres and gives your saw a physical track to follow, which is far more reliable than a messy graphite smudge.
Putting the Box to Work
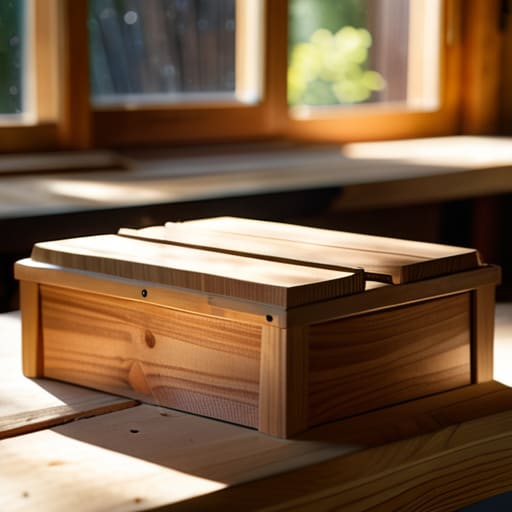
At the end of the day, building this mitre box isn't about following a set of complicated blueprints; it’s about creating a stable, reliable platform for your hands to do the work. We’ve covered how to select the right timber, how to ensure those joints are tight enough to hold a line, and how to set your saw so it doesn't wander. Remember, the secret isn't in some expensive, plastic-heavy jig you buy from a catalogue. It's in the stability of the base and the precision of your setup. If the box wobbles, your cut will wobble, and no amount of sanding is going to fix a bad angle once the wood has been severed.
I know it’s tempting to reach for that loud, vibrating mitre saw when you’ve got a pile of work waiting, but I'm telling you, give the hand saw a chance. There is a specific kind of satisfaction that comes from feeling the teeth bite into the grain and knowing that every degree is exactly where you intended it to be. Once you master this, you aren't just making cuts; you are reclaiming your control over the material. Stop rushing to finish and start focusing on the quality of the edge. You’ll find that when you slow down, you actually get more done.