An Open Mitre and Three Options
 Callum Reith-Sowande
Most people see a gap in a corner joint and immediately reach for a tube of wood filler or a heavy-duty glue gun, thinking they can just mask the problem. That’s a mistake that’ll leave you with a messy, brittle repair that fails again in six months. If you’re looking for how to repair a mitre that has opened, you need to stop trying to hide the gap and start understanding why it pulled apart in the first place. I remember a student of mine back at the college who spent three days trying to sand down a botched mitre on a picture frame; he was fighting the wood instead of working with it. He didn't need more sandpaper; he needed to learn how to properly seat the grain.
In this guide, I’m going to show you how to do this properly, the way we did it on-site before everything became a disposable consumable. We aren't going to rely on shortcuts or thick layers of putty to do the work for us. Instead, I'll walk you through the steady, methodical process of cleaning out old residue, choosing the right adhesive, and using a sharp chisel to ensure those faces meet flush. You'll learn how to fix the structural issue so the joint stays tight for good.
Guide Overview
Tools & Supplies
- Wood glue (for bonding the joint)
- Clamps (to hold the joint tight while drying)
- Rubber mallet (to gently reseat the pieces)
- Sandpaper (to smooth the seam after repair)
- Wood filler (small amount to hide gaps)
- Microfiber cloth (to wipe away excess glue)
Step-by-Step Instructions
- 1. First thing’s first: don't just go pumping glue into that gap and hoping for the best. If you do that, you're just creating a messy sandwich of dried adhesive that'll prevent a proper bond next time. You need to get in there and clear out the old, crusty glue from the joint first. I usually take a very thin, razor-sharp chisel and gently work it into the opening to flake out the old residue. If you can't see the wood, you aren't doing it right.
- 2. Once you've cleared the debris, you need to see if the mitre is actually square or if the wood has moved. Take a fine marking knife and run it along the face of the joint. If the knife skips or catches, the wood is warped or out of alignment. You can't fix a bad angle with glue; you have to address the geometry of the piece before you even think about sticking it back together.
- 3. Now, if the joint is just slightly proud, grab your best paring chisel—the one you spent all yesterday evening honing to a mirror finish. You aren't hacking here; you're shaving away tiny, microscopic curls of wood to ensure the two faces meet perfectly flush. If you use a power sander to flatten a mitre, you'll just round over the edges and end up with a gap even wider than the one you started with.
- 4. When the faces are clean and the fit is snug, it’s time for the adhesive. I prefer a decent PVA for most indoor joinery, but apply it sparingly. Use a small brush or even a scrap piece of wood to spread it evenly across both surfaces. A common mistake is putting too much on; you don't want a puddle, you just want a consistent, thin film that can soak into the fibres.
- 5. Close the joint and get it under pressure, but listen to what the wood is telling you. Use your clamps, but don't go tightening them like you're trying to crush a walnut. You want enough pressure to draw the faces together tightly, but not so much that you squeeze every single drop of glue out of the joint. If you see a tiny bead of glue "sweating" out of the seam, you’ve hit the sweet spot.
- 6. While the glue is setting, take a damp cloth and wipe away any squeeze-out immediately. Don't let it dry into a hard lump, or you'll be fighting it with a chisel later. Once it’s clamped, leave it alone. Patience is a tool just as important as a mallet, and rushing this stage is how you end up with a joint that fails in six months.
- 7. Finally, once the glue is fully cured—usually overnight—remove the clamps and check your work. If there’s any slight unevenness, don't reach for the sandpaper. Take that sharp chisel again and do a final, light paring to bring the joint perfectly flush with the rest of the timber. A clean, sharp edge is the mark of a job done properly.
Forget the Filler Why Precision Clamping Mitre Joints for Repair Wins
I see too many young lads reaching for a tub of wood filler the moment they spot a gap. They think they’re "fixing" it, but they’re just painting over a failure. Filling mitre gaps with wood filler is a coward's way out; filler has no structural integrity, and eventually, that crack will reappear because the wood hasn't actually been joined—it’s just been masked. If you want a repair that lasts another forty years, you have to stop treating the symptom and start treating the cause.
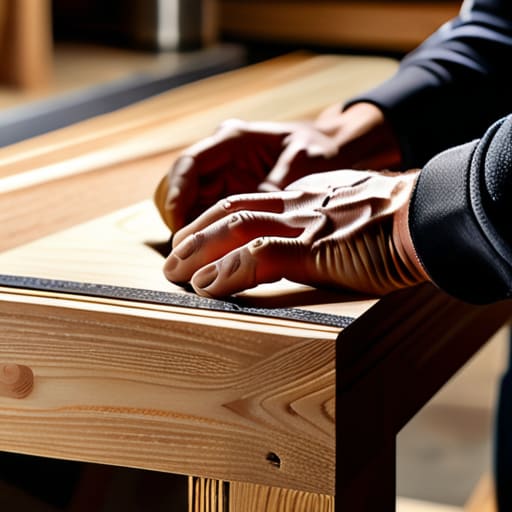
Real woodworking mitre joint repair is about mechanical pressure. You need to get those two faces back into intimate contact so the glue can actually do its job. I always tell my students that the best wood glue for mitres is only as good as the squeeze-out you get from proper clamping. If you don't have enough pressure, you've just got a dry, brittle mess. Use a proper strap clamp or even a few well-placed F-clamps to ensure the faces are mated tightly. True strength comes from the bond, not the putty.
Beyond Surface Fixes Choosing the Best Wood Glue for Mitres
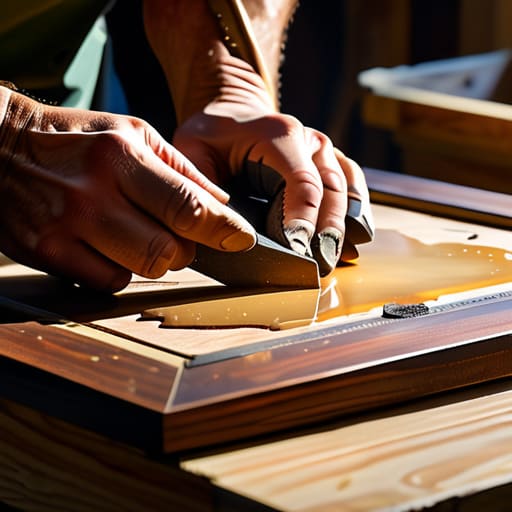
Now, don't go thinking a bit of PVA from the supermarket is the end-all and be-all of woodworking mitre joint repair. Most of the stuff you find in a big-box store is fine for a quick student project, but if you're fixing a piece of furniture that’s meant to last another forty years, you need to be more discerning. If you're working on something solid, a standard yellow PVA is usually your best bet because it's easy to clean up and creates a bond that's often stronger than the wood itself. However, if you're dealing with a particularly stubborn gap or a piece of timber that’s seen some serious moisture, you might want to look into a polyurethane glue. It expands slightly as it cures, which can help in fixing split mitre joints where the fit isn't quite as tight as it once was.
The real mistake I see people making, though, is trying to hide a poor fit by filling mitre gaps with wood filler. I'll say it once and I'll say it plain: filler is just a polite word for "I messed up the joinery." If you have a gap that's wider than a hair, no amount of expensive glue or fancy putty is going to make that joint structural. You need to get that wood seated properly with the right adhesive and enough pressure. If the glue can't bridge the gap, the joint is already dead in the water.
Five Things I’ve Learned the Hard Way About Fixing Mitres
- Don't just squeeze more glue into the gap; if there's no wood-to-wood contact, you're just making a mess that'll eventually peel away. You've got to get those faces touching properly first.
- Check your square before you even think about clamping. I’ve seen many a man spend an hour fixing a joint only to realize he's clamped it into a trapezoid instead of a right angle.
- Use scrap wood as cauls. If you put a metal clamp directly onto a delicate mitre, you'll leave a dent that no amount of sanding will ever truly fix. Protect the work.
- Clean out the old, dried glue. New glue won't bond to old, crusty residue. If you don't get that old grit out of the joint with a sharp chisel, the repair is dead on arrival.
- Be patient with the drying time. I know it's tempting to pull the clamps off early to see if it's held, but a mitre needs time to settle. If you rush it, you'll just be back here doing the same job tomorrow.
A Proper Finish
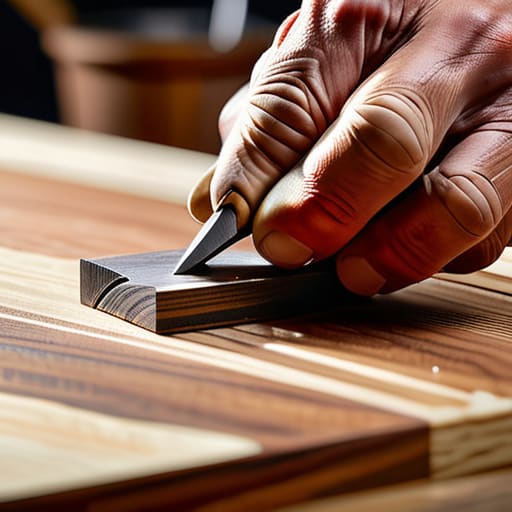
At the end of the day, fixing a split mitre isn't about masking a mistake with a thick layer of wood filler and hoping nobody notices. It’s about doing the work properly: cleaning out the old, brittle glue, selecting a resin that actually penetrates the grain, and using a sharp chisel to ensure those faces meet flush. If you’ve taken the time to seat the joint correctly and applied the right amount of pressure with your clamps, you aren't just patching a hole; you are restoring the structural integrity of the piece. A bit of patience during the drying stage saves you from having to redo the entire job three months down the line when the gap reappears.
I know it’s tempting to just grab the cordless sander and a tub of putty to get the job done quickly, but that’s how you end up with a workshop full of junk. There is a quiet satisfaction in looking at a seamless corner and knowing it stays that way because you respected the wood and the joinery. Don't be in such a rush to finish that you forget to do it right the first time. Take your time, keep your tools sharp, and remember that a well-repaired joint is a testament to a craftsman who actually cares about his trade.