Silencing a Stair From Above
 Callum Reith-Sowande
You’ll hear plenty of blokes telling you that the only way to fix a wobbling step is to go out and buy a heavy-duty impact driver and a box of expensive structural screws. They’ll have you tearing into the joists before you’ve even had your tea, making a mess that’ll cost you a fortune to tidy up. But if you want to know how to repair a loose stair tread without turning your hallway into a construction site, you need to stop looking for a power solution and start looking at the join. Most of the time, that annoying creak or movement isn't a structural failure; it’s just a gap that's lost its way, and a bit of honest woodwork is usually all it takes to settle it.
I’m not going to give you any of that high-tech, plastic-wrapped nonsense you see in the big hardware chains. Instead, I’m going to show you how to do this properly using the tools you should already have in your kit. We’ll talk about clearing out the old debris, why a sharp chisel is your most important ally here, and how to seat that timber so it never moves again. No hype, just the straight truth on how to get the job done right.
Guide Overview
Tools & Supplies
- Hammer or mallet for driving fasteners
- Drill/driver for pre-drilling holes
- Screwdriver for tightening screws
- Pry bar for checking gaps
- Wood screws (long, heavy-duty) 1 pack
- Wood glue (exterior or construction grade) 1 bottle
- Wood shims (if gaps exist) 1 small pack
Step-by-Step Instructions
- 1. First, you need to find out exactly why that tread is moving. Don't just start hammering away; you'll only end up splitting the timber or bruising the riser. Use a flat-head screwdriver to gently probe the gap between the tread and the stringer. If it moves easily, you've likely got a failed glue joint or a nail that's worked its way loose over the years.
- 2. Once you've identified the gap, you'll need to clear out the old debris. I've seen too many men try to force new glue into a joint filled with twenty years of dust and old, brittle adhesive. Take a thin, sharp chisel—make sure it's properly honed—and carefully scrape out the old glue and grit. If you don't get down to the clean wood, nothing you do next will hold.
- 3. Now, if the gap is wide, you're going to need to fill it, but not with that cheap, watery wood filler from a plastic tub. That stuff is just sawdust and hope. Instead, I prefer to make a bit of homemade paste by mixing some fine sawdust from your repair piece with a decent quality wood glue. It creates a much more stable bond that actually behaves like the surrounding timber.
- 4. Apply your adhesive or paste liberally into the joint. Don't be stingy here; you want that glue to penetrate deep into the fibers. Once the joint is packed, use a few clamps to apply firm, even pressure. If you don't have clamps, use a heavy weight, but whatever you do, don't let that tread shift while the glue is setting.
- 5. If the tread is loose because of a failed mechanical fix, like a broken screw or a pulled nail, you'll need to create a new pilot hole. I don't care what the box says about "self-tapping" screws; in old staircases, you need to drill a proper pilot hole first. This prevents the wood from splitting, which is a mistake you only make once.
- 6. Drive your new fasteners in, but do it with a steady hand. If you're using screws, sink the heads just slightly below the surface of the wood. This gives you room to work later. I always recommend using a countersink bit to ensure the head sits flush and clean, rather than just mashing it into the grain with a driver.
- 7. Finally, once everything is dry and the glue has cured, you'll likely have a bit of a mess on the surface. Take a sharp block plane or a well-sharpened chisel to trim away any excess glue or uneven edges. You want the transition to be seamless and smooth to the touch. If you can feel a lip when you run your hand over it, you haven't finished the job.
Securing Loose Stair Steps With Surgical Accuracy
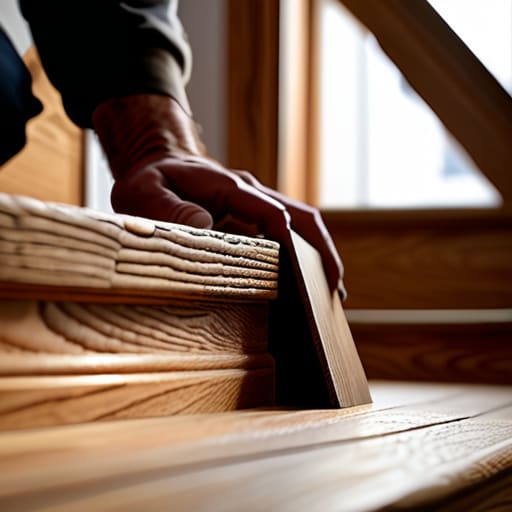
When you’re working on securing loose stair steps, most people make the mistake of just driving more screws into the timber. That’s a fool’s errand. If there’s a gap between the tread and the riser, you aren't fixing the problem; you're just masking it until the wood splits. I’ve spent years teaching my apprentices that you have to address the void itself. This is where a bit of careful stair tread shim installation comes into play. I like to use thin, hardwood wedges—never anything soft like pine—to take up that slack before you even think about a fastener.
If you’re dealing with the headache of fixing squeaky wooden stairs, don't just tighten things up; you need to bond them. I always recommend a high-quality, slow-set wood glue for stair treads. You want that glue to seep deep into the grain and the join, not just sit on the surface. By combining a well-placed shim with a proper adhesive, you're actually preventing stair movement for the long haul, rather than just patching a symptom. It takes a bit more patience, but a steady hand and a bit of glue will outlast any handful of deck screws.
The Right Wood Glue for Stair Treads and Lasting Stability
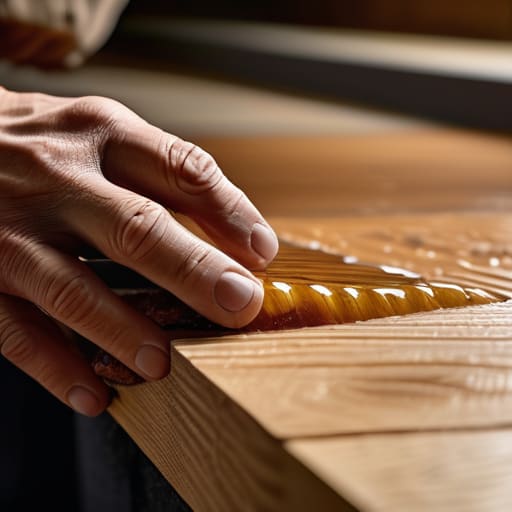
Now, don't go running to the hardware store and grabbing the first cheap bottle of white PVA you see. If you’re serious about securing loose stair steps, you need something that’s going to hold up under the constant, rhythmic pounding of feet day after day. I’ve seen too many lads use a watered-down school glue only to find the tread moving again six months later. For a job like this, I always reach for a high-quality polyurethane glue or a professional-grade wood glue for stair treads that offers a bit more structural bite. It needs to penetrate the grain, not just sit on the surface like a layer of grease.
While you're at it, remember that glue alone isn't a magic fix for every gap. If the movement is caused by a significant void, you'll likely need a bit of stair tread shim installation alongside that adhesive to ensure the wood is actually being squeezed tight. A bit of seasoned hardwood sliver, glued firmly into the gap, provides the mechanical support the glue needs to do its job. If you don't bridge that gap, you're just wasting good adhesive and your own time.
Five Ways to Make Sure That Tread Stays Put
- Don't just slap more glue on top of the old stuff. If you're trying to bond new timber to an old, dried-out joint, it won't hold. You've got to scrape out the old, crusty residue first so you're actually getting wood-to-wood contact.
- Stop relying on those cheap, thin finish nails. They'll pull right out the moment someone puts their weight on the step. If you aren't using proper wood screws or even better, some heavy-duty dowels, you're just delaying the inevitable.
- Check your level before you even think about fastening anything. A tread might feel solid, but if it's sitting at a slight angle, it's going to put uneven pressure on your fixings and eventually work them loose again.
- Use a clamp, not just your hands. I see plenty of lads trying to hold a tread in place while they drive a screw, but you need real, steady pressure to ensure that glue line is tight. If you can't clamp it, you haven't finished the job.
- Listen to the wood. When you're tapping a tread back into place or driving a fastener, listen for that hollow, echoing sound. That's the sound of a gap waiting to happen. You want a solid, dull thud that tells you the connection is tight.
Doing the Job Right Once
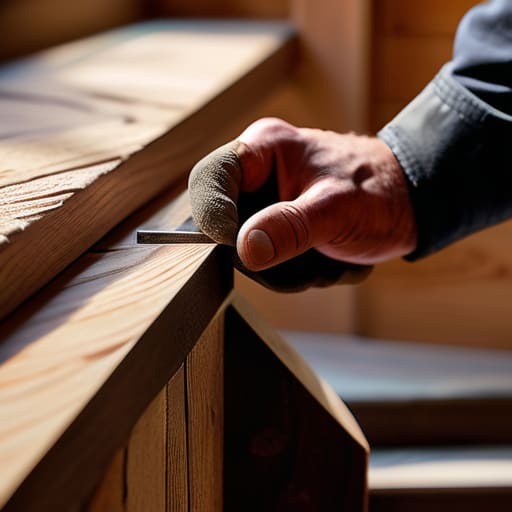
At the end of the day, fixing a loose tread isn't about slapping some screws into the timber and hoping for the best. It’s about the preparation—getting that chisel sharp enough to shave with so you can seat the wood exactly where it belongs, and choosing a glue that actually bonds the fibers rather than just sitting on top of them. If you’ve taken the time to clear out the old debris and ensure a tight, flush fit, you aren't just fixing a trip hazard; you are restoring the structural integrity of the entire flight. Don't rush the process. A bit of patience with a hand tool now saves you from having to tear the whole staircase apart three years down the line.
I know there is a temptation to reach for the cordless impact driver and call it a day. It’s faster, sure, but speed is often just a mask for sloppiness. There is a particular kind of satisfaction that comes from knowing a repair was done with precision and care, using tools you understand and maintain yourself. When you finish, and that tread doesn't move a fraction of a millimetre under your weight, you’ll know it’s done properly. Build things to last, mend them with intention, and remember: a job well done is its own reward.