Clamping Something With No Flat Faces
 Callum Reith-Sowande
I’ve spent more hours than I care to count staring down a piece of timber that simply refused to behave, usually while a massive, expensive power clamp sat uselessly on my bench. Most blokes think the answer to a wonky joint is to just buy a bigger, more expensive machine, but that’s a load of rubbish. The truth is, knowing how to clamp an awkward repair isn't about the brute force of your gear; it's about understanding the physics of the wood and how to guide it where it needs to go. I remember a particularly stubborn mahogany tabletop back in my apprenticeship days that nearly drove me to quit, simply because I was fighting the grain instead of working with it.
In this guide, I’m going to show you how to stop wrestling with your materials and start controlling them. I won't be wasting your time with fancy gadgets that'll end up in a landfill by next year; instead, I’ll teach you how to use simple blocks, scrap timber, and a bit of common sense to get a perfect, even hold. We’ll cover exactly how to distribute pressure so you don't mar the surface, ensuring you finally master how to clamp an awkward repair without breaking a sweat or your tools.
Guide Overview
Tools & Supplies
- Bar Clamps (for long spans and heavy pressure)
- Spring Clamps (for light positioning and holding small pieces)
- C-Clamps (for high-pressure corner stability)
- Blocks of scrap wood (to act as cauls and prevent marring)
- Clamping Cauls (enough to distribute pressure evenly)
- Painter's Tape (to protect surfaces and mark alignment)
- Shims (various thicknesses to fill awkward gaps)
Step-by-Step Instructions
- 1. First thing you do is clear the workspace and stop looking for a bigger clamp. If you're staring at a gap or a piece that won't sit flush, a larger power clamp isn't going to fix the geometry; it'll just crush the wood or slip off the edge. Lay out your repair piece, the original timber, and a handful of scrap offcuts that you know are solid.
- 2. You need to create your own "jigs" out of those scrap pieces. Since you can't rely on a standard clamp to grip something irregular, you use the scrap to fill the voids. I call this building a bridge. You wedge the scrap between your clamp jaw and the awkward part of the repair so the pressure is distributed evenly across the surface, rather than digging a single, ugly dent into your workpiece.
- 3. Don't just tighten and hope for the best. Apply your first bit of pressure, then step back and look at it from the side. If you see a gap opening up somewhere else, you’ve gone too far or too fast. It’s about controlled tension, not brute force. I've spent forty years seeing men ruin expensive mahogany because they thought more torque meant a better bond.
- 4. If the piece is truly stubborn, use a mallet and a sacrificial block to nudge it into position before the glue sets. A little bit of lateral movement is fine, but once that adhesive starts to tack up, you're fighting a losing battle. Use a sharp chisel to shave a tiny bit of material off the mating surface if it's not sitting true; it's much better to remove a shaving than to force a crooked joint.
- 5. Once you think it's seated, check your square. Even with an awkward shape, the repair should respect the original lines of the timber. If it's pulling the whole assembly out of alignment, loosen it immediately. It is better to start again than to spend three hours trying to sand down a mistake that shouldn't have been there in the first place.
- 6. Finally, wipe away the squeeze-out with a damp cloth, but don't go overboard. If you leave a pool of water, you'll swell the grain and ruin the fit you just worked so hard to achieve. Let it sit undisturbed. A steady hand and a bit of patience will get you a result that no high-end workshop kit can match.
Securing Irregular Surfaces Without the Power Tool Noise
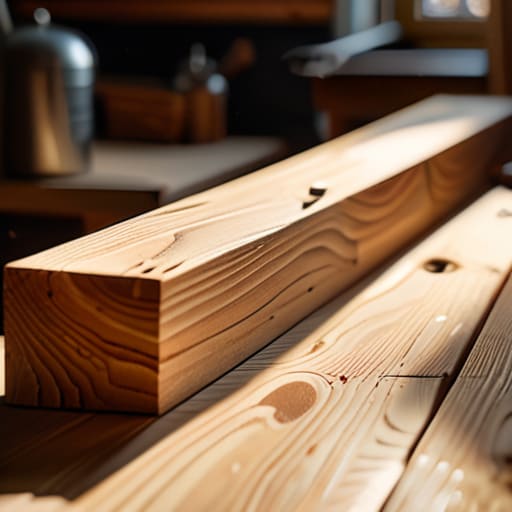
You don't always need a heavy-duty workshop setup to get the job done. Most of the time, the problem isn't the lack of a specific tool, but rather how you're applying the force. When you're dealing with a piece of timber that’s bowed or has a wonky, uneven face, a standard metal clamp is going to bite into the wood and leave a nasty mark. I’ve always found that using cauls for even pressure is the smartest way to go. Just take a scrap piece of straight-grained softwood, cut it to length, and sandwich it between your clamp and the repair. It spreads the load across the whole surface rather than concentrating all that stress on one tiny, vulnerable point.
If you find yourself without the right gear, don't panic and head to the hardware store. There are plenty of improvised clamping solutions right on your workbench. A bit of heavy-duty masking tape or even a well-placed wedge can do wonders for securing irregular surfaces without the need for expensive machinery. It’s about understanding how the wood wants to move and using what you have to guide it back into place.
Using Cauls for Even Pressure and Precision
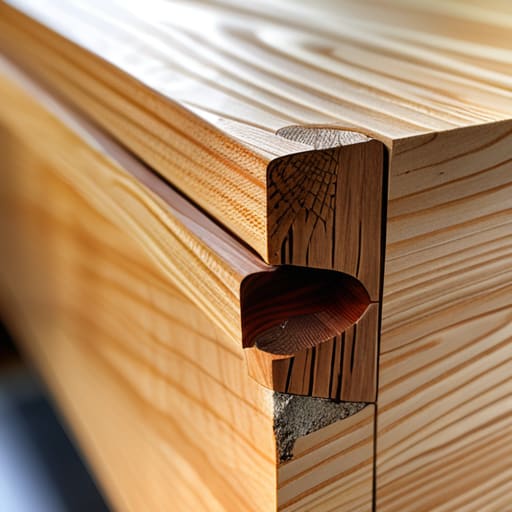
When you’re dealing with a surface that isn’t flat—which, let’s be honest, is most of them once they’ve been damaged—you can't just rely on the metal face of a clamp. If you press a standard F-clamp directly against a delicate or uneven repair, you’re going to leave a mark or, worse, cause the whole joint to shift. That’s where using cauls for even pressure becomes your best friend. I always keep a few scrap pieces of straight-grained pine or beech in the workshop specifically for this. You just sandwich your repair between these sacrificial blocks. It spreads the load across the entire surface rather than concentrating all that force on one tiny, vulnerable point.
Think of a caul as a way of creating your own level ground. If you’re working on a repair where the wood is slightly bowed, you can even taper your caul to match the contour. It’s one of those simple woodworking clamp alternatives that saves you from the frustration of a joint that refuses to sit flush. I’ve spent many an afternoon teaching apprentices that it isn't about how much force you use, but how you manage the pressure distribution in repairs. A bit of timber between the tool and the workpiece does more for precision than any expensive hydraulic jig ever could.
Five ways to stop the struggle and get a proper hold
- Don't trust a single point of contact. If you’re clamping something uneven, you aren't just fighting the shape of the wood; you're fighting the physics of it. Use two or three clamps spread out to distribute the load, rather than one big one that just wants to twist the piece out of alignment.
- Stop relying on those cheap, plastic-faced clamps to do the heavy lifting. If you're working on an old repair, find some scrap hardwood—something dense like oak—and use it as a buffer. It protects the grain and, more importantly, it gives you a flat, reliable surface to press against.
- Watch your pressure like a hawk. I've seen too many lads crank a clamp down until the timber splits or the joint shifts. Tighten it until it’s snug, then give it a tiny nudge. You want a firm hold, not a death grip that ruins the work you've just done.
- Use a bit of shim work to your advantage. If there's a gap or a dip in the repair, don't just hope the clamp fills it. Wedge a thin sliver of scrap in there to bridge the distance. It turns an uneven mess into a stable, even surface before you even tighten the screw.
- Check your work every twenty minutes. Wood moves, and glue sets. If you set a clamp and walk away for an hour, you might come back to find the whole repair has buckled. Stay steady, keep an eye on it, and make sure that pressure stays where you put it.
Getting It Right the First Time
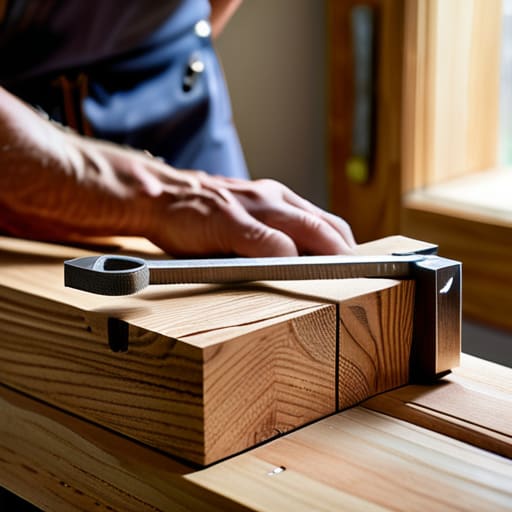
At the end of the day, wrestling an awkward repair isn't about having the biggest, most expensive pneumatic clamp in the shed. It’s about understanding how pressure actually moves through the wood. Whether you’re using scrap timber to make a custom caul or finding a clever way to bridge a gap with a bit of steady handwork, the goal is even distribution. If you rush into it with a power tool and a heavy-duty clamp without thinking, you’ll likely end up with a crushed grain or a misaligned joint that’ll haunt you for years. Remember, a bit of patience and a few well-placed blocks are always better than forcing a fix that just isn't meant to sit that way.
I know the modern way is to reach for the loudest, fastest machine available, but there is a real satisfaction in solving a problem with nothing but your eyes and a few simple hand tools. When you stop fighting the material and start working with it, you'll find that the repair becomes part of the piece rather than a scar on it. Don't let the industry convince you that everything is a consumable to be replaced. If you take the time to set your clamps properly and respect the wood, you aren't just fixing something—you're making it last.