Buying From a Stall Without Regret
 Callum Reith-Sowande
I remember standing at a rain-slicked market stall in Leeds back in '84, staring at a row of planes that looked like they’d been pulled from a shipwreck. Most people would’ve walked straight past, thinking they were just looking at rusted scrap, but I knew better. You can't judge a tool by its shine or the fancy box it comes in; you have to know how to review a tool from a market stall by looking for the soul of the steel underneath the grime. If you rely on what the vendor tells you, you're just buying a story, and stories don't cut straight lines.
I'm not here to give you a lecture or a list of brand names to memorize. Instead, I’m going to show you how to actually feel the metal, check the temper, and spot the difference between a diamond in the rough and a piece of junk that'll end up in my scrap bin. I'll teach you how to test the geometry and the weight so you can walk away with something that actually works once you get it home to the bench.
Identifying Rust and Wear Before the Damage Is Done
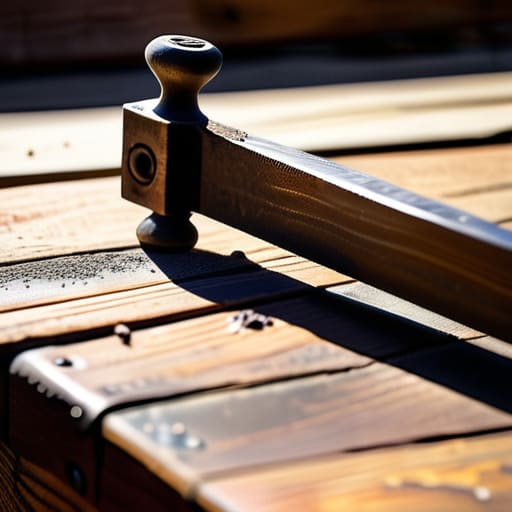
When you’re squinting through the dust of a market stall, it’s easy to get distracted by a nice-looking handle or a bit of brass. But you need to look past the surface. I always start by identifying rust and wear on the actual cutting edge or the working face. A bit of surface oxidation is nothing; it’s just a bit of skin that needs a soak in vinegar or a rub with some fine emery cloth. What you can't fix easily is pitting. If the rust has eaten deep into the metal, leaving little craters, that tool is a lost cause. It’ll never hold a true edge, and I won't waste my time on something that can't be restored to its original integrity.
Next, you have to look at the geometry. I make a habit of checking tool functionality by running my thumb—carefully, mind you—along the bevel or the blade. You’re feeling for nicks, gouges, or a "rolled" edge where the steel has been smashed. If the metal is thin or unevenly worn, it tells you the previous owner treated it like a pry bar rather than a precision instrument. A tool that's been abused is often a tool that's been poorly maintained, and that's a hard habit to break.
The Art of Vintage Tool Authentication in the Dust
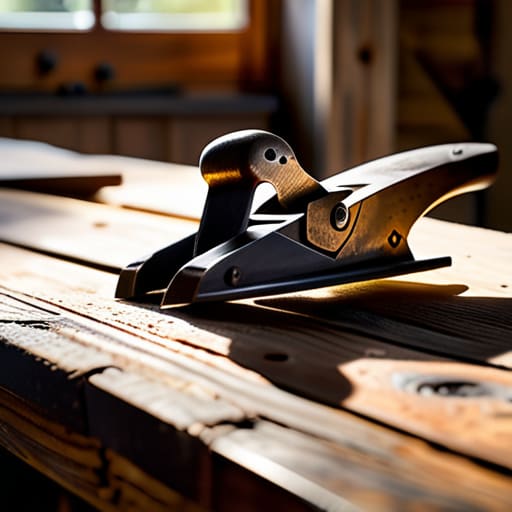
You can’t just glance at a tool and know its pedigree; you have to look for the marks of a life well-spent. When I’m out there, I’m not just looking for a brand name stamped in the steel. I’m looking for consistency. A real quality piece, even one caked in decades of grime, will have a certain integrity in its geometry. If you’re looking at a plane, check if the sole is truly flat or if someone’s been using it as a makeshift level. This is where true vintage tool authentication happens—not in a catalog, but by feeling for the subtle tells of how the metal has been worked over the years.
Don't be fooled by a bit of polish that’s been rubbed over the surface to hide a crack. I always run my thumb along the edges and the handles. If a chisel handle feels light or hollow, or if a mallet head has a hairline fracture, you walk away. You aren't just buying a bit of steel; you're evaluating tool durability for the next forty years. If it doesn't feel solid in your hand right now, it won't be solid when you're halfway through a dovetail joint.
Five things to look for before you open your wallet
- Check the geometry of the steel. Don't just look at the surface; look at the edge itself. If the metal is pitted or has deep nicks right along the cutting line, you're looking at a lot of hard work just to get it flat again. I've seen plenty of "bargains" that turned out to be nothing more than scrap metal waiting for a grinder.
- Feel for the "slop" in the moving parts. If it’s a plane or a vice, give the adjustment screw a turn. It should move smoothly, with a bit of resistance, but no grinding or wobbling. If there's too much play in the mechanism, you'll spend more time fighting the tool than actually using it.
- Inspect the handles and grips. Wood can be replaced, but if the handle is cracked through or the grain is completely shot, it's a sign the tool has been treated poorly. I like to see a handle that's worn smooth from use, not one that's splintered from being dropped on a concrete floor.
- Look for the marks of a previous owner. I look for tool marks that tell a story. A tool that’s been well-maintained, even if it's old, is worth its weight in gold. If it looks like it’s been used as a hammer or a pry bar, leave it where it lies.
- Listen to the tool. It sounds strange, I know, but if it’s a hammer or something with a heavy body, give it a light tap. You’re listening for a solid, clean ring. A dull thud often means there’s a crack hidden inside the metal that no amount of polishing will ever fix.
Bringing it Home
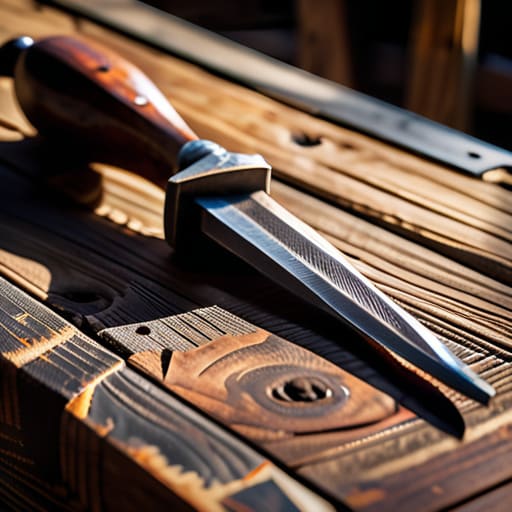
At the end of the day, finding a decent tool at a market stall isn't about luck; it’s about knowing what to look for under all that grime. You’ve got to check for deep pitting that no amount of honing can fix, verify that the steel hasn't been thinned down by a thousand amateur sharpenings, and make sure the geometry is still true. If you can spot the difference between surface oxidation and structural rot, you're already ahead of most of the crowd. Remember, you aren't just buying a piece of metal; you are looking for a foundation that can be restored to its former glory rather than something you'll have to scrap in a month.
There is a particular kind of satisfaction that comes from pulling a rusted, forgotten plane from a pile of junk and seeing it cut a shaving as thin as a dragonfly's wing after a bit of elbow grease. It’s a way of pushing back against a world that wants us to buy cheap, disposable rubbish every single year. When you rescue a tool like that, you aren't just saving a few quid; you are preserving a bit of history and ensuring that craftsmanship stays alive. So, keep your eyes peeled and your wits sharp. The next great tool of your life might be sitting right there, just waiting for a steady hand to bring it back to life.