A Router Table From Scrap
 Callum Reith-Sowande
You don't need a bank loan or a showroom of shiny, cast-iron machinery to get a clean edge on your joinery. I’ve spent forty years on site and another ten in the classroom, and if there’s one thing I’ve learned, it’s that most of those "all-in-one" workshop stations are just overpriced scrap metal in disguise. People think they need to spend a fortune to get professional results, but they're wrong. I’m going to show you how to build a router table on a budget using what you’ve likely already got sitting in the corner of your shop. We aren't looking for flash; we are looking for stability and precision.
In this guide, I’m stripping away the marketing nonsense and the fancy jigs that serve no purpose other than to clutter your bench. I'll walk you through selecting a solid base, mounting your motor without the headache, and ensuring your surface is flat enough to respect the wood. You'll get a practical, no-nonsense plan to create a tool that works as hard as you do. We aren't building a showpiece here; we are building a reliable workhorse that stays true to the edge.
Guide Overview
Tools & Supplies
- Circular Saw or Table Saw for cutting base material
- Drill and bits for mounting the router and hardware
- Clamps to hold components in place during assembly
- 3/4" MDF or Plywood sheet (2' x 2' section)
- Router mounting plate (pre-made or DIY from scrap)
- Wood screws (various lengths)
- Sandpaper (120 and 220 grit)
Step-by-Step Instructions
- 1. First, you need to source your base. Don't go out and buy a thick slab of expensive hardwood just for this; instead, look for a piece of high-density MDF or a thick plywood offcut from a local timber yard. It needs to be heavy and flat. If it's warped, your router won't run true, and you'll spend more time fighting the wood than shaping it.
- 2. Once you've got your base, find a sturdy old workbench or a scrap piece of heavy-duty timber to act as your mounting frame. You'll want to build a simple sub-base using thinner plywood that sits directly underneath your main MDF top. This creates a sandwich effect that keeps everything rigid and prevents that annoying vibration that makes a router bit wander.
- 3. Now, you'll need to cut the aperture for your router. This isn't the time to rush; mark your circle carefully, and use a jigsaw to get most of the way through. For the final bit, I always reach for my sharpest chisel to clean up the edges of the hole. A clean, square edge here means your router will sit flush, and you won't have any splinters catching on your workpiece later.
- 4. Instead of buying a dedicated router lift—which costs more than the rest of the build combined—you’re going to make a simple adjustment mechanism using some threaded rods and nuts. You can mount the router upside down in its own wooden housing, and by turning the nuts, you can slowly raise the bit through the hole. It’s old-fashioned, sure, but it’s incredibly precise.
- 5. For the work surface, you need a way to guide your timber. Forget those plastic, flimsy fences sold in big-box stores. Grab some straight-edged scrap and screw it into a heavy-duty metal or timber fence. If you want it to be truly professional, line the surface with a piece of formica or laminate to help the wood slide smoothly, rather than dragging against the grain.
- 6. The final step is the most important: checking your alignment. Before you even plug the machine in, run a straight edge from your fence to the router bit. If there’s a gap or a misalignment, adjust your mounting until it's dead on. A router table is only as good as its accuracy, and once it's set, it should stay set.
Scrap Wood Shop Builds That Outwork Factory Models
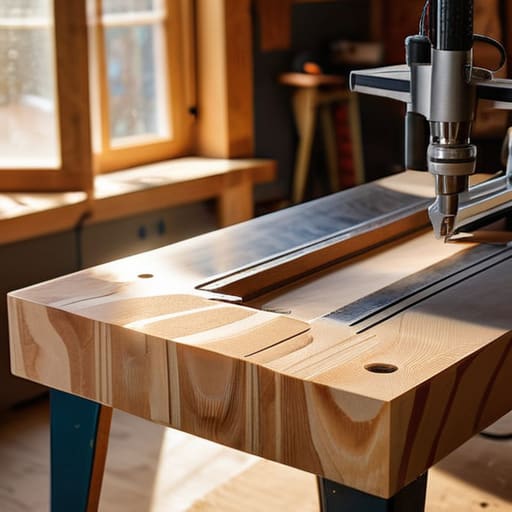
You don't need a catalogue of shiny, plastic-molded accessories to get a decent result. Most of what you'll find in a big-box store is designed to be replaced the moment it cracks, but I’ve always found that scrap wood shop builds offer a level of rigidity that factory models simply can't match. If you have some leftover MDF or even a bit of thick birch plywood from a previous project, you're already halfway there. I’ve spent years teaching apprentices that the weight of the material matters more than the brand name on the box; a heavy, stable base made from scraps will dampen vibration better than any lightweight, mass-produced kit.
When you're putting together these homemade woodworking accessories, don't be afraid to overbuild. If a jig feels a bit flimsy, add a bit more material or a bracing screw. I’d rather spend an extra twenty minutes ensuring a fence is dead-on than struggle with a tool that wobbles mid-cut. It’s about creating something that respects the edge of your bit. Build it stout, build it square, and build it to last.
Affordable Router Table Materials That Actually Hold an Edge
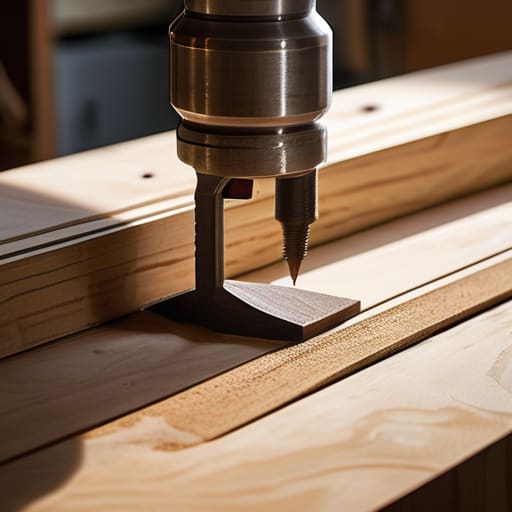
When you're looking into affordable router table materials, don't let the glossy catalogs fool you. They’ll try to sell you expensive, pre-finished phenolic tops that cost more than a decent set of Lie-Nielsen chisels. You don't need that. I’ve always found that a thick piece of Baltic Birch plywood or even a well-selected slab of old maple works better. The key isn't the price tag; it's the stability. If your surface moves because the wood is cheap and unstable, your precision goes out the window. I'd rather use a slightly older, seasoned piece of hardwood than some flimsy, pressed particle board that'll swell the moment the humidity shifts.
For those of you working on budget woodworking tool setup projects, keep your eyes peeled at local timber yards for offcuts. You can often find high-quality hardwoods that are too small for a tabletop but perfect for a router plate or a fence. Avoid anything with excessive glue content, like cheap MDF, if you can help it. It turns to dust the moment a bit touches it, and you'll spend more time cleaning up the mess than actually working. Stick to dense, tight-grained woods that can take a clean edge.
Five things I’ve learned about building a table that doesn't cheat you
- Don't go chasing a brand-new MDF top if you can find a thick piece of seasoned plywood in the scrap bin; it’s got more soul and won't sag under the weight of your router.
- Spend your money on the fence, not the table; a flimsy fence makes a precision tool useless, so make sure yours is heavy and dead-steady.
- Forget those plastic bit height gauges; a simple, well-made wooden block and a steady eye will get you more accurate results every single time.
- If you're using an old router you found at a car boot sale, don't just plug it in—strip it down, grease the bearings, and make sure it's actually fit for purpose before it touches your workpiece.
- Stop trying to buy a pre-made dust collection kit; a bit of shop vac and a well-placed scrap wood shroud will clear the air just as well for a fraction of the cost.
Final Thoughts on the Build
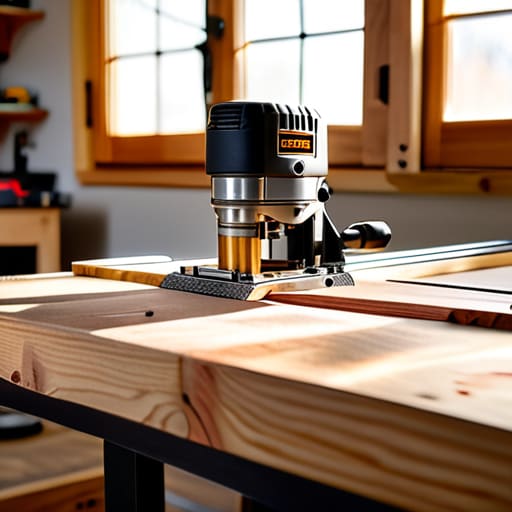
At the end of the day, building this table isn't about having the thickest MDF or the most expensive cast-iron inserts. It’s about understanding how your materials behave and ensuring your setup is dead level and rock steady. We’ve looked at how scrap timber can be just as reliable as store-bought stock if you treat it right, and we’ve seen that a bit of patience in the assembly phase saves you a world of frustration when the router actually starts spinning. You don't need a massive injection of capital to get a precision edge; you just need a solid foundation and a bit of common sense.
I’ve spent forty years watching people rush out to buy the latest "pro" kit, only to realize they’ve spent more on the box than the tool is actually worth. Don't fall into that trap. A workshop should be a place where you understand every screw and every grain of wood, not a showroom for things you can't fix when they inevitably break. Take your time with this build, keep your blades sharp, and remember that the best tool in your shop is the one you built yourself. Once you have a table that respects the wood, you'll find you don't need much else to get the job done right.