A Newel Post That Moves
 Callum Reith-Sowande
You don't need to rip the whole staircase out or start buying expensive structural reinforcement kits just because that post has started to wobble. Most people see a shifting newel and think they need a heavy-duty drill or a massive amount of construction adhesive to fix it, but that's a mistake that'll only leave you with a mess. I remember a job back in the nineties where a lad tried to fix a wobbling post by cramming more and more wood glue into the gaps; he ended up with a post that looked fine but felt like jelly the moment someone leaned on it. If you want to learn how to repair a loose newel post properly, you have to stop looking for a quick chemical fix and start looking at the join itself.
I’m not going to give you any of that fancy, high-tech nonsense that ends up in a landfill after one use. Instead, I’m going to show you how to use a bit of patience and a few well-maintained hand tools to get that post sitting tight again. We’ll go through the honest way to clear out the old debris, shim it up with the right timber, and ensure it stays solid as a rock for the next forty years.
Guide Overview
Tools & Supplies
- Drill/Driver for driving screws or cleaning holes
- Hammer for tapping components into place
- Level to ensure the post is straight
- Wood glue for reinforcing joints
- Long wood screws for structural anchoring
- Wood filler to hide screw heads or gaps
Step-by-Step Instructions
- 1. First, you need to see what you're actually dealing with. Don't just start hammering away; grab a thin chisel and gently probe around the base of the post where it meets the floor. You need to find out if the connection has failed because the timber has shrunk, or if the fixings have simply pulled loose from the subfloor. If there's a gap, you'll need to know exactly how much room you're working with before you commit to a plan.
- 2. Once you know the extent of the wobble, clear out the old rubbish. If there's crumbling old glue or dried-up wood filler sitting in the joint, you've got to get it out. I find a small, sharp paring chisel is the best tool for this; it lets you clean the surface without gouging into the good wood. You want a clean, solid seat for whatever new material you're going to introduce.
- 3. Now, you have to decide how to bridge that gap. If the post is just a bit loose, you can use a high-quality wood glue, but don't expect it to do the heavy lifting on its own. I prefer to drive a few hardwood wedges into the joint. If you cut your wedges to fit the specific gap you found earlier, they'll create a mechanical tension that glue alone just can't match.
- 4. If the gap is significant, you might need to reinforce the connection from underneath. This is where people usually reach for a power drill and a bag of cheap screws, but I'd advise against it if you can help it. Instead, try using long, slim timber dowels. Drill your holes straight and true, then drive the dowels in with a bit of glue. It's a slower process, but it won't split the post like a metal screw might.
- 5. After the wedges or dowels are in, you'll need to tidy up the excess. If you've used wedges, you'll have bits of wood sticking out above the floor line. Take your sharpest chisel and pare them flush. Don't try to do it in one heavy go; take small, controlled shavings until the surface is level with the floor. It’s much easier to take a little more off than to try and fix a deep gouge.
- 6. Finally, once everything is tight and flush, you'll need to address the aesthetics. If there are visible seams, use a bit of matching wood filler, but don't go overboard. The goal is to make the repair disappear into the grain. Once it's dry, a light sand and a touch of wax or polish will make that newel post as solid as the day it was first installed.
Why Wood Glue and Dowel Repair Beats Brute Force
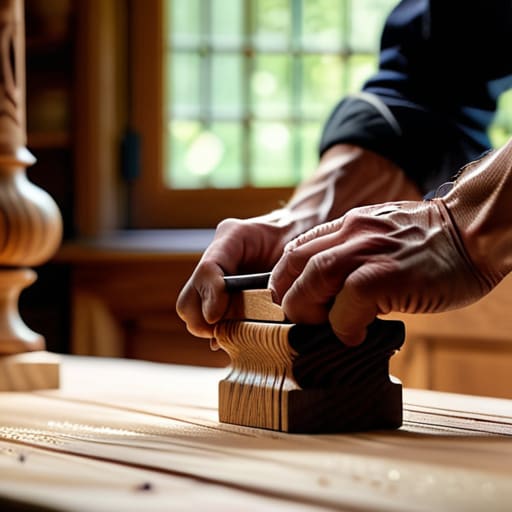
I’ve seen too many young lads walk onto a site and reach immediately for the heavy-duty drills or attempt to jam metal brackets into a joint just to stop the shaking. That’s not fixing a problem; it’s just masking it. When you rely on brute force, you end up splintering the surrounding timber or stripping out the original mortise. If you want to maintain the staircase structural integrity, you have to work with the grain, not against it.
A proper wood glue and dowel repair works because it creates a new, solid connection that actually becomes part of the wood itself. By drilling out the loose cavity and inserting a fresh hardwood dowel with a bit of quality PVA, you aren't just plugging a hole—you are restoring the original strength of the joint. It takes a bit more patience to set up the jig and ensure your alignment is true, but once that glue sets, that post won't budge. It’s much better to spend twenty minutes doing it right than spending the next ten years watching someone wobble every time they go up the stairs.
Securing Banister Posts Without the Heavy Machinery
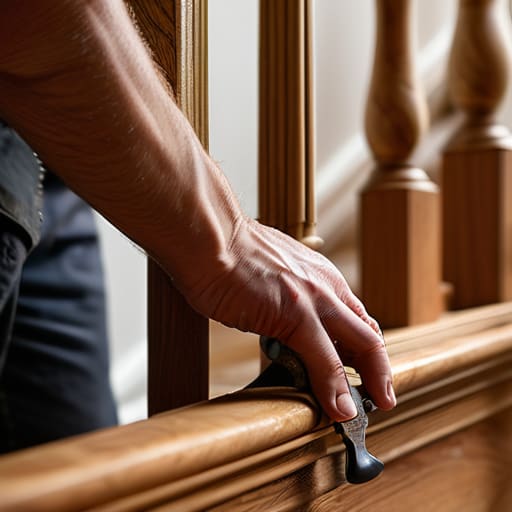
You don't need a workshop full of power tools to get a staircase back to where it ought to be. Most folks think a wobbly rail means the whole thing is coming down, but usually, it’s just a matter of addressing the connection point. Instead of reaching for a heavy-duty drill that’ll just chew up the surrounding timber, I prefer to take my time. When you're securing banister posts, the goal is precision, not force. If you try to brute-force a screw into old, dry wood, you'll only end up stripping the grain and making the wobble worse.
I’ve spent years teaching apprentices that patience is a tool in itself. Before you even touch a screw, do a quick staircase safety inspection on the rest of the run. If the floorboards are bouncing, no amount of new hardware will fix that post. But if it’s just the post itself, focus on the joinery. By using a bit of wood glue and a well-placed dowel, you’re actually rebuilding the strength of the wood rather than just jamming a metal fastener into a hole that's already too big.
A few things to remember before you start
- Check your chisel edge first. If you’re trying to clean out a mortise with a dull blade, you’ll end up bruising the timber instead of cutting it, and that’s a mess you can't unmake.
- Don't go buying fancy chemical resins. A decent, reliable wood glue is all you need; it's the way you seat the joint and use a proper clamp that does the heavy lifting, not the brand on the bottle.
- Mind the grain. When you're tapping in those dowels, make sure you aren't forcing them against the grain in a way that'll split the newel post down the middle later on.
- Stop rushing the cleanup. I see many young lads try to glue everything and then scramble to wipe the excess. Take your time, wipe it clean while it's wet, and let the bond set without a sticky mess ruining the finish.
- Test the movement before you commit. Give the post a firm shake once the glue is tacky but not set; if it still wobbles, you haven't gone deep enough with your repair and you'll be doing it all over again tomorrow.
A job well done
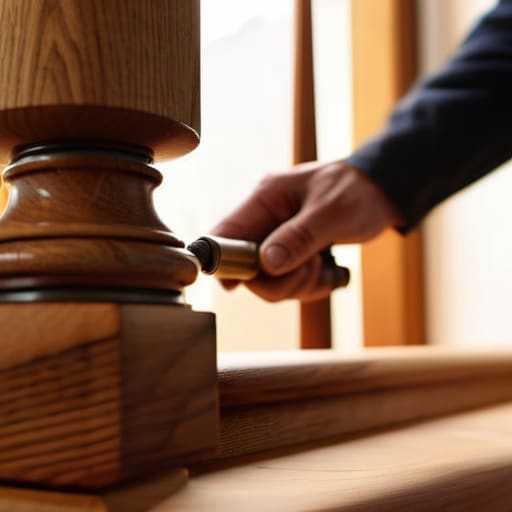
At the end of the day, fixing a wobbling newel post isn't about how much noise you can make with a power driver or how many heavy-duty screws you can cram into the floorboards. It’s about understanding how the timber wants to sit and using a bit of patience to get it there. By using a sharp chisel to clear out the old, crumbling debris and setting your dowels with a proper wood glue, you aren't just masking a problem; you are restoring the structural integrity of the staircase. You’ve avoided the brute force that usually ends up splitting the wood, and you've done it with tools that you actually understand.
I know there is a temptation to just reach for the biggest drill in the chest and call it a day, but there is a different kind of satisfaction that comes from a repair that lasts. When you take the time to do it properly, you aren't just fixing a house; you are honoring the craft. A staircase should feel solid underfoot, not like a puzzle waiting to fall apart. So, put the heavy machinery away, trust your hands, and remember that the most permanent fixes are often the quietest ones. If you do it right once, you won't have to do it again.