Designing a Jig for One Job
 Callum Reith-Sowande
I remember standing on a site in the nineties, watching a young lad struggle with a massive, expensive biscuit joiner just to line up a simple rebate. He was fighting the machine, sweating through his shirt, and still coming up short by a fraction of a millimetre. It struck me then that we’ve been sold a lie that more power equals more precision. The truth is, most of the time, you don't need a new gadget from a catalogue; you just need to learn how to make a simple jig out of the offcuts sitting in your scrap bin. A well-made guide made of seasoned timber will beat a plastic jig from a big-box store every single time.
In this guide, I’m going to show you how to stop fighting your materials and start guiding them. I won't be wasting your time with fancy-pants workshop setups or expensive hardware; instead, I'll walk you through the fundamentals of building a reliable, repeatable guide using nothing but basic hand tools and common sense. We’ll focus on stability, accuracy, and most importantly, making sure the jig stays true so your hand tools can do the heavy lifting.
Guide Overview
Tools & Supplies
- Measuring tape for accurate dimensions
- Drill for making pilot holes
- Saw for cutting base material
- Scrap plywood (1 piece)
- Wood screws (small pack)
- Clamps (2 pieces)
Step-by-Step Instructions
- 1. First, clear your bench and find yourself a decent piece of scrap hardwood—something stable like beech or even a bit of oak. I don't care for plywood for this; it's too flimsy and it won't hold a straight line when you're trying to guide a blade through it.
- 2. Take a straight edge, one you know is true, and mark out your guide line on the wood. Use a sharp pencil, not a thick carpenter's crayon, because if your line is messy, your entire jig is useless from the start.
- 3. Now, you're going to cut that piece of wood to size using a hand saw. Don't go rushing it with a circular saw; take your time to ensure the edges are square. If the edges aren't perfectly perpendicular to the face, you'll spend the rest of the afternoon fighting the tool instead of working with it.
- 4. Once you've got your basic shape, you need to plane the surface. I want that top surface so smooth you could eat your dinner off it. Use a well-tuned block plane to take off the high spots until the wood is dead flat. If you can feel a bump with your thumb, the jig isn't ready.
- 5. Next, you'll want to add some clamping points. I usually just screw two small wooden blocks onto the base to act as stops. This keeps your workpiece from sliding around while you're working. It's a simple fix, but it saves a world of frustration when you're halfway through a cut.
- 6. Finally, give the whole thing a light sand with a fine grit. You aren't trying to make it pretty for a museum; you just want to make sure there's no splintering that might catch your tool. A clean, smooth-running jig is the difference between a clean joint and a pile of sawdust.
Mastering Workshop Tool Fabrication With Precision
When you start getting into workshop tool fabrication, you’ll find that a jig is only as good as the material you build it from. I’ve seen too many lads grab some scrap MDF, slap a few screws in, and wonder why their joinery looks like it was done with a hatchet. If you want real results, you have to respect the jig design principles that keep things square. Don't just build for the task at hand; build for stability. A jig that wobbles under pressure is worse than no jig at all, because it gives you a false sense of security right before you ruin a good piece of oak.
I always tell my former students that the secret to improving machining precision isn't found in a fancy power tool, but in how you reference your work. Whether you're making custom woodworking fixtures or a basic guide for a saw, always aim for a solid, repeatable datum. If your jig doesn't have a clear, unmoving point of contact, you're just guessing. Take your time with the setup. It’s better to spend twenty minutes making a reliable aid than twenty minutes trying to fix a botched cut.
Custom Woodworking Fixtures That Outperform Machines
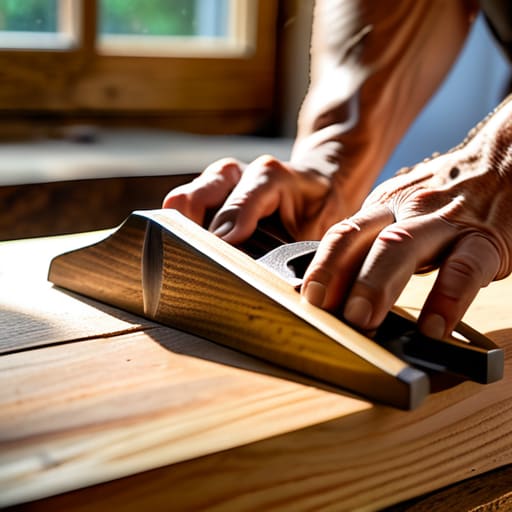
I’ve spent more years than I care to admit watching young lads reach for a power planer the moment a piece of timber looks slightly wonky. They think the machine is doing the work, but they’re just fighting the tool. When you start investing time in custom woodworking fixtures, you aren't just making life easier; you’re reclaiming control. A well-made guide or a steady fence allows you to use a hand plane or a chisel with a level of accuracy that a vibrating, loud-mouthed machine simply cannot match.
The secret lies in understanding basic jig design principles—specifically, how to create a repeatable reference point. Most people make the mistake of building something too complex. You don't need a motorized setup; you need a solid, flat surface that tells your tool exactly where to go. If your fixture is built with a bit of thought, it becomes an extension of your own hands. Once you stop fighting the equipment and start using these purpose-built aids, you'll find that your joinery becomes tighter and, more importantly, much more predictable.
Five Rules for Jigs That Actually Work
- Don't overcomplicate the design. If you can't explain how the jig works in two sentences, it’s too fiddly and you’ll end up fighting it rather than using it.
- Build for the tool, not the machine. A good jig should guide your hand or your chisel, not just act as a glorified clamp for a noisy power tool.
- Use scrap material to find the fit. I never commit to my good timber until I’ve tested the jig on some offcuts; there’s no point in making a mistake on a piece of oak.
- Make sure it’s easy to clean. If sawdust and shavings get trapped in the joints of your jig, your measurements will drift and you'll lose that precision you worked so hard for.
- Keep it repairable. I never build a jig out of something I can't fix. If a screw hole strips or a guide rail warps, you should be able to patch it up and get back to work.
Getting it Right in the Long Run
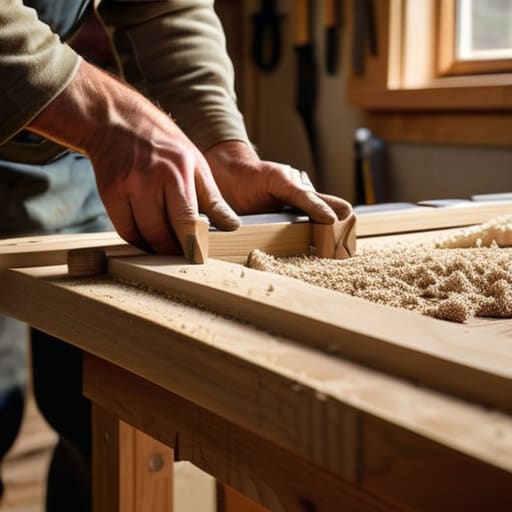
At the end of the day, making your own jigs isn't about being fancy or following some complicated blueprint you found in a magazine. It’s about taking control of your workspace. You’ve seen how a well-built guide can turn a frustrating, imprecise task into something that flows naturally. Whether you’re guiding a saw or steadying a chisel, the goal is the same: removing the guesswork so your hands can focus on the wood. Remember, a jig is only as good as the accuracy of its setup. If you rush the construction or use flimsy materials, you’ll spend more time fighting the fixture than you would have spent just doing the work the hard way. Take the time to build it square, use a scrap of decent timber, and ensure it stays reliable every time you reach for it.
I know the modern shop is full of gadgets designed to do the thinking for you, but there is a different kind of satisfaction in knowing exactly why a cut went true. When you rely on a jig you built yourself, you aren't just making a piece of furniture; you are honing your own competence. Don't be afraid to tinker, adjust, and refine your designs as you go. A workshop should be a living thing, constantly evolving to suit the man using the tools. Stop looking for the perfect machine to buy and start trusting your own hands to build the solution. Once you master the art of the simple jig, you'll realize you don't need a warehouse full of expensive equipment to produce work that lasts a lifetime.