A Toy Box With a Safe Lid
 Callum Reith-Sowande
Most people think you need a workshop full of screaming, vibrating power tools and a mountain of expensive jigs just to figure out how to build a toy box. They see those glossy DIY magazines and think they need a circular saw and a cordless router to get the job done before the weekend is out. But I’ve spent forty years on site and ten years in a classroom, and I’ve seen enough shoddy, rushed work to know better. You don't need a noisy mess of electricity to make something that lasts; you just need a bit of patience and a set of tools that actually hold an edge.
In this guide, I’m going to show you a proper way to approach the task without all the unnecessary hype. We’ll go through the honest, step-by-step process of how to build a toy box using methods that focus on strength and joinery rather than just slapping some screws into pine. I’ll teach you how to select your timber, how to keep your chisels sharp enough to shave with, and how to ensure that box is sturdy enough to survive a generation of grandchildren. No shortcuts, no plastic nonsense—just good, honest woodwork.
Guide Overview
Tools & Supplies
- Circular saw or hand saw for cutting wood panels
- Power drill for driving screws
- Sandpaper for smoothing edges
- Tape measure for accurate dimensions
- Level to ensure a flat base
- 3/4 inch plywood (1 sheet, 4x8 ft)
- Wood screws (1 box, 1-1/4 inch)
- Wood glue (1 bottle)
- Wood stain or paint (1 quart)
- Safety hinges (1 pair)
Step-by-Step Instructions
- 1. Start with your timber. Don't go buying some flimsy, particle-board rubbish that'll fall apart the first time a child climbs on it. Get yourself some decent, solid pine or oak. Once you've got your boards, lay them out on your workbench to plan your cuts. I always say, measure twice and cut once, but I'd go a step further: measure three times if you're using a hand saw. You want to mark your lines clearly with a sharp marking knife rather than a dull pencil; a knife line gives the saw a little groove to sit in, which keeps your cut dead straight.
- 2. Now, it's time for the sawing. If you're reaching for that jittery jigsaw, put it back. Grab a well-balanced tenon saw. If the teeth aren't clean and the blade isn't straight, you're just making more work for yourself later. Take your time with the long cuts for the sides and the base. A steady, rhythmic stroke is better than forcing it. You'll find that a sharp blade does most of the work for you, leaving you to just guide it along the line.
- 3. Once you've got your pieces cut, you need to join them. I’m not a fan of those cheap, silver screws that strip the wood and look terrible. We're going to use simple mortise and tenon joints if you've got the patience, or at the very least, some well-cut rabbets. Use your chisel to clean out any waste. If your chisel is dull, you'll end up crushing the wood fibres instead of slicing them, and that’s a waste of good timber. Keep that edge keen, and the wood will peel away like butter.
- 4. After the joints are fitted, it’s time to fix the box together. I prefer using a bit of traditional wood glue and some hand-cut dowels to hide the fixings. If you must use screws, countersink them properly so they sit flush. Don't just hammer them in and hope for the best. A properly fitted joint is what gives a piece of furniture its soul and its strength. Once it's clamped up, leave it be. Don't go poking at it; let the glue do its job.
- 5. Now, we address the lid. A heavy lid is a hazard, so we’ll keep it light but sturdy. I like to use a simple butt joint for the lid, but make sure the edges are sanded smooth so there are no splinters. While you're at it, fit some small, brass hinges. Don't use those big, clunky modern ones; find something that looks like it belongs on a piece of real furniture. Precision matters here, especially when you're marking out the hinge positions.
- 6. The final stretch is the sanding and finishing. This is where most people get lazy, but it's the most important part. Start with a medium grit and work your way up to a fine finish. If you skip steps, you'll just be sanding the same scratch for an hour. Once the wood feels like silk, apply a simple oil or wax. Avoid those thick, plastic-looking varnishes. A bit of linseed oil will bring out the grain and let the wood breathe, making it look better every year it's used.
Selecting Wooden Toy Chest Plans for Steady Hands
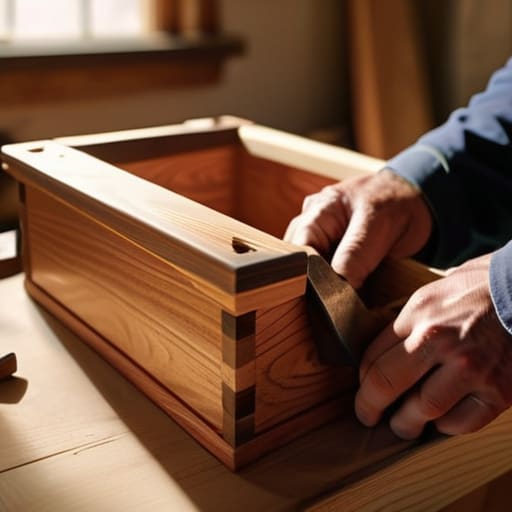
When you’re looking through various wooden toy chest plans online, don't just go for the one that looks prettiest in a glossy photograph. Most of those designs are made for people who want to rush through a weekend project, often overlooking the structural integrity required for something a child will be climbing on. I always tell my former students to look for joinery that makes sense—mortise and tenon is my preference over anything involving a pile of cheap screws. You want a design that respects the grain of the wood, ensuring the box won't warp or split after six months of heavy use in a playroom.
Beyond the skeleton of the piece, you have to think about the finer details of child safe furniture construction. A plan is useless if it doesn't account for the safety of the little ones using it. I look for designs that specifically allow for the installation of soft close lid hinges to prevent pinched fingers, and those that provide enough surface area for a proper, smooth sanding. If the plan doesn't mention how to finish the edges or protect the wood, it's probably not worth your time or your good timber.
Mastering Child Safe Furniture Construction With Hand Tools
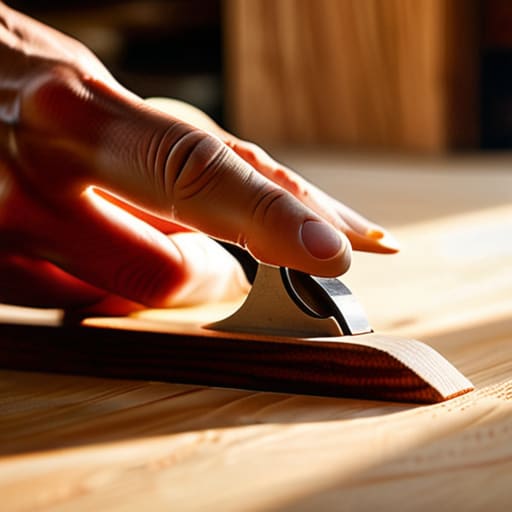
When you're working on something meant for little ones, you can't just rely on brute force. Most of the modern stuff you see in shops is held together by glue and prayer, but if you're following proper child safe furniture construction methods, you're looking at joinery that actually lasts. I always tell my students that a hand plane is your best friend here. A power sander can leave swirl marks if you aren't careful, but a well-tuned plane leaves a surface so smooth you won't need to go overboard with the grit. You want a sanded wood finish for kids that feels like silk, not something that's going to give them a splinter while they're playing.
Safety isn't just about the edges, either. I've seen too many people skip the hardware, but if you're building a lid, you must use soft close lid hinges. There is no point in building a beautiful chest if a heavy lid is going to slam on a small finger. I prefer to take my time with the fit; a slow, deliberate approach ensures everything operates smoothly without any mechanical surprises.
Five things I’ve learned from forty years of avoiding the easy way out
- Don't trust a cheap hinge. If you're building this for a child, those flimsy metal bits you find in a bargain bin will snap or pinch fingers within a month. Spend the extra few quid on solid brass or heavy-duty steel; it’s better to fit it right once than to be replacing it next Tuesday.
- Watch your grain direction when you're cutting the panels. I see too many young lads fighting the wood with a saw, forcing it through where the grain is fighting back. If you listen to the tool, it'll tell you when you're heading into a knot or a change in direction. Work with the wood, not against it.
- Sanding is a lazy man's way of hiding bad joinery. If your joints aren't tight and square because you rushed the assembly, no amount of fine-grit paper is going to save the look of that box. Get your chisels sharp and your mallet ready—do the work in the join, not on the surface.
- Mind the edges. A toy box isn't a piece of decorative mantle work; it's going to be kicked, bumped, and dragged across a floor. Take a bevel to every single edge with a block plane or a file. If it's sharp enough to cut your thumb, it's too sharp for a playroom.
- Use real glue, not the stuff that smells like chemicals and sets in ten seconds. You want a bond that becomes part of the timber. A slow-setting PVA gives you the time to actually square up your clamps and ensure the box isn't going to rack and wobble the first time a kid climbs on it.
The Final Cut
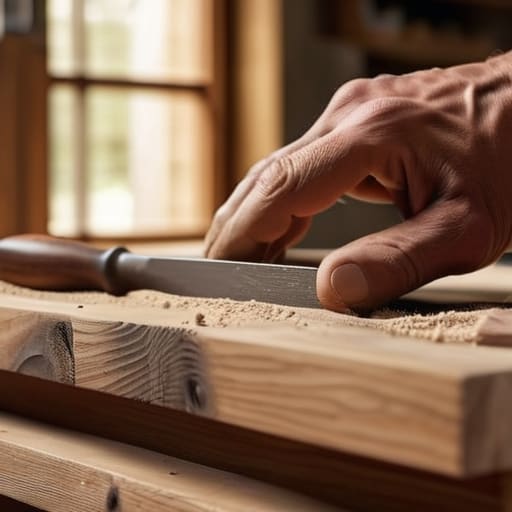
At the end of the day, building this toy box isn't about how many fancy cordless tools you can pile on your workbench. It’s about the patience you put into selecting the right timber, the precision of your joinery, and making sure every edge is sanded smooth enough for a child's hand. We’ve covered how to pick a plan that suits your steady hand and how to keep those edges safe, but the real work is in the discipline of the craft. If you’ve taken the time to sharpen your chisels and work through the joints slowly, you won't find yourself fighting the wood; you'll be working with it.
When you finally stand back and look at the finished piece, don't just see a box for clutter. See the hours of quiet work and the strength of a structure built to last generations. A machine might get a job done faster, but it can’t imbue a piece of furniture with the same soul as something made by hand. My advice is simple: don't rush the finish. Take pride in the fact that you built something solid and honest using nothing but your own skill and a few well-maintained blades. That is how you leave a mark that actually lasts.