Setting Up a Spokeshave That Actually Cuts
 Callum Reith-Sowande
I remember a lad in my college workshop back in the nineties, sweating over a curved chair leg with a power sander, trying to force a shape that just wasn't coming. He was fighting the wood, making a mess of the grain and filling the air with useless dust. I walked over, handed him a well-tuned spokeshave, and told him to stop fighting and start listening. That’s the thing about learning how to choose and use a spokeshave; most people think it’s a specialist tool for fancy curves, but the truth is, if you know what you're doing, it's the fastest way to get a clean, honest finish without the noise.
In this guide, I’m going to skip the fancy marketing nonsense and tell you exactly what to look for when you're picking one out. We’ll talk about blade steel, body weight, and why you should never settle for a tool that can't be properly sharpened. I’ll show you how to set the iron so it sings through the timber rather than tearing it, giving you the confidence to tackle any curved work that comes your way.
Guide Overview
Tools & Supplies
- Spokeshave (The primary shaping tool)
- Sharpening Stones (To maintain a razor edge)
- Wood stock (1-2 pieces of shaped or curved wood)
- Sandpaper (Various grits for finishing)
Step-by-Step Instructions
- 1. Before you even touch the wood, you need to pick the right tool for the job. Don't just grab the first one in the drawer. If you're working on a curved chair leg, you want a tool with a narrower sole so you can get into those tight radii. If you're smoothing out a long, gentle sweep on a banister, a wider blade will give you a much more consistent finish. I always tell my students to look at the shape of the wood before they look at the tool.
- 2. Once you've got the right one, check the blade. I don't care how much it cost; if it isn't shaving hair off your arm, it's nothing more than a paperweight. Take it to the stones and get that edge scary sharp. You'll know you're ready when the tool feels like it's sliding through the grain rather than fighting it. A blunt spokeshave is just a way to make yourself tired and frustrated with the timber.
- 3. Set your depth of cut. This is where most people go wrong by trying to take too much at once. Turn the adjustment screw until the blade is barely peeking out from the sole. You want to aim for whisper-thin shavings. If you try to hog off half an inch of wood in one go, you'll end up with chatter marks that'll take you an hour to sand out later.
- 4. Get your stance right. You shouldn't be hunching over like you're looking for a lost coin. Stand with your feet shoulder-width apart and move your whole body with the tool. It’s not about wrist strength; it's about a steady, rhythmic push. If you rely on your wrists, you'll lose control, and that's when the tool skips and gouges the surface.
- 5. Follow the grain, always. This is the golden rule. If the tool starts to feel heavy or you hear a tearing sound, stop immediately. You've likely hit a knot or you're going against the grain. Turn the piece around or change your direction. Working against the grain is a waste of good wood and a quick way to ruin a perfectly good edge.
- 6. Keep the sole clean. As you work, sawdust and resin will build up under the tool. If that sole isn't flat and clean, it'll start to lift and leave uneven marks. I keep a bit of beeswax handy to rub on the bottom of mine. It helps the tool glide, and a tool that glides is a tool that works with you, not against you.
The Real Choice Spokeshave vs Drawknife for Curves
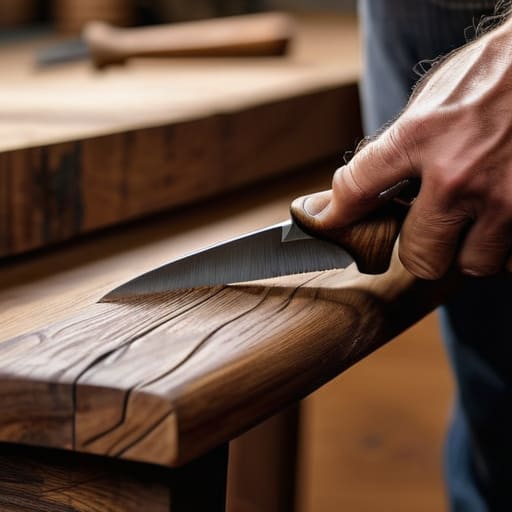
Now, I get asked a lot about the difference between a spokeshave and a drawknife when it comes to shaping wooden chair legs or other rounded work. It’s a fair question, but the answer depends entirely on how much control you want. A drawknife is a brute; it’s great for taking off big, heavy chunks of waste when you’re first starting a shape. But if you’re looking for precision, the drawknife will leave you fighting the wood. A spokeshave, on the other hand, lets you hug the curve. Because you’re holding the body of the tool, you can feel exactly where the iron is biting.
If you’re working on tight, complex radii, the spokeshave is your best friend. It allows for much finer contouring wood surfaces without the risk of gouging too deep. My advice? Use the drawknife to get close to your line, then put it down. Switch to a spokeshave for the final shaping. Just remember that a spokeshave is only as good as its edge; if you aren't sharpening your spokeshave irons regularly, you'll find yourself pushing harder rather than letting the tool do the work.
Mastering the Edge Sharpening Spokeshave Irons for Perfection
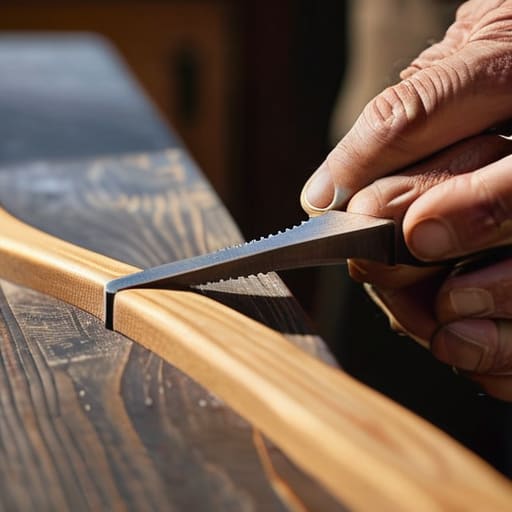
You can have the finest tool in the world, but if that iron is dull, you’re just bruising the timber. When I’m shaping wooden chair legs, I don't settle for a "good enough" edge. You need to treat your spokeshave iron with the same respect you'd give a fine kitchen knife. Start by flattening the back on a high-quality stone; if that back isn't dead flat, you'll be chasing your tail forever trying to get a clean cut. I always work my way up through the grits, and I don't care how much time it takes. A truly keen edge is what allows you to glide through the grain rather than fighting it.
Once you've got the edge right, the next hurdle is adjusting spokeshave blade depth. It’s a fine balance. If you set it too deep, the tool will chatter and tear the fibers, leaving you with a mess that needs sanding. I prefer taking shaving after shaving, barely more than a whisper of wood at a time. It’s about control and feel, not speed. If you find yourself forcing the tool, stop. Go back to the stone. A sharp tool should do the work for you.
Five Ways to Stop Fighting the Wood
- Check the sole before you buy. If you're picking up a second-hand one from a car boot sale, run your finger along the bottom. If it's pitted or bowed, you'll spend more time flattening the tool than actually shaping the timber.
- Mind the blade width. A wide spokeshave is fine for a flat banister, but if you're trying to work a tight radius on a chair leg, a wide blade will just bounce off the curves and leave you frustrated. Go narrow for curves, go wide for flats.
- Don't trust the factory edge. Most spokeshaves come off the shelf with an edge that's about as sharp as a spoon. Take it straight to the stones before you even think about touching wood; if it doesn't shave the hair on your arm, it's not ready for the workshop.
- Work with the grain, always. If the tool starts to chatter or tear the fibres, you're going against the grain. Stop, turn the piece around, and work the other way. Forcing it is a quick way to ruin a good piece of oak.
- Set the depth shallow. I see too many lads try to take a massive chunk out in one pass. It’s a spokeshave, not a plough plane. Take thin, controlled shavings. It’s slower to do it right, but you won't spend an hour sanding out the mistakes later.
A Final Word on the Work
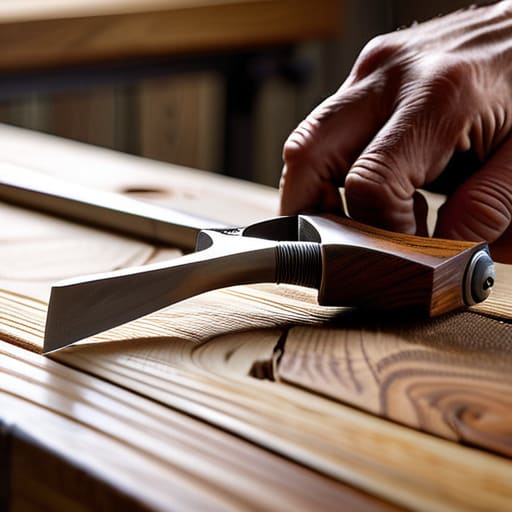
At the end of the day, choosing a spokeshave isn't about finding the most expensive piece of kit in the catalogue; it’s about finding the one that fits your hand and respects the grain. You’ve learned that whether you’re opting for a standard profile or something more specialized, the secret isn't in the brand name, but in the edge of the iron. If you take the time to set the depth correctly and keep that blade keen enough to shave with, you’ll find the tool does most of the heavy lifting for you. Don't let a dull blade or a poorly adjusted sole turn a simple curve into a battle of wills.
I know there’s a temptation to reach for the electric sander when the job gets tough, but I’m telling you, there is no substitute for the feeling of a sharp blade slicing through timber. When you use a spokeshave properly, you aren't just shaping wood; you are listening to it. You feel the resistance change, you see the curls fall, and you gain a sense of control that no power tool can ever replicate. Put down the noisy machinery, pick up a well-maintained spokeshave, and start actually working the wood instead of just fighting it.