A Compost Bin With a Front That Comes Off
 Callum Reith-Sowande
You don't need a plastic kit from a garden centre or a degree in soil science to figure out how to build a compost bin. I spent forty years on site seeing people buy expensive, flimsy equipment that’s designed to crack the moment the frost hits, and frankly, it's a waste of good money. Most of those pre-made bins are nothing more than expensive rubbish that lacks the airflow a proper pile needs to actually work. If you want something that lasts, you build it from honest materials that you can maintain yourself.
In this guide, I’m going to show you the straightforward way to get it done using basic timber and a few simple tools. I’m not going to bore you with fancy gadgets or complicated chemistry; we’re just going to focus on a design that is sturdy, breathable, and easy to repair if a board ever goes soft. By the time we're done, you'll have a functional bin that does the job without any of the unnecessary nonsense.
Guide Overview
Tools & Supplies
- Drill with bits for making ventilation holes
- Saw for cutting wood or plastic if necessary
- Measuring tape for precise dimensions
- 4 Wood pallets (recycled or new)
- Heavy-duty zip ties or wire for securing corners
- Hardware cloth or wire mesh for the base
Step-by-Step Instructions
- 1. First, you need to pick your timber. Now, I know the shops will try to sell you treated pressure-treated stuff that's full of chemicals, but for a compost bin, I’d rather use untreated larch or cedar if you can find it. It holds up against the rot naturally without poisoning the very soil you're trying to build. If you can't find that, just use any scrap wood you've got lying around the workshop; it doesn't need to be pretty, it just needs to do the job.
- 2. Get your measurements sorted before you touch the saw. You aren't building a fine mahogany sideboard here, so don't go wasting time with a precision rule, but you do need a sturdy frame. I usually aim for about three feet square. If you make it too small, you'll be fighting to turn the pile, and if it's too big, you'll never get the heat in the middle where the real work happens.
- 3. Cut your uprights and slats. I like to use a hand saw for this—a decent tenon saw will give you a clean, square edge that a cheap circular saw just can't match. Once you've got your lengths, make sure your slats aren't fitted too tightly together. A compost bin needs to breathe, or you'll end up with a stinking, anaerobic mess. Leave a gap of about half an inch between each board to let the air circulate.
- 4. Assemble the frame using heavy-duty screws or galvanized nails. I prefer screws because if a piece of wood warps or rots in three years' time, I can unscrew it and replace it without smashing the whole structure to bits. Avoid using glue; it’s a waste of time on outdoor work, and it'll just fail the moment the weather turns damp.
- 5. Build in a way that lets you get to the bottom. This is where most people mess up. They build a solid box and then realize they can't reach the old stuff at the base without a shovel and a lot of swearing. I always design mine with a removable front slat or a gate. It makes turning the pile much easier on your back, and you'll find yourself doing it more often if it isn't a chore.
- 6. Set the whole thing on bare earth. Don't go putting it on concrete or a paving slab. The worms and the good bacteria need a clear pathway into the bin from the soil below. If you box it in with stone, you're essentially cutting off the lifeblood of your compost.
- 7. Finally, get your layers started properly. Don't just throw kitchen scraps in there and hope for the best. Start with a layer of coarse twigs or straw at the bottom to ensure air can move up through the base. It's just like managing a fire; you need the airflow from underneath to keep the whole process moving steadily.
Choosing the Right Composting Materials and Tools
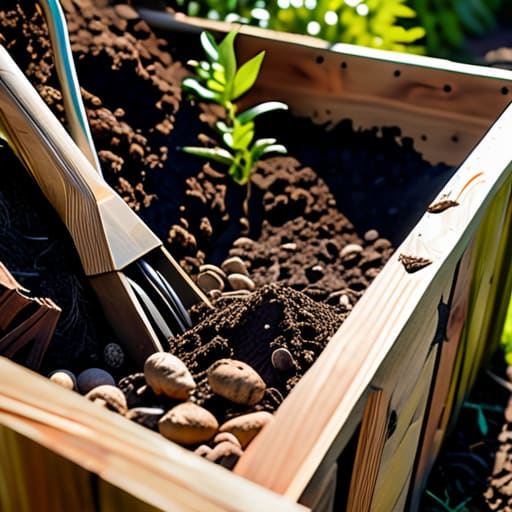
Now, don't go thinking you need a shed full of expensive plastic contraptions to get this right. When I was teaching the apprentices, I always told them that the best tool is the one that actually works, not the one with the most bells and whistles. For a proper DIY backyard composting setup, you really only need a sturdy pitchfork and a bit of patience. If you're building your own structure, stick to a simple wooden compost bin design using untreated timber. Anything treated with heavy chemicals is just going to leach nasties into your soil, and I won't have that in my garden.
As for what goes inside, it’s all about the balance. You need your "greens"—the kitchen scraps and fresh clippings—mixed well with your "browns," like shredded cardboard or dry leaves. If you get the ratio wrong, you'll end up with a stinking mess instead of rich soil. The secret to keeping it moving is proper aeration for compost piles. Don't let it sit there like a dead log; give it a turn with your fork every week or so. It’s about managing the airflow, not just piling up rubbish.
A Lean Wooden Compost Bin Design That Actually Works
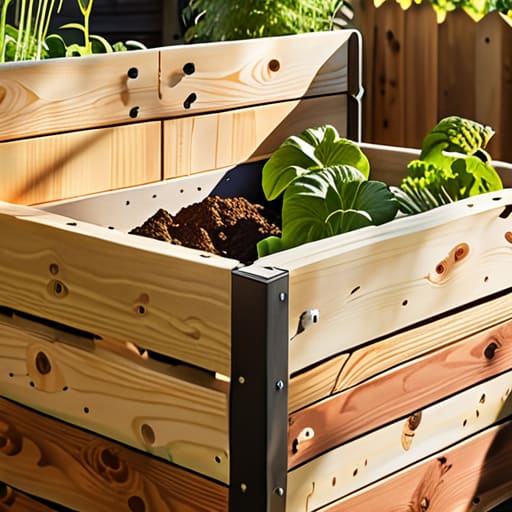
When you're putting this together, don't get caught up in trying to build something that looks like it belongs in a showroom. I’ve seen plenty of folks waste a weekend on fancy joinery for a bin that just ends up rotting in the mud. Keep your wooden compost bin design simple. Use thick, untreated timber—something like larch or cedar if you can find it—and skip the screws if you can manage a few well-placed wooden pegs instead. You want a structure that’s sturdy enough to hold the weight of the heap, but not so airtight that you choke the life out of it.
The real secret isn't in the aesthetics; it's in the airflow. If you build it too tight, you'll end up with a stinking, anaerobic mess rather than decent soil. I always leave a bit of a gap between the slats to ensure proper aeration for compost piles. You need that oxygen to move through the center, or the whole process stalls. It’s a bit like a workshop—if the air doesn't move, things get stale. Just build it functional, build it breathable, and don't overthink the joinery.
Five Things Most People Get Wrong About Their Compost Bin
- Don't go buying expensive, pre-fabricated plastic bins from the garden centre. They’re made of thin rubbish that’ll crack in two seasons. Build it yourself from decent timber; if you can't fix it with a bit of wood glue and a couple of screws, it isn't worth having in your garden.
- Air is your best friend here. I've seen people pack their bins so tight you couldn't slide a blade between the scraps. If it doesn't breathe, it stinks. Leave gaps between your slats—about a finger's width is plenty—to let the air move through.
- Keep your tools simple. You don't need a power sander to make a compost bin look decent. A sharp chisel and a decent hand saw are all you need to get the joints right. If you use a blunt saw, you'll just end up fighting the wood, and that's a waste of a perfectly good afternoon.
- Watch your moisture levels. You want it damp, like a wrung-out sponge, not a swamp. If it’s too wet, it’ll turn into a stinking mess that no amount of turning will fix. If it’s too dry, the whole process just stops dead.
- Size matters, but don't overthink it. A bin that's too small won't hold enough heat to do the job, and one that's too big is a nightmare to turn. Aim for something you can actually manage with a pitchfork without breaking your back.
Don't Let It Sit Idle
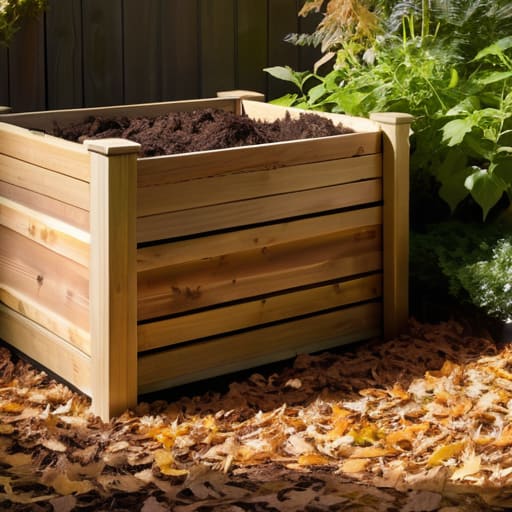
At the end of the day, building the bin is only half the battle. You’ve got your timber slotted together, you’ve chosen your greens and browns, and you’ve made sure there’s enough air moving through those slats to keep the process from going sour. It isn't about buying some expensive, plastic, rotating drum from a garden centre that’ll crack in three years' time; it’s about building something meant to last. Keep your tools sharp, keep the balance of your materials right, and most importantly, don't overthink the mechanics. Nature does the heavy lifting; you're just providing the stage.
I spent forty years on site watching men rush through jobs only to have to fix them a month later. Gardening is no different. It’s a slow process, and that’s exactly how it should be. There is a quiet sort of satisfaction in watching a pile of kitchen scraps and garden clippings turn into something rich and dark that actually feeds the soil. It’s honest work. Once you get that bin running, you’ll realize that the most efficient systems aren't the ones with the most moving parts, but the ones built with a bit of common sense and a steady hand. Get it built, get it started, and let it do its job.