A Tool Chest You Can Carry
 Callum Reith-Sowande
I spent thirty years on site and another ten in the classroom, and if there is one thing I’ve learned, it’s that a cluttered workbench is a sign of a cluttered mind. Most people think learning how to build a tool chest is just about following a set of blueprints to make a box with drawers. They’re wrong. If you build a flimsy, mass-produced piece of rubbish that rattles every time you pull a chisel out, you haven't built a tool chest; you've just built more clutter. I remember my first apprentice, a lad who thought he could save time by tossing his planes into a plastic bin—he spent more time cleaning grit off his blades than actually cutting timber.
In this guide, I’m going to show you how to build something that actually deserves your kit. I won't be wasting your time with fancy, unnecessary joinery that serves no purpose other than to look pretty in a magazine. Instead, we’ll focus on solid, functional construction that keeps your edges protected and your tools exactly where you left them. I’ll walk you through choosing the right timber, sizing your drawers so they don't stick when the seasons change, and ensuring this chest becomes a permanent fixture in your workshop.
Guide Overview
Tools & Supplies
- Circular Saw for cutting large panels
- Drill/Driver for assembly and hardware
- Kreg Jig for pocket hole joinery
- Tape Measure for precise dimensions
- Orbital Sander for smoothing surfaces
- 3/4" Plywood (2 sheets)
- 1/4" Plywood (1 sheet for backing)
- Wood Glue (1 bottle)
- Pocket Hole Screws (1 box)
- Heavy Duty Drawer Slides (set of 4-6)
- Drawer Pulls/Handles (set of 4-6)
Step-by-Step Instructions
- 1. First thing you need to do is sit down with a piece of scrap and a pencil to plan your layout. Don't just start hacking away at expensive timber because you had a vague idea in your head. You need to know exactly how deep your chisels are and how many planes you actually own. If you don't account for the actual footprint of your tools, you'll end up with a chest that's either a cavernous waste of space or so cramped you can't get a hand in to grab a mallet.
- 2. Once you've got your measurements, get to work on the carcass using solid joinery. I don't care what the modern hardware stores tell you about pocket screws or glue-and-nail combos; if you want this chest to hold the weight of your ironwork for the next thirty years, you should be looking at mortise and tenon joints. It takes longer to cut them out, but a joint that's fitted tight won't wander when the seasons change and the wood starts to move.
- 3. Now, you've got to sort out your internal dividers, and this is where most people waste their time. Don't just slap some plywood bits in there to make cubby holes. You want to create specific, dedicated slots for your most used tools. I always suggest making the dividers adjustable or removable. If you buy a new set of firmer chisels next year, you don't want to have to build a whole new chest just because your old dividers are a quarter-inch too narrow.
- 4. When you're fitting the bottom of the chest, make sure you're using a floating panel. Wood is a living thing, and it’s going to expand and contract in your workshop. If you glue that bottom panel tight into the grooves of the sides, the whole thing will eventually split itself apart. Give the wood some room to breathe, and the chest will stay square long after you've retired.
- 5. For the lid, don't skimp on the hardware. A heavy lid that doesn't sit flush is nothing more than a nuisance. I prefer using sturdy brass hinges that are screwed in deep enough to stay seated. If the lid is wonky, dust gets in, and dust is the enemy of a clean edge. A well-fitted lid should close with a solid, satisfying thud that tells you the contents are protected.
- 6. Finally, give the whole thing a proper finish, but keep it practical. I'm not talking about fancy French polish that'll peel off the first time you set a greasy tool down. Use a hard-wearing oil or wax that you can easily touch up. You want a surface that feels good to the touch and protects the timber, but you also want to be able to fix any scuffs without having to sand the entire chest back to bare wood.
Custom Tool Chest Design for the Sharpest Minds
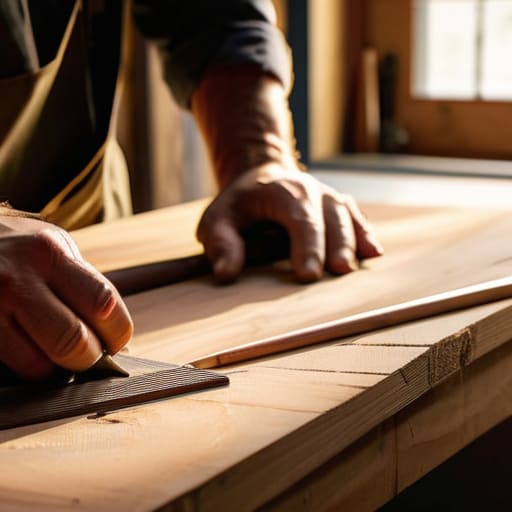
When you're looking at various woodworking tool chest plans online, don't just pick the one that looks prettiest in a photograph. You need to think about the weight of what you're actually putting inside. I've seen too many lads build a beautiful chest only to find it sags under the weight of a full set of bevel-edge chisels and heavy mallets. If you want something that lasts, you have to plan for the load. I always tell my students that custom tool chest design starts with your heaviest tool, not your smallest.
You also need to consider how you'll actually use the thing once it's finished. If you're working in a cramped space, you might lean toward mobile tool storage solutions with decent casters, but don't skimp on the hardware. If you're going with drawers, invest in heavy duty drawer slides. There is nothing more frustrating than a drawer that sticks halfway through a job because the runners can't handle the weight of the steel. A tool chest should serve you, not be another piece of equipment you have to fight with.
Plywood Tool Chest Dimensions That Actually Work
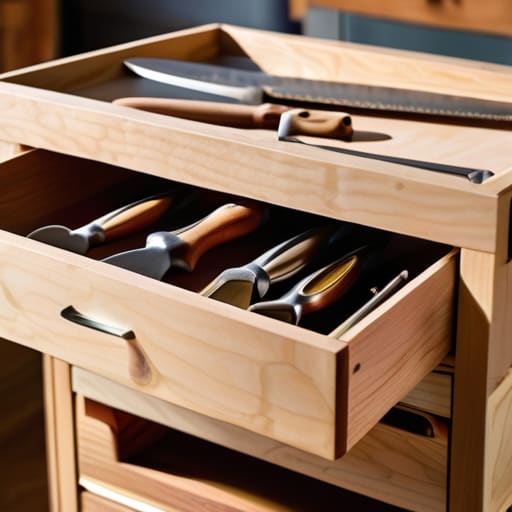
Now, don't go getting carried away with a massive cabinet just because you've got the space. I’ve seen too many lads build a chest that’s more cupboard than tool box, and before they know it, they're digging through a mountain of timber just to find a single paring chisel. When you're looking at plywood tool chest dimensions, you need to think about reach and weight. If the chest is too deep, you’ll end up burying your best edges under a pile of scrap. Keep your most used hand planes and chisels in the top drawers where you can see them clearly.
You also need to account for the hardware. If you're planning on using heavy duty drawer slides to handle the weight of cast iron tools, you have to subtract that clearance from your internal measurements before you start cutting. I always leave a little extra breathing room in my plans. A tight fit is a recipe for a stuck drawer, and a stuck drawer is just a waste of a good afternoon. Measure twice, cut once, and always leave room for the tools to actually move.
Five Rules to Stop You from Building a Box of Junk
- Don't skimp on the bottom panel. If you use a thin bit of ply that bows under the weight of your planes and mallets, your drawers will bind every time you try to open them. Use something substantial that won't move.
- Build for the tool, not the space. I've seen lads build massive chests only to find their best chisels don't fit because they didn't account for the handles. Measure your longest tool twice before you cut a single piece of timber.
- Stop thinking about aesthetics and start thinking about access. A tool chest isn't a display piece for a showroom; it's a workspace. If you have to move three things just to get to the tool you actually need, you've built a failure.
- Use joinery that lasts longer than you do. I don't care if you're in a rush; a simple butt joint with some cheap screws will shake itself apart in five years. Use rabbets or even simple dovetails if you can. If the chest can't hold its own shape, it won't hold your tools.
- Leave room for the "sharpening station." You can't keep a sharp edge if you're working in a cluttered mess. Make sure there's enough flat, stable space near the chest where you can set down your stones without knocking over a jar of shavings.
A Chest Built to Last
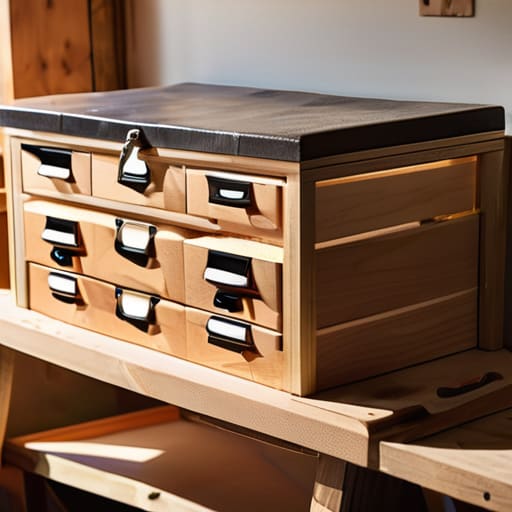
At the end of the day, building this chest isn't just about having a place to dump your kit. You’ve looked at the dimensions, you’ve planned for the plywood, and you’ve thought about how you actually move through your workshop. If you’ve followed what I’ve said, you haven't just built a box; you’ve built a system that respects your workflow. A well-organized chest means you aren't fumbling through a mess of sawdust and scrap when you need that specific paring chisel. Remember, the goal is to ensure that every time you reach for a tool, it is exactly where it belongs, ready to be put to work without a second thought.
I’ve spent forty years on site and another ten in the classroom, and if there is one thing I’ve learned, it’s that your tools are an extension of your own hands. If you treat them with respect by giving them a proper home, they’ll reward you with precision that no cheap power tool can match. Don't rush the assembly and don't cut corners on the joinery. Build it sturdy, build it right, and build it so that your grandchildren might one day use it to house their own. A sharp tool deserves a sharp mind, and a sharp mind deserves a workshop that works as hard as he does.