Saw Horses You Can Stand on
 Callum Reith-Sowande
Most people think you need a workshop full of expensive, battery-operated jigs to get a stable work surface, but they couldn't be more wrong. I’ve spent forty years on site, and I’ve seen more men trip over flimsy, store-bought stands than I care to count. If you want to learn how to build a saw horse that actually stays put when you're putting weight on it, you don't need a cordless drill or a fancy assembly kit; you just need proper timber and a bit of common sense. I remember my first apprenticeship, trying to plane a long board on a rickety trestle that wobbled every time my blade bit into the grain. It was a waste of time and a danger to my fingers.
In this guide, I’m going to show you how to construct a pair of heavy-duty horses that will outlast any plastic version you'll find in a big-box store. We aren't going to mess about with complicated joinery or unnecessary nonsense; we're sticking to tried-and-tested methods that ensure stability and longevity. I'll walk you through selecting the right wood, making the cuts, and assembling a frame that won't rack or wobble under pressure. By the end, you'll have a workbench foundation that's as reliable as a well-honed chisel.
Guide Overview
Tools & Supplies
- Measuring tape for accurate cuts
- Handsaw or Miter saw for cutting lumber
- Drill/Driver for assembling joints
- Pencil for marking measurements
- 2x4 lumber (approx. 16 feet)
- 2.5-inch wood screws (1 box)
- Wood glue (optional for stability)
Step-by-Step Instructions
- 1. First, you need to select your timber. Don't go grabbing any old, splintered scrap you find lying about; you want something with a bit of substance to it. I usually go for straight, dry softwood like pine or spruce. Get yourself four sturdy legs—roughly 38mm by 89mm—and two long pieces for the top rails. Make sure your measurements are dead on before you even think about picking up a saw, because if your timber is bowed or twisted, your sawhorse will be a wobbly mess from the start.
- 2. Once you've got your wood, it's time to get to the cutting. I know, the electric circular saw is tempting because it's quick, but if you want a joint that actually holds, use a sharp handsaw. Cut your four legs to your desired height—usually around 750mm to 800mm—and cut your top rails to about 1.2 metres. Take your time with the saw; a steady stroke is always better than a rushed, jagged cut that you'll have to sand out later.
- 3. Now, we need to tackle the angles on those legs. This is where most people's work falls apart. You’ll want to cut the top and bottom of each leg at a slight angle—usually about 15 degrees—so they sit flush against the rails and the floor. I find it best to mark this out with a sharp pencil and a square, then use a block plane to fine-tune the fit. If the leg doesn't sit flat, the whole structure will rock every time you put a workpiece on it.
- 4. Next, we'll assemble the side frames. Lay two legs on your workbench and position one of the top rails between them. I prefer using heavy-duty wood screws, but don't just drive them straight in like a brute. Always pre-drill your holes first. If you don't, you'll split the grain, and once that wood is split, there's no fixing it. Driving a screw into a split piece of timber is a waste of good wood and a waste of my time.
- 5. Once you've got one side frame built, use it as a template for the second side. This ensures they are identical, which is the only way to keep the top rails level. Clamp the first frame down while you work on the second. It’s a bit of a struggle if you’re working alone, but patience is a tool in itself. Once both sides are ready, bridge them together with your remaining top rails.
- 6. Now, give the whole thing a proper test. Put it on a flat surface and see if it wobbles. If it does, don't go reaching for a bucket of wood filler to hide the mistake; find out why it's uneven. You might need to plane down a high spot on a leg or adjust a joint. A sawhorse is a foundation for your work, and if the foundation is unsound, nothing you build on top of it will be worth a damn.
- 7. Finally, give it a quick once-over with some sandpaper to knock off any nasty splinters. I don't care much for fancy finishes—this isn't a coffee table—but I do want it to be smooth to the touch. You don't want a splinter catching your palm while you're trying to focus on a delicate cut. Once it's smooth and sturdy, it's ready to earn its keep in the workshop.
Choosing the Right Lumber for Sawhorse Construction
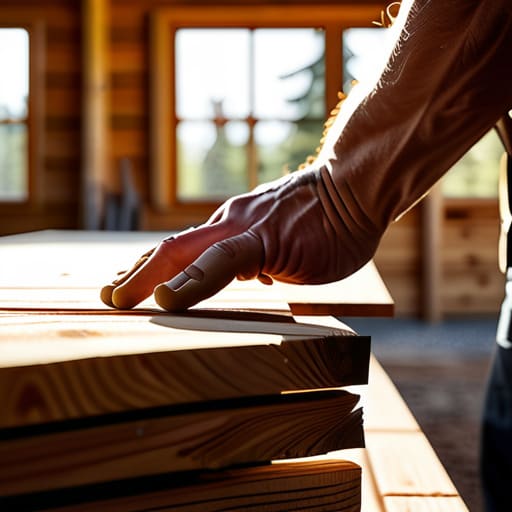
Now, don’t go wandering into the timber yard thinking any old scrap will do. If you’re following my approach for a heavy duty sawhorse design, you need wood that won't twist or bow the moment you put a workpiece on it. I usually stick to construction-grade softwood like pine or spruce. It’s forgiving, easy on your handsaws, and cheap enough that you won't weep if you make a mistake. Just make sure you're looking for straight grain; if the boards are already warped, your sawhorse will be a wobbly mess before you’ve even driven the first screw.
When selecting your lumber for sawhorse construction, keep an eye on the moisture content. You want seasoned timber, not that green, heavy stuff that’s still weeping water. If you use wet wood, it’ll shrink and crack as it dries in your workshop, and suddenly your sturdy trestle is leaning to one side. I’ve seen too many lads follow generic woodworking project plans only to find their supports are useless after a month because they didn't respect the natural movement of the wood. Get it right from the start, and it'll serve you for decades.
Heavy Duty Sawhorse Design for Real Work
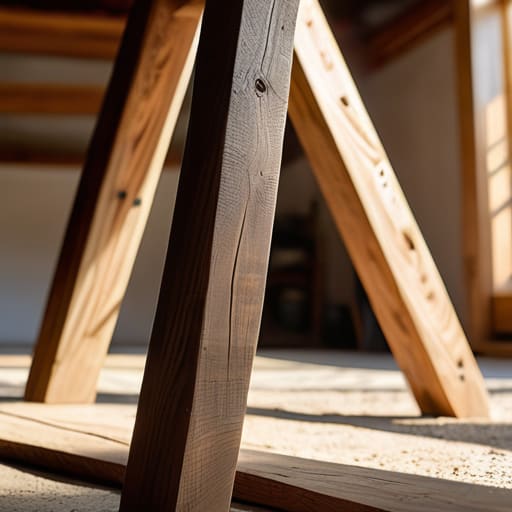
If you’re looking to move beyond a simple trestle for light crafts, you need to think about a heavy duty sawhorse design that can actually take a beating. In my forty years on site, I’ve seen plenty of flimsy setups buckle the moment a heavy length of oak is laid across them. For real work, you aren't just building a stand; you are building a foundation. This means doubling up your bracing and ensuring your joints are tight enough to resist any lateral movement. If it wobbles when you lean on it, it’s useless.
When I’m looking at sawhorse stability and weight capacity, I always look for a wide footprint. A narrow base might be easier to move around, but it’ll tip the moment you apply pressure to the end of a board. If you want something you can actually rely on for serious joinery, don't be afraid to add a bit of heft. It’s better to have a bit of extra weight keeping the thing planted firmly on the floor than to be chasing a sliding sawhorse halfway across the workshop mid-cut.
Five things I’ve learned from forty years on the bench
- Don't trust a cheap screw to do a joiner's job; if you're building these to last, use heavy-duty coach screws or through-bolts so the frame doesn't rack when you're putting weight on it.
- Check your legs for squareness before you even think about driving a nail; a sawhorse that wobbles isn't a workbench, it's a liability that'll ruin your accuracy.
- Keep the top rail flat and true, not just "close enough," because if that timber has a twist, every piece of wood you lay on it will follow that same error.
- Avoid using anything too light; a sawhorse needs mass to stay put, otherwise you'll spend more time chasing it across the workshop floor than actually cutting timber.
- Sand the edges of your rails just enough to take the splinters off; there's no sense in building a solid tool only to punish your forearms every time you lean against it.
A Solid Foundation for the Work Ahead
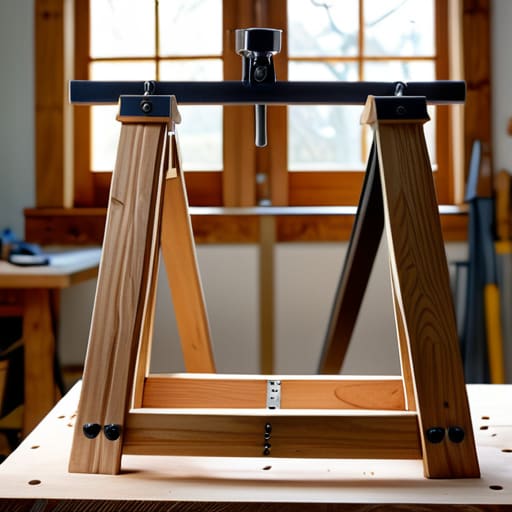
At the end of the day, building a proper sawhorse isn't about finding the cheapest bit of scrap in the yard; it’s about selecting timber that won't bow the moment you put a heavy workpiece on it. We’ve covered how to pick the right wood, how to brace those legs so they don't wobble under a load, and why a heavy-duty design beats a flimsy shop-bought version every single time. If you’ve followed the steps, you haven't just made a stand—you’ve built a piece of reliable workshop equipment that will serve you for years. Remember, a sawhorse is the bedrock of every cut you make, so don't be tempted to cut corners on the joinery or the stability.
Once you’ve got these stands set up, don't feel the need to rush straight into a massive project. Take a moment to appreciate the stability they provide. There is a certain satisfaction in seeing a sturdy, handmade structure that you know won't fail you mid-cut. My advice is to keep these horses in good repair; if a brace starts to loosen, fix it immediately rather than ignoring it. A workshop is only as good as the tools and the stands that hold your work. Build it well, keep it steady, and you'll find that the quality of your work always follows the quality of your foundation.