Making a Drawer That Slides
 Callum Reith-Sowande
Most people think you need a table full of expensive, noisy machinery to get a clean fit, but that's a load of rubbish. I’ve spent forty years on sites and in classrooms, and I’ve seen more men struggle with a drawer because they relied on a vibrating router instead of a steady hand and a keen edge. When you're learning how to build a drawer, the secret isn't in the power of your tools, but in the precision of your setup. If your joints are sticking or your sides are wonky, it’s rarely because you lack a fancy jig; it’s usually because you’re fighting your material rather than working with it.
In this guide, I’m going to show you the honest, old-fashioned way to get a drawer sliding smooth as silk without breaking the bank or your ears. We’ll skip the marketing hype and focus on the fundamentals: getting your measurements dead-on, cutting your joinery with confidence, and ensuring your tools are actually sharp enough to do the work for you. I’ll walk you through the process step-by-step, the way I used to teach my apprentices, so you can stop guessing and start building.
Guide Overview
Tools & Supplies
- Tape measure and pencil for marking dimensions
- Saw for cutting wood to size
- Drill and driver for assembly
- Sandpaper for smoothing edges
- Plywood or solid wood boards (approx. 15-20 sq ft)
- Wood glue for strong joints
- Small wood screws or finish nails
- Drawer slides (one pair)
Step-by-Step Instructions
- 1. First, you’ve got to get your stock sorted. Don't go grabbing whatever scrap is lying around the workshop; you need straight, stable timber for those drawer sides. I always prefer a decent hardwood, but if you're using something softer, make sure it’s dead straight. If your rails are bowed before you even start, you'll be fighting them every step of the way, and no amount of glue will fix a bad foundation.
- 2. Once the timber is ready, it’s time for the joinery. I don't care what the modern manuals say—skip the pocket holes and the cheap biscuits. If you want a drawer that lasts more than a season, you need to cut some proper through-dovetails or at least some solid finger joints. Take your time with the marking gauge; a single slip with the knife means the joint will be loose, and a loose joint is just a waste of wood.
- 3. Now, get your chisel out. This is where most people reach for the router, but if you've actually taken the time to hone a proper edge, the chisel will do the work for you. Clear out those waste areas bit by bit. Don't try to hog it all out in one go like a brute; work with the grain and let the tool do the slicing. It’s much cleaner, and you won't end up with those ragged, crushed fibres that make a drawer look amateur.
- 4. After the joints are cut, it's time to dry-fit everything. Do not, under any circumstances, reach for the glue until you've put the whole assembly together without it. You want to see how the pieces sit. If you have to force a joint with a mallet, it’s not ready yet. You need to pare back the high spots with your finest plane or a razor-sharp chisel until the fit is snug but not strained.
- 5. Once you're satisfied with the fit, lay out your bottom groove. I usually cut this before the final glue-up to ensure the bottom sits exactly where it should. Make sure the groove is deep enough so the bottom doesn't pop out when the drawer is full, but don't go making it so deep that you're weakening the side rails. A bit of common sense goes a long way here.
- 6. Now comes the glue. Apply it sparingly; you're not painting the walls. A thin, even layer on the mating surfaces is all you need. Use your clamps, but don't overdo it. If you squeeze every last drop of moisture out of the joint, you'll end up with a brittle bond that'll fail the moment the wood tries to move with the seasons.
- 7. While the glue is drying, don't just sit there staring at it. Check your drawer front. If you're fitting this into a carcass, you'll need to plane the front to ensure it sits flush with the face frame. It’s a fine bit of work, and it requires a steady hand and a perfectly tuned plane. If you rush this, you'll see the gaps immediately once the light hits the drawer.
Refining Your Woodworking Joinery Techniques With Hand Tools
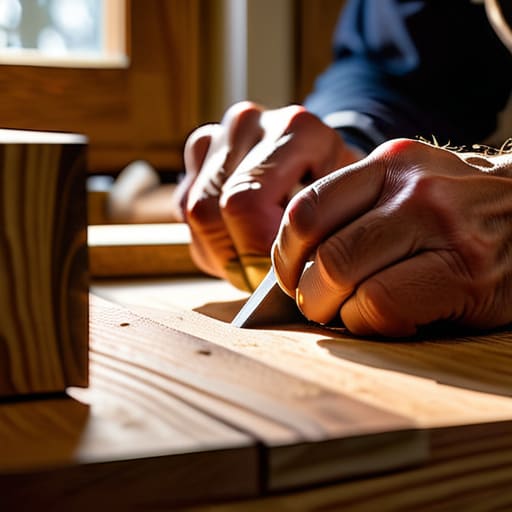
Once you’ve got the basic structure together, the real work begins. When you're building drawer boxes, it’s easy to get impatient and reach for a router to clean up the corners, but I’d urge you to hold off. I’ve spent more time than I care to admit fixing botched corners that a power tool simply tore through. Instead, take a razor-sharp chisel and work the internal joints by hand. It takes longer, sure, but you’re listening to the wood rather than fighting it. You’ll feel exactly when the blade is paring away the excess, ensuring those mitres or dovetails sit flush without any of that messy splintering you get from a spinning bit.
Precision at this stage is what separates a piece of furniture from a bit of scrap. Before you even think about drawer slide installation, check your squareness one last time with a well-tuned marking gauge. If your box is even a hair out of alignment, those expensive runners won't track straight, and you'll be fighting a sticking drawer for the rest of your life. Don't rush the fit; a steady hand and a keen edge will do more for your accuracy than any high-end jig ever could.
Measuring Drawer Dimensions Before the Machines Take Over
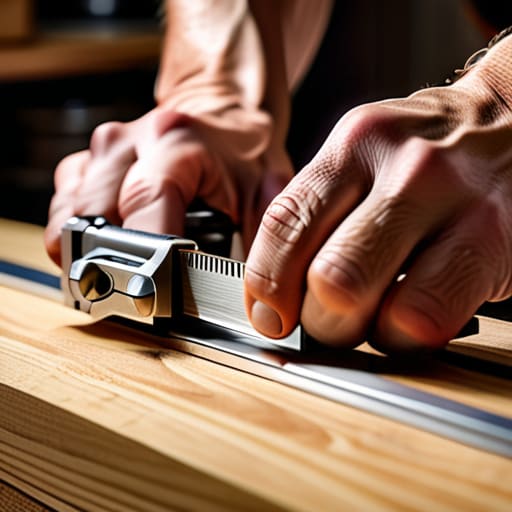
Before you even think about touching a saw, you need to get your head straight regarding the math. Most blokes make the mistake of measuring the opening and thinking they’re halfway there. If you’re measuring drawer dimensions based solely on the carcass, you’re asking for a headache. You have to account for the clearance required by your specific hardware. If you’ve gone for modern soft close drawer hardware, those runners have a very specific footprint. Give yourself a bit of breathing room; a drawer that’s too tight is a nightmare to operate, no matter how much you sand it.
I’ve seen too many apprentices rush into building drawer boxes only to find they’ve left no room for the slides to actually move. Take your time with the pencil and the square. I always say, measure twice and cut once, but in my shop, we measure three times and check the square a fourth. If your dimensions are off by even a hair, your drawer will bind, and you’ll find yourself fighting the wood instead of working with it.
Five things I’ve learned from forty years of making drawers
- Check your squareness more often than you think you need to. If your drawer box isn't perfectly square from the start, those runners won't sit right, and you'll spend the rest of the day fighting a drawer that sticks every time you pull it.
- Stop relying on the router table for everything. A sharp chisel is much better for cleaning out those end grain corners in a housing joint; it gives you a level of control a spinning bit just can't match.
- Don't go chasing the cheapest timber for your drawer sides. If the wood is warped or unstable, all the clever joinery in the world won't stop it from binding in the carcass six months down the line.
- Mind your grain direction when you're paring your joints. I've seen too many apprentices ruin a perfectly good piece of oak because they tried to force a chisel against the grain instead of taking the time to work with it.
- Keep your tools sharp throughout the build, not just at the beginning. There is nothing more frustrating than getting halfway through a dovetail and realizing your edge has gone dull; you'll end up crushing the wood fibers instead of cutting them.
A Final Word on the Work
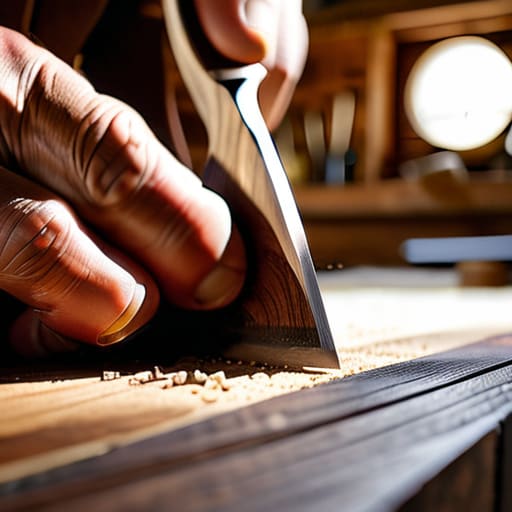
At the end of the day, building a drawer isn't about how much noise you can make in the workshop; it’s about the precision you put into those joints. We’ve talked about measuring twice to avoid a headache, selecting the right timber, and why you should reach for a well-honed chisel rather than a vibrating router when it comes to the fine details. If you’ve taken the time to respect the wood and, more importantly, respect your tools, you’ll find that the drawer slides home with a smoothness that no machine can replicate. It’s about the marriage of a steady hand and a perfectly sharp edge.
Don't get discouraged if your first few attempts feel a bit slow or if your fingers get tired. Woodworking is a craft of patience, not a race to the finish line. There is a quiet, deep satisfaction in looking at a drawer you’ve built from scratch—one that fits perfectly because you took the time to tune your tools instead of just buying new ones. Keep your irons keen, keep your workspace tidy, and remember that true skill is built one careful shaving at a time. Now, get back to the bench and get to work.