Why a Knife Line Beats a Pencil Line
 Callum Reith-Sowande
I spent thirty years watching apprentices reach for a marking gauge or a mechanical pencil the moment they needed to layout a joint, thinking it would save them time. They’d spend an hour fighting a loose fit or a wandering saw line, all because they were too impatient to learn how to use a marking knife properly. I remember a lad in my college days who nearly ruined a piece of expensive English Oak because he thought a pencil line was "good enough." He didn't realize that a pencil line has thickness, whereas a knife cut severs the fibers and gives your tool a physical track to follow.
In this guide, I’m going to strip away the nonsense and show you the real way to work. I won't be giving you any fancy, over-complicated methods that require a workshop full of expensive gadgets; I’ll show you how to get a clean, surgical score using nothing but your hands and a sharp blade. We’ll cover the grip, the angle, and why your knife needs to be sharper than the one you bought at the big-box store. By the end of this, you'll see why a bit of patience with a blade beats a frantic rush with a power tool every single time.
Guide Overview
Tools & Supplies
- Marking knife (for creating precise, physical score lines)
- Marking gauge (to set consistent distances from an edge)
- Steel ruler (for accurate measurement reference)
- Wood workpiece (1 piece)
- Pencil (1 piece for preliminary layout)
Step-by-Step Instructions
- 1. First, you need to get your layout ready. Don't just dive in with the knife; make sure your timber is flat and your measuring tool—a good steel rule or a try square—is clean. If your measurement is off by a hair, the knife will only serve to codify your mistake.
- 2. Hold the knife like you're holding a pen, but with more weight behind it. You aren't drawing a picture here; you're severing fibres. Place the blade against your marking gauge or the edge of your square so it sits perfectly perpendicular to the wood.
- 3. Start with a light, tentative stroke. I always tell my students to treat the first pass like a sketch. You aren't trying to bury the blade deep into the grain yet; you're just establishing a shallow track for the knife to follow.
- 4. Once that shallow groove is set, increase the pressure slightly. This is where you really want to see the blade bite. You should be following the guide—the square or the ruler—with absolute discipline. If the knife wanders, the whole joint is ruined before you've even picked up a chisel.
- 5. If you're working on a thicker piece of timber, you might need a second or third pass. Don't try to force a deep cut in one go, or you'll risk the blade skipping across the surface. It's better to take three light, controlled cuts than one heavy, messy one.
- 6. Look closely at the cut once you're finished. You should see a clean, crisp physical valley in the wood. If the edges look crushed rather than sliced, your knife isn't sharp enough. Remember, a marking knife is a precision instrument, not a utility knife from a hardware store.
- 7. Finally, clear away the tiny slivers of waste. I prefer using a soft brush rather than blowing on them, as you don't want to be breathing in fine dust or accidentally knocking your layout out of place with a stray breath.
Scoring Wood Fibers Instead of Smearing Lead
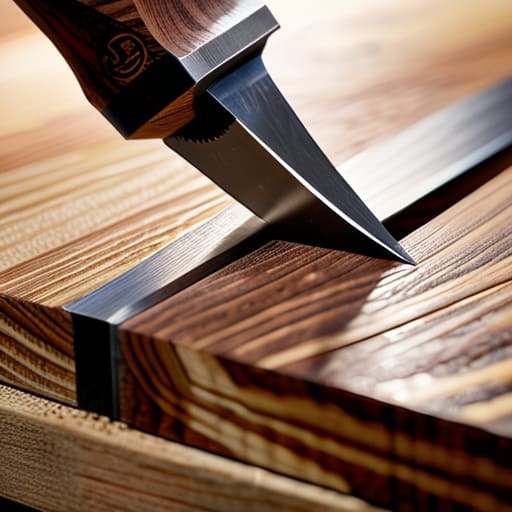
I’ve spent more time than I care to admit watching apprentices reach for a carpenter’s pencil the moment they start a layout. It’s a habit, I get it. But when you’re working on anything more demanding than a garden fence, a pencil line is nothing more than a suggestion. A graphite line has width; it sits on top of the surface, smearing as you move your square or your chisel. If you’re aiming for precision joinery tools standard, you can’t afford to guess where the edge of that grey smudge actually sits.
The real magic happens when you stop drawing and start scoring wood fibers. When you use a knife, you aren't just marking a path; you are physically severing the grain. This creates a permanent, microscopic trench that acts as a physical guide for your saw or chisel to nestle into. In my years of teaching, I’ve found that the biggest difference in marking knife vs pencil isn't just the visual clarity, but the way the tool itself dictates the cut. You aren't just following a line; you are controlling the wood.
Why Marking Knife vs Pencil Determines Your Success
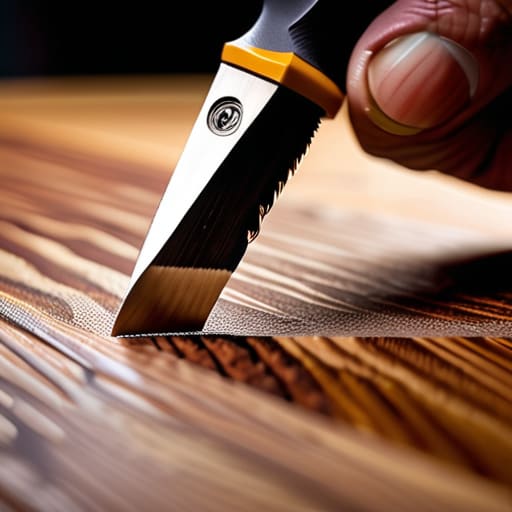
I’ve spent more years than I care to admit watching apprentices reach for a carpenter's pencil the moment they start a layout. It’s a reflex, usually born from a desire to be quick, but in my experience, that speed is an illusion. A pencil line has width; it’s a smudge of graphite that sits on top of the surface. Even with a sharp HB, you’re guessing whether your cut is on the left, the right, or the center of that grey blur. When you’re working on precision joinery tools, that tiny margin of error is exactly what leads to gaps in your tenons or loose dovetails.
The real difference comes down to how the wood reacts. A pencil line just sits there, but a knife actually interacts with the material. By scoring wood fibers, you aren't just marking a spot; you are creating a physical track for your saw or chisel to follow. It gives you a permanent, narrow trench that doesn't disappear if you accidentally brush against it with your thumb. If you want your joints to close up tight without needing a pile of wood filler to hide your mistakes, you have to stop drawing and start cutting.
Five Rules for a Clean Line
- Use a marking gauge for your parallel lines. A knife is only as good as your ability to keep it steady, and a gauge does the heavy lifting for you so you aren't fighting your own hand.
- Don't try to finish the job in one heavy pass. I've seen too many lads try to plow through the grain like they're using a saw; instead, make a light scoring pass first, then go again to deepen the cut.
- Always work on the waste side of your line. If you cut on the line itself, you're inviting error, and in joinery, an error of half a millimetre is the difference between a tight joint and a gap you'll be cursing for a week.
- Keep your knife's edge truly keen. If you find yourself pushing harder to get through the wood, stop what you're doing. A marking knife shouldn't feel like a struggle; it should feel like it's slicing through butter.
- Use the knife to create a physical "track" for your saw or chisel. Once that fiber is severed, your tool has a little valley to sit in, which keeps it from wandering off the mark when you start the real work.
The Marks You Leave Behind
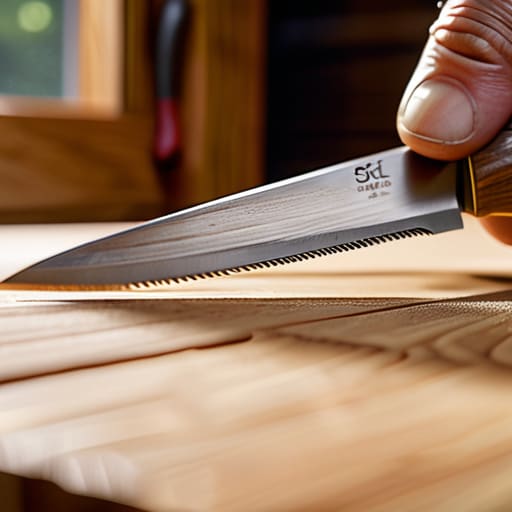
At the end of the day, using a marking knife isn't about adding more steps to your workflow; it’s about removing the guesswork. We’ve talked about why a pencil line is just a suggestion that a chisel will inevitably wander away from, and why scoring the fibers is the only way to ensure your joinery actually seats properly. If you take the time to steady your hand and let the blade do the work, you aren't just making a line—you are creating a physical boundary that your tools can follow. It might feel slower when you first pick it up, but you’ll find that precision saves time far more effectively than any frantic measurement ever could.
I know the temptation to just grab a carpenter's pencil and a tape measure and get on with it. We live in a world that wants everything done at high speed with as little fuss as possible. But there is a quiet satisfaction in a layout that is perfect before you even touch a saw. When you commit to the knife, you are committing to the craft itself. Don't be afraid to slow down and respect the grain. Once you stop fighting the wood and start guiding it, you’ll realize that the most important tool in your kit isn't the one with the loudest motor, but the one that gives you the most control.