Repairing a Snapped Tenon
 Callum Reith-Sowande
I remember standing over a workbench back in '84, staring at a piece of seasoned oak that had just snapped right across the shoulder of a mortise and tenon joint. My heart sank, and my first instinct was to reach for the heavy-duty wood glue and some scrap bits, thinking I’d just mask the mistake. But that’s the trap most folks fall into when they're figuring out how to repair a broken tenon; they try to hide the failure instead of fixing the structure. You don't need a pile of expensive resins or a new piece of timber to make things right. Most of the time, you just need a bit of patience and a chisel that actually holds an edge.
In this guide, I’m going to show you how to do this properly, without any of the nonsense you see in those flashy, fast-paced videos. We’ll walk through the exact steps to reinforce that joint so it’s actually stronger than it was before it snapped. I’ll teach you how to clean up the break, use a simple splint or dowel to restore the integrity, and ensure the fit is tight. No shortcuts, no gimmicks—just honest joinery that lasts.
Guide Overview
Tools & Supplies
- Wood glue and applicator for bonding
- Clamps to provide pressure during drying
- Sandpaper for smoothing the repair
- Chisel or knife for cleaning edges
- Wood glue (small bottle)
- Wood filler or sawdust for gap filling
- Sandpaper (various grits)
Step-by-Step Instructions
- 1. First, you need to assess the damage without rushing in. Take a close look at the break to see if it’s a clean snap or if the wood has splintered into a mess. If it’s a clean break, you’re in luck, but if there are loose shards, you’ll need to carefully remove them with a sharp chisel. Don't try to force the pieces back together if there's grit or debris in the way, or you'll just end up with a weak joint that won't hold a season.
- 2. Once the area is clear, you need to prepare the surfaces. If the grain is crushed or mashed, the glue won't find anything solid to bite into. Use a fine-tooth saw or a very sharp chisel to lightly pare back the damaged fibers until you reach healthy, straight-grained wood. You aren't looking to change the dimensions of the tenon, just to ensure you're working with sound timber.
- 3. Now, it's time to decide on your reinforcement. A simple glue-up rarely holds on a broken tenon because the structural integrity is already compromised. I usually reach for some thin strips of hardwood—something like oak or beech—to act as internal splints. You'll want to carefully slot these into the sides of the tenon to bridge the break, effectively creating a new, solid core.
- 4. Before you apply any adhesive, do a dry fit. This is where most people trip up; they get halfway through a glue-up only to find the pieces don't seat properly. Fit your splints and the tenon together to ensure everything is perfectly flush. If you have to hammer it home, you've done something wrong; it should slide together with a firm, steady pressure.
- 5. Apply a decent quality wood glue, but don't go overboard. You want enough to coat the repair area and the splints, but not so much that it bloats the wood or creates a massive mess when you clamp it. Spread it evenly with a small brush or a scrap piece of wood, then assemble the joint.
- 6. Clamp the joint firmly, but for heaven's sake, don't over-tighten. I've seen too many apprentices crush the fibers of a repair because they thought more pressure meant a better bond. Use even pressure across the joint and check it frequently to make sure the tenon hasn't shifted out of alignment while the glue is setting.
- 7. Finally, once the glue is fully cured, clean up the squeeze-out. Don't wait until it's rock hard, or you'll be fighting it with a scraper for an hour. Use a sharp chisel to neatly pare away the excess while it's still slightly tacky. Once it's clean, give the whole thing a light sand, and you'll have a joint that's arguably stronger than the original.
Replacing a Snapped Tenon With Surgical Accuracy
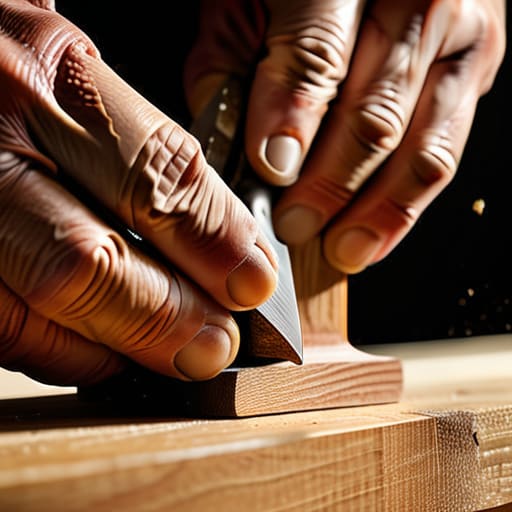
When you're replacing a snapped tenon, the biggest mistake I see is trying to rush the fit. If you're just slapping more glue into a gap to make up for poor geometry, you aren't fixing anything; you're just delaying the inevitable. For a proper mortise and tenon joint repair, the new piece of timber needs to sit in that mortise with nothing more than the slightest bit of resistance. If you have to hammer it home, you've already lost the battle. Take your shoulder plane or a sharp chisel and pare the new tenon down until it slides in like a hand in a glove.
I’ve spent forty years seeing people try to fix wobbly furniture joints by just adding more filler. That’s a fool's errand. If the wood has snapped, it’s because the mechanical connection failed. When you are strengthening broken wood joints, you need to ensure the grain of your replacement piece is running in the same direction as the original. This ensures the tension is distributed correctly. Once the fit is tight, use a high-quality PVA, but remember: the fit does the heavy lifting, not the glue.
Strengthening Broken Wood Joints Through Superior Woodworking Glue Techniqu
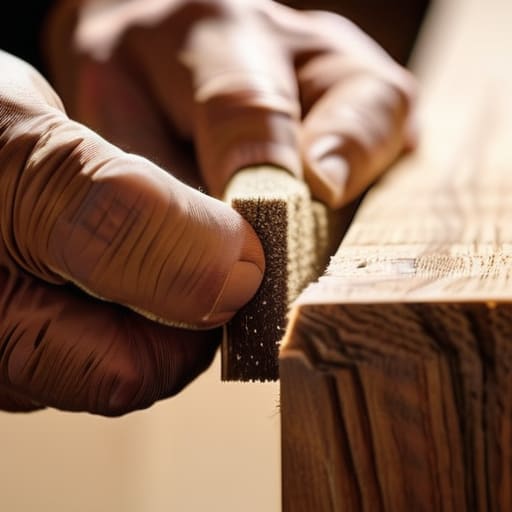
Now, once you’ve got that tenon fitted back into its home, don't just slop some PVA in there and hope for the best. Most people treat glue like filler, but it’s not a magic potion for bad joinery. When you're strengthening broken wood joints, you have to remember that glue is only as good as the surface it’s grabbing onto. If there's sawdust or old, dried residue clogging up the grain, the bond will fail. I always make sure I wipe the surfaces clean with a dry cloth first; you want the glue to penetrate the fibers, not sit on top of a layer of muck.
For a proper mortise and tenon joint repair, I prefer using a bit of thin cyanoacrylate alongside a standard PVA for those hairline fractures. The thin CA wicks into the cracks, while the PVA provides the structural body. But whatever you do, don't overdo the pressure. If you squeeze every single drop of glue out of the joint, you've left nothing behind to actually hold the wood together. You want a slight bead to squeeze out, showing you've got enough to work with without making a sticky mess.
A few things I wish my apprentices had learned before they snapped anything
- Don't go hunting for a replacement piece of timber immediately; if the break is clean, you can often use the original shards to maintain the grain continuity, which keeps the joint looking honest.
- Keep your chisels honed to a mirror finish before you even touch the repair, because a dull blade will crush the wood fibres instead of slicing them, leaving you with a gap you can't close.
- Avoid the temptation to over-glue; if you flood the repair with excess PVA, you'll just end up with a greasy mess that prevents the next person from ever being able to service that joint again.
- Use a proper clamping pressure, but don't be a brute—if you squeeze too hard, you'll starve the joint of glue, and a starved joint is just as useless as a broken one.
- Check your alignment with a square, not just your eyes, because once that glue sets, a tenon that's sitting a fraction off is going to haunt you for the life of the piece.
A bit of wisdom before you finish
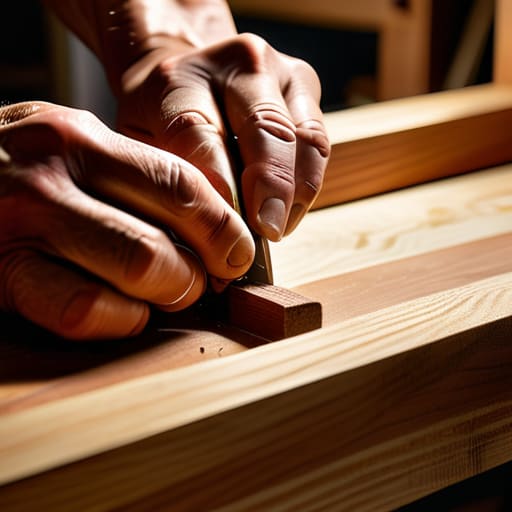
At the end of the day, fixing a snapped tenon isn't about hiding a mistake; it’s about having the patience to do it right. You’ve gone through the graft of cleaning up the grain, fitting the new piece with precision, and ensuring that glue bond is tight and even. Remember, don't rush the clamping stage. If you try to force a joint that isn't seated properly, you’re just asking for trouble down the line. Whether you’ve used a Dutchman repair or a complete replacement, the goal is a joint that is as strong—if not stronger—than the original timber.
I know it’s tempting to just scrap the piece and start over, especially when the clock is ticking. But there is a particular kind of satisfaction that comes from taking something broken and making it whole again with nothing more than a steady hand and a sharp edge. It’s a lesson in craftsmanship that you won't find in any modern manual. Keep your tools honed and your mind steady. If you treat the wood with respect and refuse to take shortcuts, you'll find that a repaired joint can outlast the very table it holds together.