Making a Scratch Disappear
 Callum Reith-Sowande
Most people see a gouge in a tabletop and immediately reach for the orbital sander, thinking they can just grind the problem away. That’s a mistake that’ll cost you more than just time; you’ll end up sanding through the good timber and ruining the piece entirely. I’ve spent forty years on site and in the classroom, and if there’s one thing I’ve learned, it’s that you don't need more grit to fix a mistake—you need a sharper edge. When you're figuring out how to repair a scratch in a finish, the temptation is to go heavy and fast, but the real trick is knowing when to put the power tools down and pick up a fine blade.
I’m not going to sell you on any fancy, store-bought filler kits that look like plastic once they dry. Instead, I’m going to show you the proper way to handle this using the tools you should already have in your kit. We’ll walk through the exact steps of cleaning the area, using a bit of heat or a well-honed scraper, and restoring the sheen so the repair disappears. This isn't about a quick fix that fails in six months; it's about doing it right the first time.
Guide Overview
Tools & Supplies
- Microfiber cloth for applying and buffing
- Sanding sponge (fine grit) for smoothing edges
- Soft brush for applying liquid finishes
- Furniture touch-up marker or crayon (matching color)
- Wood polish or wax (small container)
- Fine-grit sandpaper (400-600 grit)
Step-by-Step Instructions
- 1. First, you need to get a proper look at what we're actually dealing with. Take a bit of light and move it across the scratch from different angles; you need to know if it’s just a surface scuff in the wax or if the blade has actually bitten into the wood itself. If it's deep, don't even bother with the polish—you'll be doing real work.
- 2. Before you touch a single tool, clean the area thoroughly. I use a soft, lint-free cloth and a bit of mild cleaner to get rid of any grease or furniture wax that might be sitting in the scratch. If you try to work over a layer of grime, you'll just end up smearing the mess around instead of fixing it.
- 3. Now, if the scratch is shallow, grab a very fine abrasive—I’m talking around 600 or 800 grit—and a small block. Never use your bare fingers to sand; you’ll create divots with your pressure. Sand only the scratch and nothing else, moving with the grain of the wood to avoid leaving any cross-marks that'll haunt you later.
- 4. If the scratch is deeper and you've actually removed some finish, you'll need to "feather" the edges. This is where most people fail by making a flat, ugly patch. You want to gently blend the area around the scratch so there isn't a sharp line where the old finish ends and the new stuff begins. It should feel smooth to the touch before you even think about color.
- 5. For the color match, don't go buying some cheap, pre-mixed tin from the supermarket. I prefer using a high-quality touch-up marker or even a bit of pigment mixed with a tiny amount of clear sealer. Apply it in thin, light layers. It’s much easier to add more color than it is to try and sand it back once you've gone too dark.
- 6. Once the color looks right, you need to bring back the sheen. If the surrounding wood has a satin finish, you can't just leave a shiny spot in the middle of it. Use a very fine polishing compound and a soft cloth to buff the area. Work in small, steady circles until the repair disappears into the grain.
- 7. Finally, give it a light coat of wax or a compatible sealer to protect your handiwork. This isn't just for looks; it seals the repair so it doesn't catch dust or moisture. Once it's set, step back and look at it. If you did it right, you shouldn't be able to find it without looking for it.
Mastering Lacquer and Varnish Touch Up With Precision
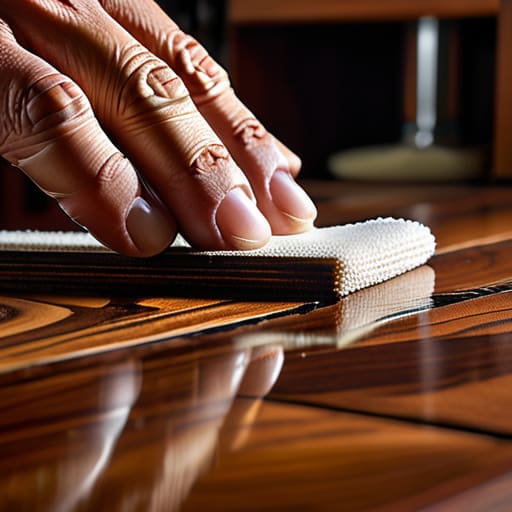
When you're dealing with lacquer or varnish, you have to move with a bit more patience than you would with oil. These finishes dry hard and fast, which means you don't have much room for error once the brush hits the wood. If the scratch is shallow, I find that a bit of careful buffing out surface imperfections with a fine polishing compound does more good than trying to slap on a fresh layer of liquid. If you go too heavy with the new coating, you’ll end up with a "halo" around the repair that looks worse than the original damage.
If the scratch has actually bitten into the wood, you'll need to look at more serious lacquer and varnish touch up methods. I’ve seen many lads rush out and buy one of those cheap furniture scratch repair kits from the local DIY shop, but most of them are just colored wax that wipes off the moment you clean the piece. Instead, try to match the sheen of the existing finish. It’s better to apply three thin, controlled coats than one thick one. Patience is your best tool here.
Buffing Out Surface Imperfections Without the Power Tool Madness
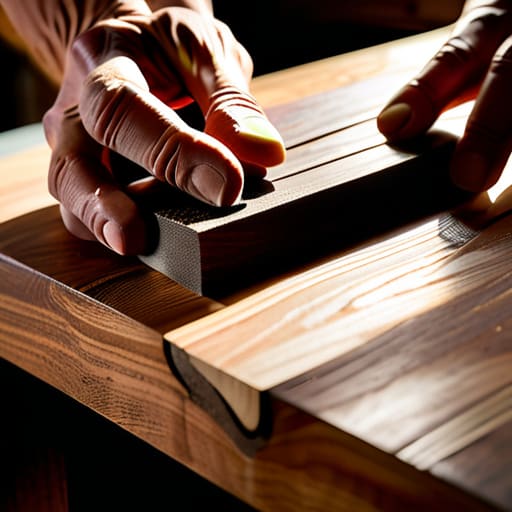
Now, once you’ve addressed the actual wound in the wood, you’ll likely be left with a patch that looks a bit dull compared to the surrounding surface. Most people make the mistake of reaching for a high-speed electric buffer here, but that’s a quick way to burn through your finish and ruin the piece. Instead, I prefer a bit of patience and some fine grit sandpaper usage by hand. If you use a small, firm sanding block—even a scrap piece of hardwood will do—you can control the pressure much better than any machine ever could.
I’ve seen plenty of lads try to use a commercial furniture scratch repair kit and end up with a blotchy mess because they rushed the process. If you want true wood finish restoration techniques that actually last, you have to work with the grain, not against it. Take a piece of 600 or 800 grit, wet it slightly, and work in small, circular motions until the sheen begins to even out. It’s about building the surface back up slowly, rather than grinding it away. It takes longer, but you won't be fixing your mistakes tomorrow.
A few things I've learned the hard way
- Stop and look at the grain before you touch it. If you try to fix a scratch by working against the direction of the wood, you'll end up with a mess that no amount of sanding will ever hide.
- Don't go hunting for a matching stain immediately. Start with the lightest touch possible; it's a lot easier to add more color than it is to strip it back once you've gone too dark.
- Keep your hands clean and your workspace even cleaner. I've seen too many lads ruin a perfectly good repair because they wiped a cloth on a greasy rag before touching the finish.
- Test your "fix" on a scrap piece of the same timber first. If you wouldn't use it on a piece of waste wood, don't you dare put it on the finished piece.
- Patience is your best tool here. Let each layer of touch-up dry completely. If you rush it and pile more finish on top of a tacky surface, you're just asking for a cloudy, uneven disaster.
A Bit of Final Advice
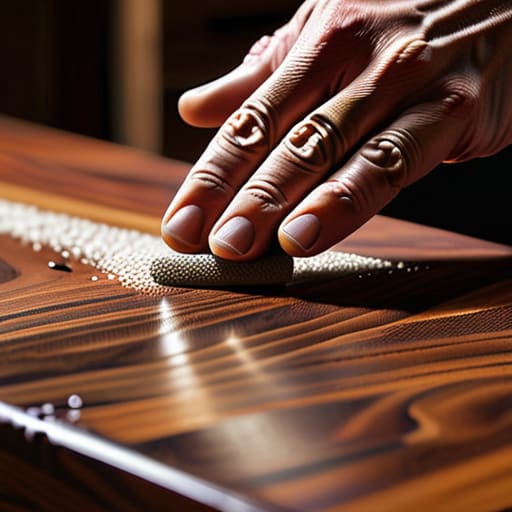
At the end of the day, fixing a scratch isn't about finding the loudest machine in the shed; it’s about patience and the right edge. We’ve looked at how a bit of careful lacquer work or a steady hand with a fine abrasive can do more than any high-speed orbital sander ever could. Remember, whether you are blending a varnish or buffing out a surface scuff, the goal is to work with the wood, not against it. If you rush the process or try to sand your way out of a mistake, you'll likely end up with a flat spot that's much harder to fix than the original scratch. Keep your tools sharp, keep your movements small, and always test your work on a scrap piece first.
I know it’s tempting to reach for the power tools when things get frustrating, but there is a real satisfaction in seeing a flaw vanish under the edge of a well-maintained blade. It’s a slower way of working, certainly, but it’s a way that respects the material and the craft. When you stop treating finishes like something to be ground down and start treating them like something to be carefully mended, you’ll find your work lasts much longer. A job done with a sharp hand tool doesn't just look better; it carries a sense of permanence that a machine simply can't replicate. Stick to the steady way, and the results will speak for themselves.