Marking With a Gauge Rather Than a Pencil
 Callum Reith-Sowande
I spent thirty years on site watching young lads reach for a heavy, expensive router the second they needed to scribe a line, thinking that more noise equals more precision. They’re wrong. You can spend an hour fighting a machine that’s vibrating your teeth loose, or you can spend thirty seconds learning how to use a marking gauge to lay down a line so clean the wood practically begs to be cut. I remember an apprentice of mine, a bright lad but far too reliant on his power tools, who spent half a day trying to fix a wonky mortise because his layout was a mess. I sat him down, handed him a simple wooden gauge, and showed him that true accuracy doesn't come from a motor; it comes from a sharp edge and a steady hand.
In this guide, I’m going to strip away the nonsense and show you the proper way to set up and swing your gauge. We won't be talking about fancy, over-engineered gadgets you'll throw in a drawer next month; I'll show you how to master the basics so your marks are dead on every single time.
Guide Overview
Tools & Supplies
- Marking gauge (for scribing lines)
- Carpenter's square (for verifying perpendicularity)
- Pencil (for initial layout)
- Wood workpiece (1 unit)
- Sandpaper (1 sheet)
Step-by-Step Instructions
- 1. Before you even touch the wood, you need to check your fence. I’ve seen too many young lads try to scribe a line only to find the fence is wobbling or the clamping screw is loose. Tighten that screw down firm, but don't go over-tightening it until you've stripped the threads; you want it steady so the tool doesn't wander mid-stroke.
- 2. Set your measurement. If you're working from a face edge, slide the stem until the pin or the cutter sits exactly where you want it. I always suggest using a fine scale or even a piece of scrap wood to verify the distance before you commit to the real timber. Once it’s set, double-check that the fence is square to the stem, otherwise, you're just drawing a diagonal line and wasting your time.
- 3. Position your workpiece. You aren't going to get a clean line if the wood is sliding around on your bench. Clamp your timber down firmly, making sure the edge you're marking is perfectly flat and stable. If the edge is wonky to begin with, your gauge is going to follow that wonkiness, and you'll be chasing your tail all afternoon.
- 4. Start the scribe. Don't try to force it in one go like you're driving a nail. Place the fence firmly against the edge of the wood and apply a steady, even pressure. Use your non-dominant hand to hold the fence tight against the timber, and with the other, guide the tool in a single, continuous motion. You want to feel the tool bite into the grain rather than forcing it through.
- 5. Watch your depth. If you're using a cutting gauge rather than a simple marking pin, keep an eye on how much material you're removing. You aren't trying to plow a trench; you just want a crisp, shallow line that your saw or chisel can follow. If you go too deep too fast, you'll likely splinter the fibers and ruin the edge you're working on.
- 6. Check your work. Once you've made the mark, lift the tool and look at it from a low angle against the light. A good scribe should be a clean, continuous groove that you can actually feel with your fingernail. If it looks fuzzy or broken, stop what you're doing and re-sharpen that cutter; a blunt blade is nothing more than a glorified pencil, and it won't give you the precision you need.
Mastering Setting Up a Marking Gauge Without the Wasted Effort
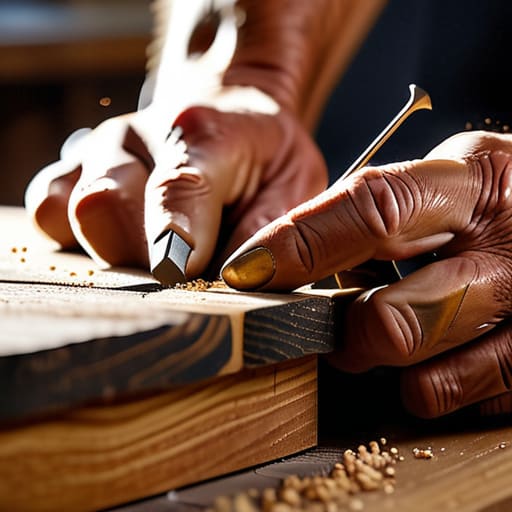
Most lads rush straight into the scribing, thinking they’ve set the distance, only to find their joint is a mess of gaps ten minutes later. The mistake isn't in the movement; it's in the preparation. Before you even touch the timber, check your fence. If that screw is loose or the fence isn't seated square against the beam, you're just making expensive mistakes. I always tell my students that setting up a marking gauge is more important than the actual stroke. Give the fence a quick wipe with a dry cloth to clear any sawdust; even a tiny grain of grit can throw your measurement off by a hair, and in joinery, a hair is a mile.
Once you’ve got the setting right, don't just rely on the steel pin. If you're working on a fine piece, I’d suggest using a marking knife instead of a blunt pin to score the fibers. It cuts the grain rather than crushing it, which gives your chisel a clean shoulder to sit in later. If you're choosing between a standard setup and a specialized one, remember the difference in marking gauge vs mortise gauge utility: one is for lines, the other is for depth. Know which one you need before you start wasting wood.
Why Using a Marking Knife Beats a Pencil Every Time
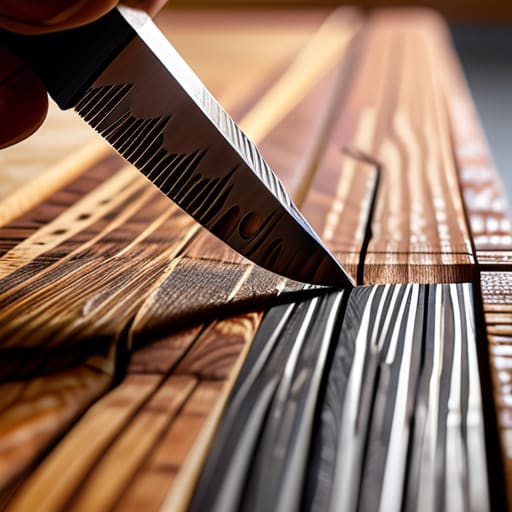
Now, if you’re still reaching for a carpenter’s pencil every time you set your gauge, you’re making your life harder than it needs to be. A pencil line has width; it’s a smudge of graphite that sits on top of the fibres. Even a sharp HB pencil creates a margin of error that can throw a tenon off by a fraction of a millimetre. When you’re using a marking knife instead, you aren't just drawing a line; you are physically severing the wood fibres. This creates a microscopic valley that acts as a track for your saw or chisel to follow.
In my years teaching the trade, I saw too many lads struggle with wonky joints simply because they relied on thick lines. When you switch to a blade, you’re employing one of those proper woodworking layout techniques that separates the professionals from the hobbyists. The knife creates a permanent, physical boundary. Once that line is cut, it doesn't smudge, it doesn't fade, and most importantly, it doesn't lie to you. If you want your joinery to seat perfectly without having to force it, stop drawing and start cutting.
Five ways to stop fighting your gauge and start using it
- Check your fence for squareness before you even touch the wood. If that fence is off by even a hair, you’ll spend the whole afternoon trying to fix mistakes that shouldn't have happened in the first place.
- Don't go pushing the gauge like you're trying to drive a nail. It’s a tool for marking, not for heavy lifting; let the pin or the blade do the slicing, and keep your pressure steady and light.
- Always work from the same side of the timber. If you flip the board halfway through a job, you'll end up with lines that don't line up, and no amount of sanding is going to save you then.
- Keep the pins sharp. I see too many lads using blunt, rounded pins that just bruise the wood fibers instead of cutting them. If it isn't slicing, it isn't working.
- Use the gauge to set your saw or chisel depth, not just for lines. A marking gauge is a measuring tool in its own right, and it's much more reliable than squinting at a ruler every five minutes.
Putting the Steel to Work
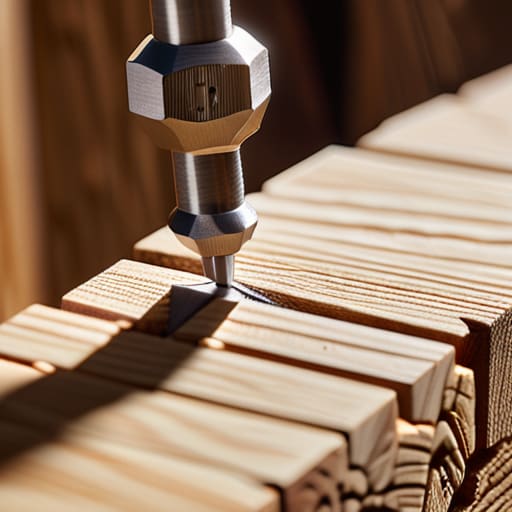
At the end of the day, using a marking gauge isn't about being fussy; it’s about being accurate before you ever touch a saw or a chisel. We’ve talked about why you need to ditch the pencil for a knife, how to set your fence without wasting half your morning, and why that physical line in the wood matters more than any digital measurement. If you take the time to set your gauge properly and let the pin do the slicing, you aren't just marking a line—you are creating a physical boundary for your tools to follow. It saves you from the constant, frustrating cycle of measuring, cutting, and then having to shimmy your blade to fix a mistake that shouldn't have happened in the first place.
I know it feels slower at first. I see the young lads in the workshop reaching for the laser measurer or the heavy power tools because they think speed is about how much noise you can make. But they’re wrong. True speed comes from the confidence that your layout is perfect. When you master these simple, manual tools, you stop fighting the timber and start working with it. A well-set marking gauge is a quiet, steady partner that ensures every joint fits true the first time. Stop rushing the setup, trust your hands, and remember: precision is the shortest route to a finished job.