A Banister That Must Hold Weight
 Callum Reith-Sowande
Most folks think that fixing a loose handrail means dragging out the heavy-duty cordless drill and hoping for the best, but they usually just end up stripping the wood and making a mess of the joinery. I remember a lad I taught back at the college who spent three hours trying to force a new fixing into a wobbling spindle with a power driver; he ended up splintering the very piece he was trying to save. When you're learning how to repair a banister, you have to understand that it's about precision and patience, not just brute force. If you treat the timber like it’s something to be conquered rather than worked with, you’ll find yourself replacing the whole thing instead of just fixing the fault.
I’m not here to sell you any fancy, disposable power kits or complicated gadgets that'll end up in a landfill by next Christmas. Instead, I’m going to show you how to do this properly using the right hand tools and a bit of old-fashioned common sense. We'll walk through the real way to tighten those joints, fill the inevitable gaps, and ensure the whole thing is solid as a rock once you're finished.
Guide Overview
Tools & Supplies
- Screwdriver (for tightening loose hardware)
- Sandpaper (various grits for smoothing surfaces)
- Wood glue (for securing loose joints)
- Drill (if replacing hardware or structural screws)
- Wood filler (1 small container for cracks/holes)
- Wood stain or paint (small amount for color matching)
- Replacement screws (small pack if hardware is stripped)
- Wood clamps (1-2 depending on repair type)
Step-by-Step Instructions
- 1. First thing you need to do is clear the area and get a proper look at the damage. Don't just squint at it from a distance; get your hands on the wood to feel where the grain has split or where the joint has gone slack. If there’s old, flaking varnish or paint around the break, you’ll need to scrape it back. I don't care what the tin says about "easy prep"—if you leave old gunk in the crack, your repair won't ever hold.
- 2. Once the site is clean, you need to decide if you're fixing a surface scratch or a structural split. If it’s a split in the timber, stop thinking about glue and start thinking about mechanical strength. You'll likely need to drive some slim wood screws in from the underside or the side where they won't be seen, but don't go swinging a driver around blindly. You want to pull those fibers back together tightly before you even think about the adhesive.
- 3. Now, get your glue. I don't mean that watery stuff you find in a cheap craft kit; get a proper, high-quality PVA designed for joinery. Apply it deep into the crack using a thin strip of scrap wood or a small brush. You want to see a bit of squeeze-out when you clamp it, because that’s how you know the glue has actually penetrated the fibers instead of just sitting on the surface like a scab.
- 4. This is where most people fail: they don't use enough clamps. A banister takes a lot of lateral pressure when someone's leaning on it, so you can't be stingy here. Set your clamps so they apply even pressure across the entire length of the repair. If you're working on a curved section, you might need to fashion some soft wooden blocks to act as cauls so the metal clamp heads don't leave ugly dents in your good timber.
- 5. While the glue is setting, take a moment to check your chisels. If you're going to tidy up the edges of the repair once the clamps come off, you'll need a tool that can slice through the grain like butter. A blunt chisel will just crush the wood cells and leave you with a messy, ragged edge that no amount of sanding will ever truly fix.
- 6. Once the glue is bone dry—and I mean completely dry, so don't rush it—remove the clamps and carefully pare away any excess glue or wood that's been pushed up. Use your sharpest paring chisel to level the repair with the surrounding surface. You want the transition to be so seamless that your fingers can't even feel the join when you run them over it.
- 7. Finally, you'll need to finish the wood to match the rest of the banister. If it's an old piece, don't just slap a fresh coat of gloss over the patch; it'll look like a sore thumb. You'll need to lightly sand the area, perhaps using a bit of fine-grade abrasive, and then apply your stain or oil in thin, patient layers. It’s about blending the repair into the history of the wood, not trying to make it look like it was born yesterday.
Restoring Staircase Railing Structural Integrity With Hand Tools
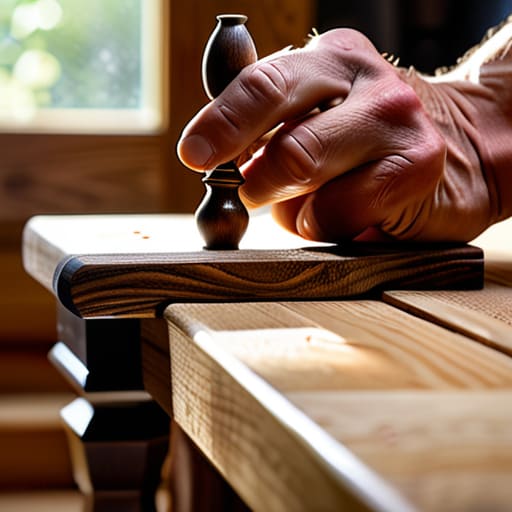
When you're looking at a banister that wobbles, most people think they need to go out and buy a whole new set of brackets or heavy-duty hardware. That’s rarely the case. Usually, the problem is deeper in the joint. If you're dealing with securing loose spindles, don't just jam a screw into the wood and call it a day; you'll split the grain and make it worse. I’ve spent more time than I care to admit teaching apprentices that a bit of patience goes further than a power driver. You need to clear out the old, dried-out debris from the mortise first. Once it's clean, use a high-quality wood glue for banisters—something that won't shrink as it sets—and ensure the fit is snug before you even think about clamping it.
If the issue is a loose handrail repair, you're often fighting against years of movement that has widened the connection points. I always tell my students: check the stability of the entire assembly before you start tightening things down. If the staircase railing structural integrity is compromised because the base is soft, no amount of glue will save it. You might need to carefully pare back the end of the rail with a sharp chisel to create a fresh, flat surface for a new bond. It’s slow work, but doing it right the first time means you won't be back there fixing it again in six months.
Securing Loose Spindles Using Only the Best Wood Glue for Banisters
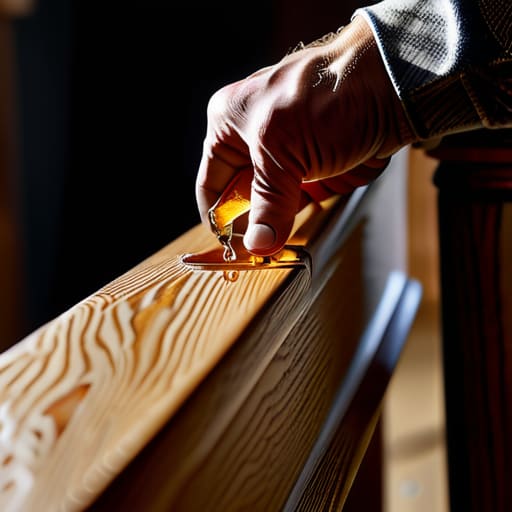
Now, once you’ve got the spindle seated properly, you can’t just slap any old PVA from the hardware shop onto the joint and hope for the best. If you want real staircase baluster stability, you need a glue that actually penetrates the grain and stays there. I’ve always preferred a high-quality PVA specifically rated for hardwoods, something that won't turn brittle and crack when the house shifts slightly with the seasons. Don't be tempted by those "instant" glues; they're just another way to sell you something that'll fail in two years.
When you're securing loose spindles, the secret isn't just the glue itself, but the pressure you apply while it sets. I usually use a few well-placed clamps, but if the geometry of the banister makes that impossible, a heavy wedge or even a tightly wrapped strap can do the job. You want that bond to be absolute. If you've done the prep work right, that joint should be stronger than the wood itself. Treat the glue job with as much respect as the joinery, and you won't be coming back to fix it again in six months.
A few things I’ve learned the hard way about banisters
- Don't just slap more glue into a loose joint. If the wood is crushed or split, you need to clean out the old, dried-up mess first, or that new glue won't ever actually bite into the grain.
- Stop using those cheap, plastic-handled chisels for fine detail work. When you're cleaning out a mortise for a new spindle, you need a tool that holds an edge; otherwise, you'll just be bruising the timber instead of cutting it.
- If you're dealing with a crack in a handrail, don't just fill it with wood putty and call it a day. Putty is just expensive dust; use a proper thin wedge of matching timber to actually bridge the gap and give it strength.
- Check your measurements twice before you start cutting. There's nothing more frustrating than having to go back to the bench to sharpen a chisel because you've had to force a joint that was a fraction too tight.
- Always work with the grain, not against it. I see too many young lads trying to power through a repair with a sander, leaving nothing but swirl marks and gouges that no amount of filler can hide.
Final Thoughts on a Job Well Done
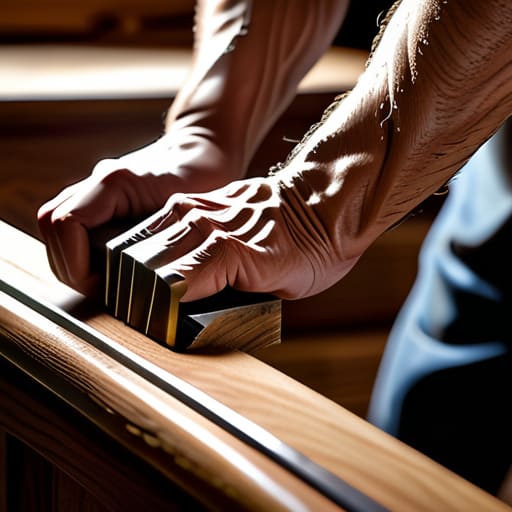
At the end of the day, fixing a banister isn't about finding the most expensive power sander or a fancy chemical filler. It’s about the patience to seat those spindles properly with the right glue and the precision to clean up the joints with a properly honed chisel. We’ve gone through the structural fixes and the glue-ups, but the real difference shows in the finish. If you’ve taken the time to ensure the wood is clean and the connections are tight, you aren't just patching a hole; you are restoring the strength of the entire staircase. Don't rush the drying time, and for heaven's sake, don't try to hide a bad joint with thick layers of filler.
I know the modern world wants everything done in a hurry, usually with a loud machine and a lot of dust. But there is a quiet satisfaction in looking at a repaired railing and knowing it was done with steady hands and sharp steel. When you stop treating tools like disposable rubbish and start treating your work with a bit of respect, the results speak for themselves. A banister fixed this way won't just look good for the next week; it will stand firm for the next generation. Now, put your tools away, clean your blades, and take pride in what you’ve built.