Finding Where Rot Actually Stops
 Callum Reith-Sowande
I remember standing in a damp basement back in '84, staring at a structural sill that felt more like a wet sponge than oak. The homeowner had spent a fortune on some fancy chemical spray he’d seen on a late-night advert, thinking it would magically stop the decay. All he’d done was seal the moisture inside the timber, making the rot even more aggressive. If you’re looking for a quick fix involving a spray bottle and a prayer, you’re asking the wrong person. Learning how to deal with wet rot isn't about finding a magic potion; it's about having the patience to find where the water is coming from and the courage to cut out the bad stuff.
I’m not going to sell you on expensive, unnecessary gadgets that’ll end up in a landfill by next Christmas. Instead, I’ll show you how to use a properly honed chisel to clear out the soft wood and how to choose the right timber to make the repair last a lifetime. We’re going to do this properly, the old-fashioned way.
Identifying Wood Decay Symptoms Before the Damage Spreads
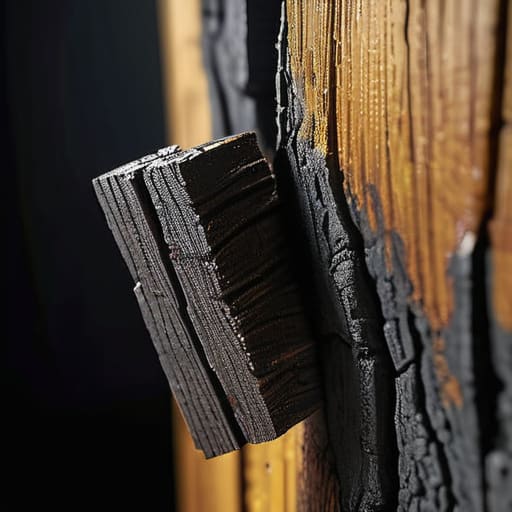
You can’t fix what you haven't found, and by the time a timber beam looks visibly collapsed, you’re already looking at a massive bill for structural damage from wet rot. Don't wait for the wood to crumble in your hands. Start by looking for the subtle signs: a slight softening of the surface or a change in colour where the grain looks dark and sodden. If you press a screwdriver into the wood and it sinks in like it’s hitting soft cheese, you’ve got a problem.
Identifying wood decay symptoms early is the difference between a quick afternoon’s work and a total rebuild. I always tell my former students to keep an eye out for those tiny, pale mushrooms or a white, thread-like fuzz appearing in the cracks. That’s the fungus having a field day. Once that moisture settles in, you aren't just fighting wood; you're fighting a living thing. Catching it while it's still localized means you can get in there with a sharp chisel, clear the mess, and move on before the rot decides to move into the next joist.
Precision Wood Rot Repair Techniques That Actually Last
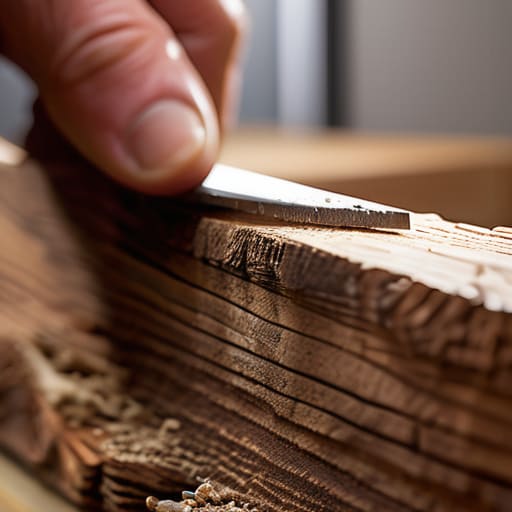
Once you’ve cleared away the soft, spongy mess, don't go rushing to fill the hole with some cheap, ready-mixed putty. That’s just masking the problem. To get proper wood rot repair techniques right, you need to get down to the sound, healthy timber. I always tell my apprentices: if you can't strike it with a mallet and hear a solid thwack, you haven't gone deep enough. Use a sharp paring chisel to clean out the cavity until you hit bright, firm wood. If you leave even a tiny bit of damp decay tucked in the corners, you're just inviting the rot to come back for seconds.
After the area is clean and bone-dry, that’s when you deal with the chemistry. I don't mind a bit of fungicide application for wood to ensure the spores are dead, but remember, no chemical can fix a leak. You have to address the source of the dampness first. Once the treatment is set, use a high-quality two-part wood filler or an epoxy resin to rebuild the section. It’s a slow process, but it’s the only way to ensure the repair actually holds up against the elements.
Five Rules to Stop the Rot in its Tracks
- Get the rot out properly. I’ve seen too many lads try to slap filler over a soft patch, thinking they’ve fixed it. You haven't. You need to dig in with a sharp chisel until you hit sound, bright timber. If it’s spongy, it’s still rotten.
- Stop relying on that heavy, sluggish power sander to clean the area. It just pushes the damp deeper into the grain. Use a clean, dry cloth and a well-honed paring chisel to clear the debris. You need to see the actual wood to know if you're done.
- Treat the wound immediately. Once you've cleared the rot, the new wood is sitting there exposed. Apply a high-quality wood preservative straight away. Don't wait until the weekend; if you leave it open, you're just inviting the damp back in.
- Check your drainage before you start any repairs. It doesn't matter how good your joinery is if the water keeps pooling against the timber. If the gutter is leaking or the ground is sloping toward the house, you're just fighting a losing battle.
- Don't skimp on the replacement timber. If you have to patch in a new piece, make sure it's a species that can actually handle the environment. Using soft pine where you should be using a durable hardwood is just asking for the rot to return in two years' time.
A Bit of Final Advice
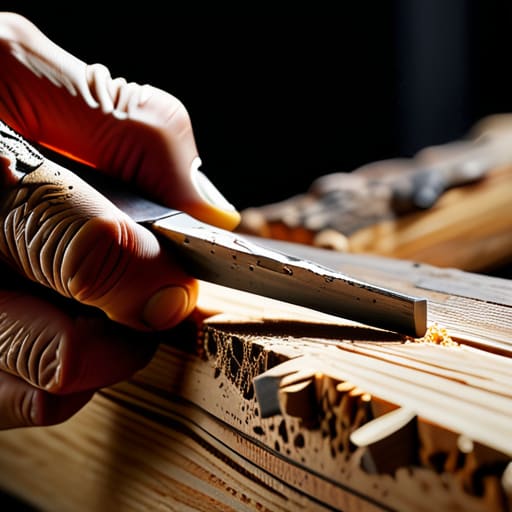
At the end of the day, dealing with wet rot isn't about finding a magic spray or a quick-fix chemical that promises the world. It’s about the graft. You’ve got to find the source of that moisture, cut back the soft, spongy mess until you hit solid, healthy timber, and then treat the area properly before you even think about patching it up. If you try to hide the rot behind a fresh coat of paint or a bit of filler without doing the hard work of removal, you’re just building a house of cards. Do it right the first time, or you'll be standing there with a screwdriver in your hand again in six months' time.
I know it’s tempting to reach for the heavy machinery and try to blast through the problem, but there’s no substitute for the control you get with a well-maintained hand tool. A sharp chisel allows you to follow the grain and respect the structural integrity of what’s left of the wood. Don't let the modern world convince you that everything needs to be fast and disposable. Take your time, respect the material, and remember that a job done with patience and a keen edge is a job that stays done. That's the only way to build something that lasts.