Hanging a Door With Even Gaps
 Callum Reith-Sowande
Most people think hanging a door is just a matter of driving a few screws into a frame and hoping for the best, but they’re usually wrong. I spent forty years on sites watching lads rush the job with heavy power drills, only to end up with a door that sticks, groans, or swings shut the moment you let go. If you want to learn how to hang a door properly, you have to stop fighting the wood and start working with it. It isn't about how much noise your tools make; it’s about the patience to check your plumb and the discipline to use a sharp chisel when the fit isn't quite right.
In this guide, I’m going to strip away all the unnecessary jargon and the fancy, expensive gadgets that don't actually help. I'll show you how to set your hinges with precision, how to account for the natural movement of the timber, and why a steady hand beats a vibrating machine every single time. You'll get the honest, practical steps I used to teach my apprentices, ensuring that once your door is hung, it stays hung for the next fifty years.
Guide Overview
Tools & Supplies
- Drill/Driver for driving screws and drilling pilot holes
- Chisel for recessing the hinges into the door/frame
- Hammer for tapping out wood shavings
- Level to ensure the door hangs straight
- Tape measure for precise placement
- Door (1 unit)
- Hinges (3 units)
- Wood screws (1 pack)
- Shim kit (1 pack)
Step-by-Step Instructions
- 1. Before you even pick up a hammer, you need to check your frame. I’ve seen too many lads try to force a door into a frame that’s been twisted by the seasons. Take a good, long look at the jambs and make sure they're plumb and square. If the frame is wonky, no amount of clever carpentry is going to save you; you'll be fighting that door every single time you try to close it.
- 2. Lay your door out on some sawhorses and mark your hinge positions. Don't just eyeball it. Use a sharp pencil and a square to mark exactly where those hinges sit. I always recommend leaving a bit of a gap at the top and the bottom—about two or three millimetres—to allow for the wood to breathe and move as the humidity changes throughout the year.
- 3. Now, get your chisel out. This is where the real work begins. You’ll need to scribe the hinge recesses into the door and the frame. Don't go hacking at it with a mallet like you're clearing brush; you want to take thin, controlled shavings until the hinge sits perfectly flush. If the hinge is proud of the wood, the door will never hang true, and you'll be left with a gap that looks like a canyon.
- 4. Once your recesses are clean, it's time to fix the hinges to the door first. Use your screws, but don't just drive them in blindly. I like to pre-drill a small pilot hole to prevent the grain from splitting. It’s a bit of extra time, but it's much better than having to replace a split door because you were in a hurry to get to lunch.
- 5. This is the part where most people lose their patience. Hold the door up in the frame—I usually use a couple of wedges or a pair of clamps to take the weight—and start fixing the hinges to the frame. Start with the top hinge; it’s the anchor for everything else. If you get that one right, the rest of the job is just a matter of steadying the weight and securing the bottom.
- 6. Once the screws are in, give the door a test swing. It shouldn't just move; it should glide. If it rubs against the frame or springs back open, your hinges aren't aligned. You might need to take the door back down and shave a tiny bit more off your hinge recesses. It’s a bit of a nuisance, I know, but precision takes patience, and a door that doesn't catch is the mark of a job well done.
Precision Door Frame Alignment Beats a Heavy Handed Drill
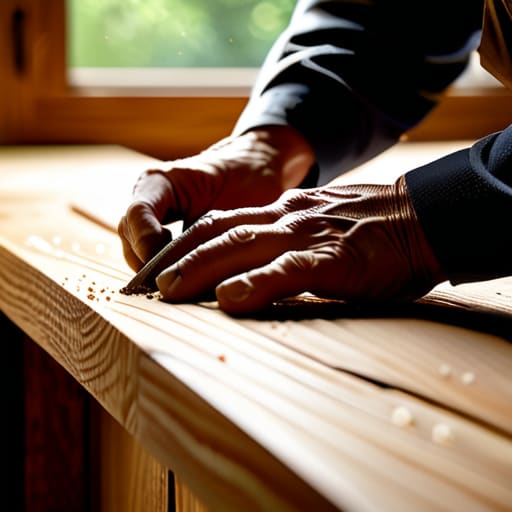
I’ve seen too many lads rush into a job, grabbing a heavy-duty impact driver and thinking they can muscle a door into place. That’s a fool’s errand. If your door frame alignment is off by even a hair, all the brute force in the world won't stop that door from binding or dragging. You aren't fighting the wood; you're fighting the physics of the house. I always tell my apprentices that you have to listen to the frame. If it’s resisting, stop drilling and start listening to where it's catching.
Before you even think about installing door hinges, you need to ensure the jamb is true. I prefer using a simple block plane and a well-set square over any fancy laser level. If the jamb is slightly out of plumb, a few delicate shavings can do more for you than a dozen screws ever could. It’s about nurturing the fit, not forcing it. If you take the time to get the frame sitting right from the start, you won't spend the rest of your afternoon cursing a door that refuses to stay shut.
Mastering Door Installation Tools for a Surgical Fit
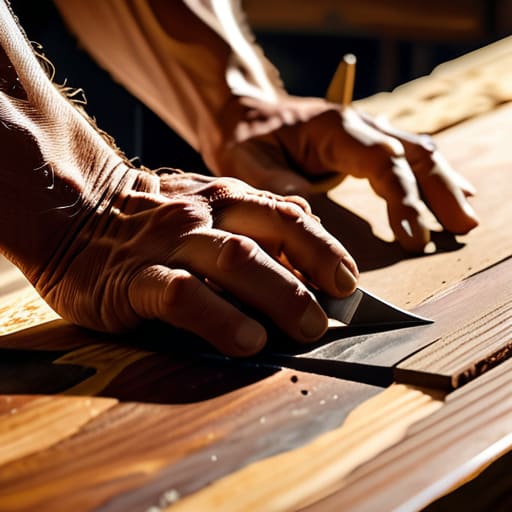
You don’t need a shed full of expensive, battery-operated gadgets to get a clean finish. Most of the lads coming up through the colleges these days think a high-torque driver is the answer to everything, but they end up fighting the wood rather than working with it. When you're installing door hinges, the real work is in the preparation. I always keep a well-honed paring chisel close at hand. If your mortise is a fraction too shallow, don't go forcing the screw and stripping the grain; just take a thin shaving off the bottom of the recess. It’s much easier to remove a whisper of timber than it is to fix a botched hole.
Once the hardware is set, pay close attention to the way the door sits in the opening. If you find yourself struggling with fixing uneven door gaps, don't reach for a sander immediately. Usually, the issue lies in how the weight is distributed across the jamb. A bit of patient work with a block plane or a slight adjustment to the hinge leaf will do more for you than any power tool ever could. Measure twice, cut once, and sharpen often.
Five ways to stop fighting your door and start fitting it
- Stop relying on those cheap plastic shims. If you want a frame that stays where you put it, use proper hardwood wedges. They won't compress under the weight of the door, and you won't be back there in six months adjusting it again.
- Check your hinges before you even pick up a screwdriver. A door that hangs crooked usually isn't a frame problem; it’s a hinge that’s sitting proud or a screw that’s stripped. Make sure they sit flush and flat in the mortise.
- Don't trust your eyes alone; use a spirit level on both the jamb and the hinge side. If the frame isn't plumb, you can spend all day shaving wood off the door and it'll still bind. Get the frame true first.
- Keep a sharp chisel handy for the hinge mortises. If you try to force a hinge into a shallow cut with a hammer, you'll end up with a mess. A clean, deep mortise makes the whole installation feel solid.
- Listen to the wood. When you're trimming a door to fit, don't just hack away. Take thin, controlled shavings. If you take too much at once, you've lost your margin for error, and you can't put that wood back.
The Final Fit
At the end of the day, hanging a door isn't about how much noise you can make or how many screws you can drive into a frame. It’s about the patience to check your plumb, the discipline to use a sharp chisel for those fine adjustments, and the sense to listen to the wood rather than fighting it. If you’ve taken the time to align the frame properly and used your tools to shave away rather than gouge out, you won't be back in a week fixing a door that drags or sticks. It comes down to the basics: steady hands and sharp edges always beat a frantic rush with a power driver.
I know it’s tempting to reach for the quickest way out, especially when the job feels tedious. But there is a particular kind of satisfaction that comes from closing a door that fits so perfectly you barely hear the latch click. That’s not luck; that’s the result of doing the work the right way. I’ve spent forty years seeing men try to muscle their way through a job, only to end up undoing half their work an hour later. Don't be one of them. Take your time, respect your tools, and remember that a job done with precision is a job you only have to do once.