Diagnosing a Door Before You Plane It
 Callum Reith-Sowande
I spent thirty years on-site watching blokes reach for a heavy-duty cordless drill and a bag of coarse screws the moment a door started sticking, thinking they could just force their way through the problem. They treat a house like it’s something to be conquered rather than understood. Most people think they need expensive hardware or a complete replacement when they're wondering how to fix a door that will not close, but they’re usually just fighting the physics of a loose hinge or a swollen timber. You don't need a power tool to solve a problem that usually just needs a bit of finesse and a steady hand.
In this guide, I’m going to show you how to stop wrestling with your woodwork and start working with it. We won't be talking about fancy gadgets or replacing entire frames; instead, I'll walk you through the practical, old-school ways to diagnose the real culprit. Whether it's a screw that's lost its grip or a bit of seasonal movement, I’ll teach you the proper way to adjust it so that door swings true every single time.
Guide Overview
Tools & Supplies
- Screwdriver (to tighten loose hinge screws)
- Hammer (to tap hinge pins if needed)
- Sandpaper (to smooth friction points)
- Level (to check door alignment)
- Wood filler (small container for screw holes)
- Longer wood screws (4-6 screws for hinge reinforcement)
- Lubricant/WD-40 (small can for squeaky or sticking hinges)
Step-by-Step Instructions
- 1. First, you need to stop guessing and actually see what's wrong. Take a look at where the door is catching—is it the top corner, the side, or the bottom? I always find it's best to take a bit of coal or even a pencil and mark the exact spot where the wood is rubbing against the frame. If you don't know exactly where the rub is, you'll just end up shaving off wood you didn't need to touch.
- 2. Once you've found the spot, check your hinges. Most people jump straight to the sandpaper, but half the time, the door is just sagging because a screw has worked its way loose. Grab a manual screwdriver—not one of those cheap battery-operated ones that strips the heads—and tighten every single screw in the hinge plates. If the screw just spins and won't bite, you've got a stripped hole, and that's a different job entirely.
- 3. If the hinges are tight but the door still won't sit right, look at the hinge pins. Sometimes a door hangs crooked because the pin has shifted or the hinge itself is slightly bent from years of heavy use. I like to check if the hinge is flush against the timber. If there's a gap, you might need to shim it with a bit of thin cardboard or a specialized veneer to bring it back into alignment.
- 4. Now, if the hinges are fine and the door is still hitting the frame, it’s time to deal with the wood itself. Don't go grabbing a power planer and slicing away half the door in a fit of frustration. Instead, get a sharp block plane. You want to take tiny, paper-thin shavings off the edge of the door. If you use a blunt tool, you'll tear the grain and make a mess that's much harder to fix than the original problem.
- 5. Before you start planing, check for any obstructions in the frame itself. Sometimes it isn't the door at all, but a bit of build-up or a swollen piece of the casing. Use a chisel to clean out any debris or old paint that might be acting like a wedge between the door and the frame. A clean path is often all a door needs to swing freely again.
- 6. If you find that you do have to remove a significant amount of material, do it in stages. Plane a little, then close the door and test it. It’s much easier to take another shaving off than it is to glue a piece of wood back on because you were too impatient. I've seen many a young apprentice ruin a perfectly good door because they thought they could "just take a bit more off" to save time.
- 7. Finally, once the door closes smoothly, don't just walk away. You need to seal the area you've worked on. If you've planed down the edge of the door, you've exposed raw wood. If you leave it like that, it'll soak up moisture like a sponge and swell right back up again. Apply a bit of matching varnish or paint to the edge to keep the moisture out and ensure your hard work actually lasts.
Tightening Loose Hinge Screws Before Reaching for the Drill
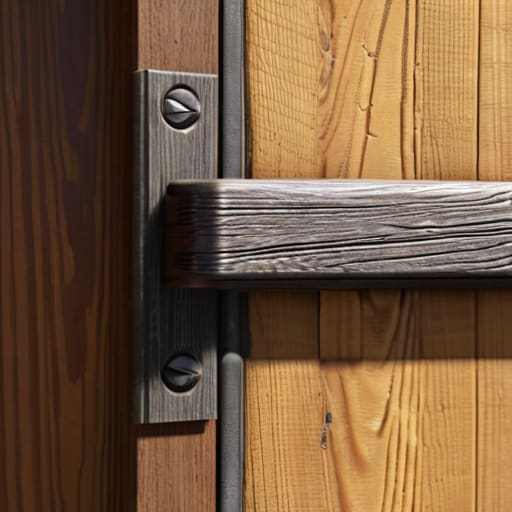
Before you go grabbing that cordless drill and making a mess of the timber, take a proper look at the hinges. Most of the time, a door that won't sit right isn't a structural failure; it’s just a few screws that have worked themselves loose over the years. When those screws back out even a fraction, the weight of the door pulls the hinge away from the frame, causing a misaligned door latch that drives you mad every time you try to go to bed.
Get yourself a decent manual screwdriver—not one of those cheap, soft-metal bits that strips the head—and try tightening loose hinge screws by hand first. I always tell my apprentices: feel the resistance. If the screw just spins and spins in the wood, don't force it with a power tool. That’s when you know the hole is stripped. Instead of driving more metal into a hollow void, you’ll need to back the screw out, glue a few wooden matchsticks into the hole, and let it set. It’s a five-minute fix that saves you from having to replace the whole hinge.
Solving a Misaligned Door Latch With Precision
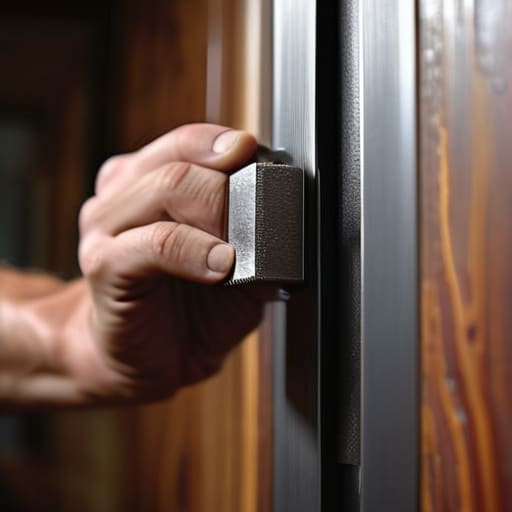
If you’ve checked the hinges and they’re tight, but that latch still refuses to click into place, you’re likely dealing with a misaligned door latch. It’s a common frustration, especially when the metal strike plate on the frame doesn't line up with the spring of the latch itself. Before you start hacking away at the wood, take a look at where the metal meets the frame. Often, you don't need a new door; you just need a bit of door strike plate adjustment. I’ve spent many an afternoon using a small hand file to slightly widen the opening in the plate. It’s a tidy, surgical way to fix the problem without leaving a mess of sawdust behind.
Sometimes, the issue isn't the metal at all, but the wood around it. If the seasons have changed and the humidity has climbed, you might be looking at door frame swelling solutions. If the door is rubbing against the jamb, don't reach for the heavy sander straight away. I prefer sanding down door edges with a well-maintained block plane or a piece of coarse sandpaper. It gives you much more control, ensuring you only take off what’s necessary to get that smooth, silent movement again.
Five things to check before you go buying new hardware
- Check the floor for debris first. I’ve seen many a man swear a door is warped or the frame is shifting, only to find a stray bit of grit or a pebble lodged under the threshold. Give it a sweep and see if that settles the matter.
- Look at the hinge pins. If they’ve started to weep or if there’s a bit of rust, the door won't swing true. A tiny bit of oil or a quick wipe with a rag can do more for a door's movement than any expensive adjustable hinge ever could.
- Inspect the wood for swelling. If you live in a damp climate or the heating has been cranked up, that timber is going to breathe. Before you start sanding everything down, wait for a dry spell to see if the door finds its own way back into place.
- Feel for the "spring" in the latch. Sometimes the strike plate is fine, but the latch itself is just lazy. A gentle tap with a hammer to realign the mechanism can often give it the tension it needs to click home without you having to fight it.
- Watch the way the door hangs. If it’s dragging on one specific corner, the problem isn't the door—it's the weight distribution. You likely need to shim the bottom hinge to pull the top of the door back into alignment with the frame.
A Bit of Common Sense Goes a Long Way
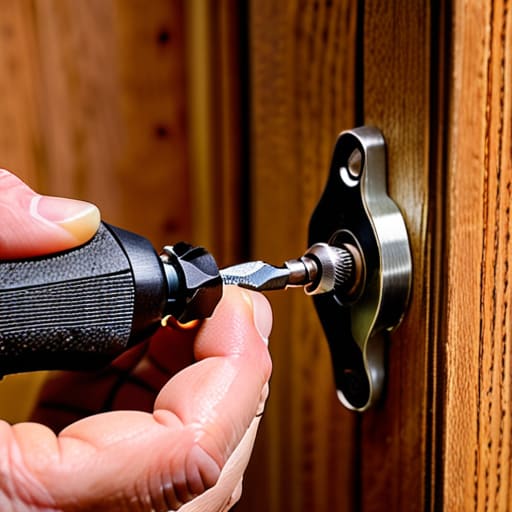
At the end of the day, most doors that won't shut aren't suffering from some grand structural failure; they are usually just victims of a few loose screws or a latch that's drifted a fraction of an inch out of place. Before you go out and buy a new set of heavy-duty hinges or start hacking away at the door frame with a jigsaw, remember to check the basics first. Tighten those hinge screws, check the alignment of the strike plate, and see if a little bit of manual adjustment can do the job. Most of the time, you'll find that the simplest fix is the right one, and you won't have wasted a morning fighting with tools that were never meant for the task.
I’ve spent forty years on sites and in classrooms, and if there is one thing I’ve learned, it’s that we have become far too quick to reach for the loudest, most expensive power tool in the box. We treat our houses like they are disposable, but a well-maintained door is a testament to a steady hand and a bit of patience. Don't be in such a rush to replace things when you can simply restore them to working order. Take your time, use your eyes, and trust your hands. Once you get that door swinging true and clicking shut with a solid thud, you'll realize that you didn't need a power tool—you just needed a bit of sense.