Replacing a Drawer Bottom
 Callum Reith-Sowande
I remember a lad in my college workshop years ago, a bright kid, but he thought the only way to fix a sagging drawer was to rip the whole carcass apart and buy a new sheet of plywood. He was ready to bin a perfectly good piece of furniture just because the bottom had slipped its groove. That’s the trouble with how things are made nowadays—everything is built to be replaced, not mended. Most people think they need a workshop full of expensive jigs to figure out how to repair a drawer bottom, but they’re wrong. You don't need a power tool to fix a mistake; you just need a steady hand and a bit of common sense.
I’m going to show you how to do this properly, the way we did it on-site before everything became disposable. We aren't going to use messy glues or cheap fillers that'll crack in six months. Instead, I'll walk you through using a sharp chisel to clean out those old grooves and how to secure a new base so it actually lasts another forty years. No hype, no unnecessary gadgets—just honest joinery.
Guide Overview
Tools & Supplies
- Screwdriver (to remove drawer sides)
- Hammer (to tap out loose nails or pins)
- Utility knife (to trim excess material)
- Plywood or hardboard (1 sheet, sized to drawer dimensions)
- Wood glue (1 small bottle)
- Small finishing nails or staples (1 small pack)
Step-by-Step Instructions
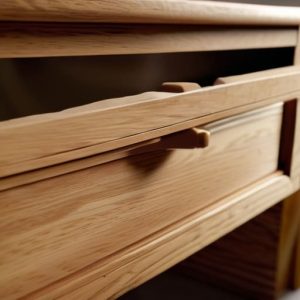
- 1. First thing you do is get that drawer out of the carcass and lay it flat on your workbench. Don't try to fiddle with it while it's still inside the unit; you'll only end up bruising the joinery or stripping a screw you didn't mean to touch. Once it's down, take a look at how that bottom is actually held in. Most modern rubbish uses little plastic clips or tiny nails, but if you're lucky, you'll find it's sitting in a proper groove.
- 2. Now, you need to get the old, battered bottom out of the way. If it’s held in by nails, don't go hacking at it with a crowbar like a madman. Use a thin, sharp chisel to carefully score the line where the bottom meets the side, then gently tap the chisel in to pop the old material free. If it's a plywood bottom that's simply crumbled at the edges, you'll want to trim away the loose, splintered bits until you have a clean, straight edge to work with.
- 3. Before you even think about buying new timber, check the depth of your grooves. If the old bottom was thin because it was cheap, you might find the groove is too wide now. I always say you shouldn't settle for a loose fit. If the gap is wider than a couple of millimetres, you’ll need to shim the edges with a thin shaving of hardwood or a bit of veneer. A drawer bottom that rattles is a drawer bottom that's going to fail again in six months.
- 4. Measure twice, cut once—it’s a cliché because it’s true. Get your replacement material, preferably a decent quality 6mm birch plywood rather than that flaky stuff you find in the big-box stores. Cut your new piece so it sits about a fraction of a millimetre inside the groove on all sides. You want a snug fit that slides in with a bit of resistance, not something you have to hammer into place, or you'll split the drawer sides.
- 5. Once your new bottom is cut and fitted, it's time to secure it. If you're working with traditional grooves, a little bit of PVA glue along the edge of the new panel is plenty. If you're dealing with a drawer that uses a bottom plate, use small, flat-head screws. Whatever you do, don't over-tighten them; you aren't building a bridge, you're just holding a panel in place.
- 6. Finally, give the whole thing a proper test run. Slide the drawer back into its runners and move it in and out a few times. Listen to it. It shouldn't squeak, and it certainly shouldn't wobble. If it feels solid, you're done. If it feels flimsy, you've likely missed a spot with your measurements, and you'll need to start the process again rather than trying to patch a bad job.
Measuring Drawer Dimensions for a Perfect Plywood Replacement for Drawers
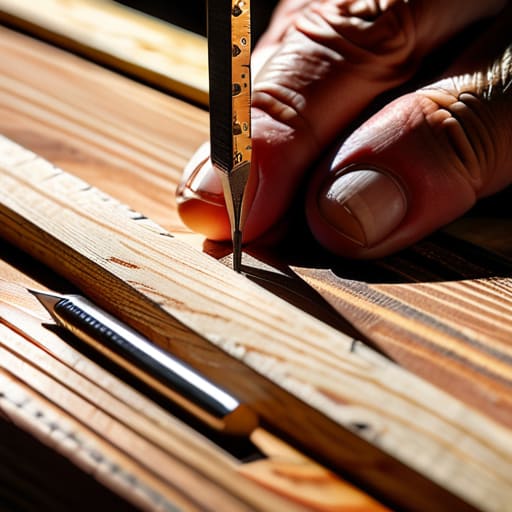
Now, don't go running to the timber yard until you’ve actually sat down with a pencil and a square. I’ve seen too many lads rush this part, only to end up with a piece of plywood that’s a fraction too wide to seat in the grooves. When you're measuring drawer dimensions, you aren't just looking at the width and depth; you need to account for the depth of the grooves in the drawer sides. If you're too short, the bottom will rattle like a loose tooth, and if you're too long, you'll split the runners trying to force it in.
I always tell my students to measure the internal space first, then add the depth of the dadoes on both sides. It’s better to have a hair too much material to trim down with a sharp chisel than to be a millimetre short. Once you’ve got your numbers, pick a decent grade of plywood replacement for drawers—something stable that won't warp the moment the seasons change. A bit of patience in the measuring stage saves you a lot of swearing when you're halfway through installing a new drawer base.
Fixing Sagging Drawer Bottoms Using Nothing but Wood Glue for Furniture Rep
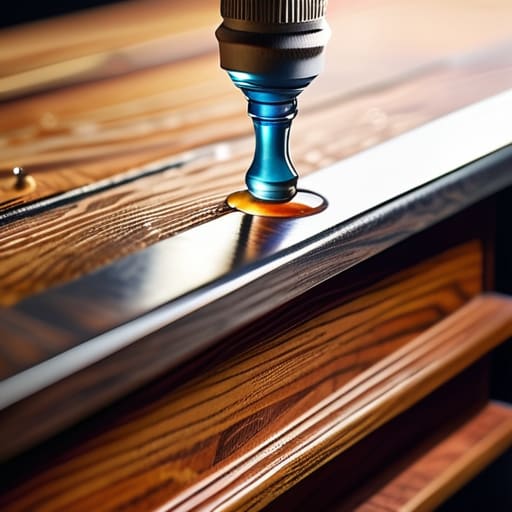
Sometimes, you don't need to go through the trouble of a full plywood replacement for drawers if the wood hasn't actually split, but has simply lost its fight against gravity. If you’ve got a bottom that’s bowing in the middle, it’s usually because the glue bond between the base and the side rails has failed. Before you start stripping the whole thing down, try injecting some quality wood glue for furniture repair directly into those hairline gaps. I like to use a thin syringe or even a fine needle to get the adhesive right where it counts.
Once the glue is in, don't just walk away. You need to apply steady, even pressure to pull those fibers back together. I usually use a few small spring clamps or even some heavy books to keep the pressure consistent while it cures. It’s about patience, not force. If you rush it, you'll end up with a messy joint that'll just sag again in a month. Take your time, let it set overnight, and you'll find that fixing sagging drawer bottoms can be a ten-minute job rather than an afternoon's worth of sawdust.
A few things I've learned the hard way
- Don't just slap a new piece of ply in. If the groove is worn or shallow, the new bottom will sit proud and catch every time you pull the handle. Clean out that channel with a sharp chisel first to make sure it sits flush.
- Stop using those cheap, flimsy 3mm boards. They're made to be thrown away. If you're replacing a bottom, use at least 6mm birch ply. It’s got the backbone to actually hold weight without bowing the moment you put a heavy spoon in it.
- Check your drawer sides for splits before you start. There's no point in a perfect new bottom if the side grain has pulled away from the front. A bit of glue and a proper clamp will do more for you than any new piece of timber.
- If you're using glue to fix a sag, don't go overboard. You don't want a pool of dried glue sitting in the bottom of the drawer catching your cutlery. A thin, even bead is all you need; let the wood do the work.
- Test the fit by hand, not by eye. Slide the new bottom in and feel for any snags or tight spots. If it doesn't glide in smoothly with a bit of light pressure, it's going to fight you every single time you open that drawer.
A Job Well Done
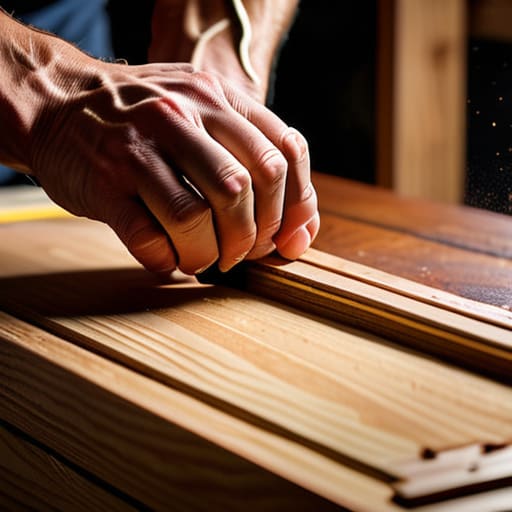
At the end of the day, repairing a drawer bottom isn't about finding the quickest way to throw something new in. It’s about taking the time to measure properly, selecting a decent piece of plywood that actually fits the groove, and ensuring that glue bond is solid before you go putting weight on it. Whether you’ve gone the route of reinforcing a sagging base or replacing the whole panel, the goal is the same: making it sturdy enough to last another twenty years. If you’ve done your work right, you won't be reaching for the screwdriver to fix it again in six months. It comes down to doing the job once, rather than doing it twice.
I know there’s a lot of pressure these days to just buy a new piece of furniture when something fails, but there is a real satisfaction in fixing what’s broken with your own two hands. When you use a sharp chisel to clean out a groove or a hand saw to trim a panel to size, you aren't just repairing a drawer; you're preserving a piece of history. Don't let the modern habit of "disposable everything" get the better of you. Take the slow way, use your tools properly, and remember that a well-repaired piece of wood often has a better story to tell than something straight off a factory line.