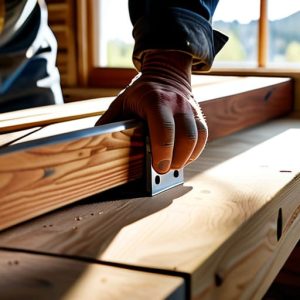
A Sharpening Station You Will Use
 Callum Reith-Sowande
I remember standing in my first workshop forty years ago, sweating over a dull chisel that felt more like a blunt wedge than a cutting tool. I was trying to force the steel through a piece of oak, fighting the grain and cursing the day I ever picked up a tool, when I realized the problem wasn't my strength—it was my setup. Most people think you need a mountain of expensive, motorized gadgets to get a decent edge, but that’s a load of rubbish. The truth is, if you want to stop fighting your timber, you need to learn how to make a sharpening station that actually works for you, not against you.
In this guide, I’m going to show you how to build a sturdy, no-nonsense station that keeps your stones steady and your workspace tidy. I won't be wasting your time with fancy-pants gadgets that'll break in a month; I'm talking about a solid, reliable setup built from scraps and common sense. We’ll go through the essential layout, the right way to secure your surfaces, and how to organize your kit so you spend less time searching for stones and more time actually making chips.
Guide Overview
Tools & Supplies
- Drill and bits for mounting components
- Clamps to hold workpieces steady
- Measuring tape for precise alignment
- Sandpaper for smoothing edges
- 1 Wooden base board (approx. 12x18 inches)
- 2-4 Small wood blocks for angle supports
- 1 Set of varying grit whetstones or sandpaper sheets
- Wood screws or heavy-duty mounting adhesive
- Non-slip rubber mat for the base
Step-by-Step Instructions
- 1. Start with a solid base. Don't go looking for some flimsy piece of chipboard that'll wobble the moment you apply pressure to a stone. I used an old piece of thickly laminated beech from a leftover project, but any heavy, stable timber will do. You want something with enough heft to stay put when you're working a chisel across a coarse grit.
- 2. Plan your layout before you drive a single screw. You need to think about the sequence of your stones—from your coarse grits up to your fine polishing stones. I like to arrange mine in a way that follows the natural flow of my work, so I'm not reaching across the bench and knocking things over. Map out where your honing guide, your strop, and your water troughs will sit so everything is within an easy arm's length.
- 3. Build a dedicated holder for your stones. Nothing frustrates me more than a stone sliding around while I'm trying to find the bevel. You can fashion simple wooden cradles or even just use heavy-duty rubber matting to keep them seated. The goal is to ensure that when you press down, the stone stays dead still.
- 4. Create a way to manage the mess. Sharpening is a wet job, and if you don't have a plan for the slurry, you'll end up with a muddy workbench and a headache. I built a small, shallow tray out of scrap hardwood to catch the runoff, but even a simple dedicated drip tray will keep your workspace from becoming a swamp. Keep the water contained so you can focus on the edge, not the cleanup.
- 5. Set up your lighting. You can't fix what you can't see, and most workshop lights are rubbish for catching the subtle changes in a metal surface. Position a lamp so it hits the bevel at an angle; you're looking for that slight shimmer that tells you the edge is truly honed. If you're squinting, you're doing it wrong.
- 6. Integrate a spot for your strop. A sharpening station isn't finished until there's a place for the final touch. I like to mount a small block for my leather strop right at the end of the station. It should be easy to reach so that once you've done the heavy lifting on the stones, you can finish the job without having to hunt through a drawer for your polishing gear.
The Diy Knife Sharpening Setup for True Precision
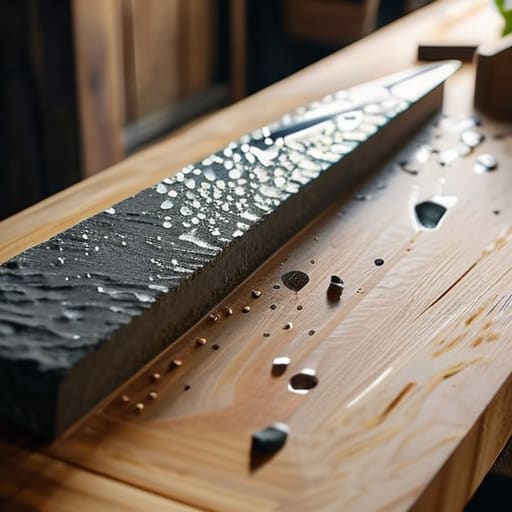
Now, if you’re moving beyond basic chisels and looking to incorporate kitchen knives or fine carving blades into your routine, you can't just slap them on a flat bench and hope for the best. A proper DIY knife sharpening setup requires a bit more stability to ensure you aren't fighting the blade while trying to find your bevel. I’ve found that integrating a small, stable water trough for whetstones directly into your station saves a massive amount of cleanup time. It keeps the slurry contained and your workbench dry, which is half the battle when you're trying to maintain a tidy workspace.
Precision comes down to consistency, not just effort. If you struggle to hold a steady hand, don't be ashamed to use an angle guide for sharpening until your muscle memory takes over. I always tell my former students: don't fight the steel. If your setup is wobbling or your stones are sliding, you’ll never achieve that mirror polish. A solid, heavy base is the only way to ensure that the angle you set is the angle you keep.
Mastering the Whetstone Mounting System and Water Trough
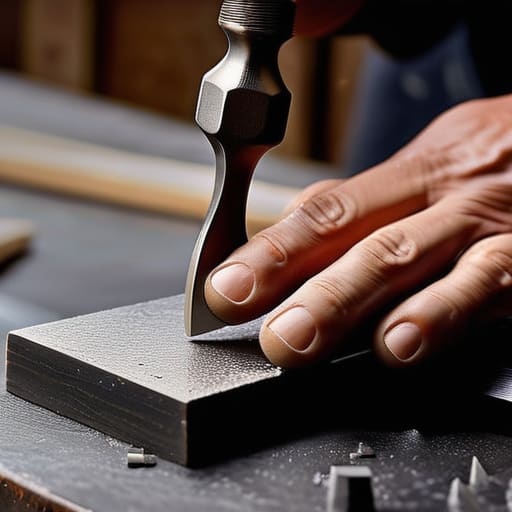
Once you’ve got the frame built, you need to think about how you actually interact with the stone. A common mistake I see is people just letting a stone sit loose on a bench. If that stone slides while you’re trying to establish a bevel, you’ve wasted ten minutes of hard work and ruined your edge. I always recommend a solid whetstone mounting system using a heavy rubber base or even a custom-built wooden jig. It needs to be rock steady; you want your focus on the steel, not on preventing the stone from skittering across the bench like a puck on ice.
The same goes for your water supply. I don't care for those little plastic trays that come with cheap kits; they're shallow and they spill. A proper water trough for whetstones should be deep enough to keep the stone lubricated without needing a refill every two minutes. If you’re using oil stones, ensure your trough is easy to wipe down. Keeping a consistent slurry is the only way to ensure you're actually removing metal rather than just polishing the grit. Consistency is everything when you're chasing a mirror finish.
Five Things I’ve Learned the Hard Way
- Keep your station at waist height. I spent my first five years as an apprentice hunching over a bench like a question mark, and my back still reminds me of it. You want to be able to stand straight and focus on the edge, not on the ache in your spine.
- Don't skimp on the stability. If your stones are wobbling or sliding while you're trying to hone a bevel, you aren't sharpening; you're just getting frustrated. A heavy, solid base is non-negotiable.
- Control your slurry. A bit of grit on the stone helps the process, but a mess on the floor is just a slip hazard. Build your station with a way to catch the runoff, or you'll spend more time sweeping than working.
- Lighting is everything. You can't fix an edge if you can't see the light reflecting off it. Position a lamp so you can see the actual geometry of the bevel, otherwise, you're just guessing.
- Keep your tools within arm's reach, but not in the way. A good station is organized so that your honing guides, your stones, and your cleaning cloths are right where you need them, but leave enough clear space for the actual work.
A Proper Foundation for Your Work
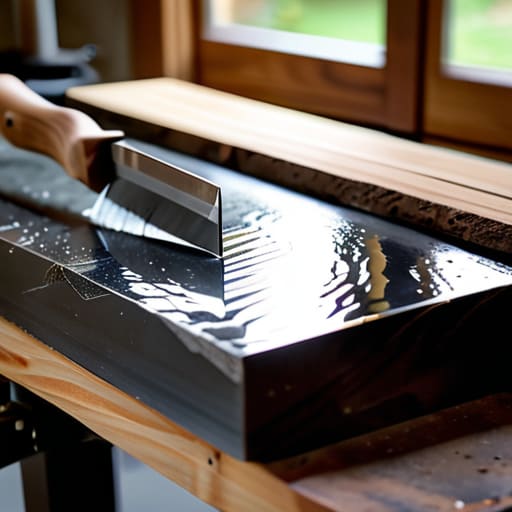
Building this station isn't about adding more clutter to your workshop; it’s about creating a dedicated space where your tools can actually reach their potential. By setting up a stable mounting system for your stones and a reliable water trough, you’ve moved away from the chaos of improvised sharpening. You now have a setup that respects the geometry of the blade and the patience required to get it right. Remember, a solid station means you spend less time fighting your equipment and more time actually working the wood. It turns a chore into a ritual, ensuring that every chisel and plane iron you own stays in a state of constant readiness.
At the end of the day, the world wants you to believe that if a tool isn't cutting, you should just buy a new one. I’ve spent forty years proving that’s a lie. When you invest the time to build a proper sharpening station, you are making a commitment to your craft and to the tools themselves. There is a specific, quiet satisfaction in taking a rusted, blunt piece of steel and bringing it back to a mirror-polished edge that can shave hair. Don't rush the process. Build it well, keep it clean, and let your tools do the work they were meant to do.