Sharpening a Saw Instead of Replacing It
 Callum Reith-Sowande
I remember a lad on my apprenticeship back in the seventies who thought a dull saw was just part of the job—something you worked around by leaning your whole weight into the cut. He’d spend half the day sweating and fighting the timber, convinced that if he just pushed harder, he’d get the job done. But that’s the trap. Most people think they need a bigger, louder machine when the real problem is simply that their steel has lost its bite. Learning how to sharpen a hand saw isn't just about maintenance; it’s about reclaiming the ability to glide through a board with nothing more than a steady hand and a bit of patience.
I’m not going to give you any of that modern, over-complicated nonsense involving expensive, specialized machinery you'll only use once. Instead, I’m going to show you the proper, old-fashioned way to set your teeth and hone that edge using basic files and a bit of common sense. We’ll go through the rhythm of filing, the importance of checking your angles, and how to ensure every tooth is working in harmony. By the time we're done, you’ll have a tool that outruns the power saws in your shed every single time.
Guide Overview
Tools & Supplies
- Triangular file (correct size for tooth pitch)
- Saw vise or bench vise with soft jaws
- Saw set (to bend teeth outward)
- Lubricating oil or honing oil (1 small bottle)
- Fine-grit sandpaper (1 sheet)
- Cleaning rag (1 piece)
Step-by-Step Instructions
- 1. First, you need to get the saw clean. I’ve seen too many lads try to file over old resin and sawdust, and it’s a waste of good steel. Take a bit of fine steel wool or a brass brush and scrub the blade until you can actually see the teeth clearly. If there’s rust, don't panic; a bit of light oil and a fine abrasive will take it off, but you must ensure the surface is completely free of grit before you move to the next stage, or you'll just be dragging dirt across your files.
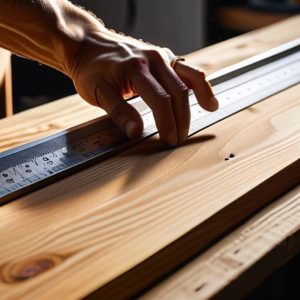
- 2. Now, you'll need the right tools for the job—specifically a triangular needle file. Don't go reaching for those cheap, soft files you find in a bargain bin; they'll round off before you've finished the first side. Lay the saw flat on a steady workbench, and if you can, use a saw vise to keep it from wobbling. You want the blade to be dead level so you aren't fighting the metal as you work.
- 3. This is where most people lose their nerve, so take your time. You're going to file each tooth one by one, following the existing angle. Pick a starting tooth and work your way down the length of the blade. The trick is to maintain a consistent angle; if you start too steep and end too shallow, the saw will wander like a drunkard once it hits the timber. Consistency is everything here.
- 4. Once you've finished one side, flip the saw over and repeat the process on the other. You aren't just making the teeth pointy; you're restoring the geometry. I always tell my students to look at the teeth from the side to make sure they aren't leaning too far in one direction. If the teeth are uneven, the saw will bind in the cut, and you'll be right back where you started, wishing you'd just used a jigsaw.
- 5. After the filing is done, you'll notice the teeth look a bit ragged. This is when you use a small, fine-grade file or a specialized honing tool to "set" the teeth. This means slightly bending every other tooth outward. This creates a kerf that is slightly wider than the blade itself, which prevents the saw from binding in the wood. It’s a delicate touch—too much and you've ruined the blade, too little and it'll stick.
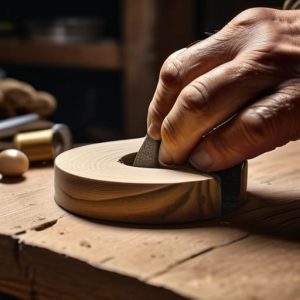
- 6. The final step is the most important for a smooth finish. Take a very fine whetstone or a piece of high-grit emery cloth and lightly run it along the face of the teeth. This removes the tiny burrs left behind by the file. When you're finished, run your thumb very carefully (and I mean very carefully) across the edge. It should feel like it's grabbing at you, not sliding smoothly. If it feels smooth, it's still blunt, and you've got more work to do.
Mastering Saw Tooth Geometry and Pitch
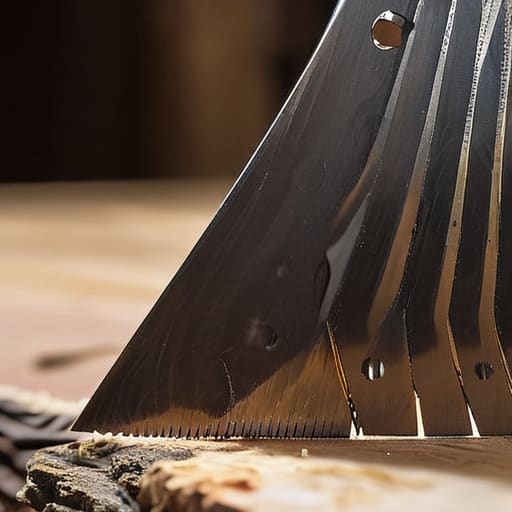
Now, if you want a saw that actually sings through the grain instead of fighting it, you have to look beyond just the edge. You need to understand the saw tooth geometry at play. It isn't enough to just make the metal shiny; you’re managing the way each tooth bites and clears the waste. If your teeth are all set at different angles, the saw will wander, and you'll spend more time fighting the kerf than actually cutting. I’ve seen plenty of lads try to rush this, but if you don't respect the relationship between the set and the angle, you're just making a very expensive piece of scrap metal.
When you're working through your maintenance, pay close attention to the saw tooth pitch. A fine-pitched saw is meant for smooth, precise work, while a coarse pitch is for clearing bulk. If you’re re-setting saw teeth, don't go overboard; too much set makes the blade wander like a drunkard. I always tell my students that consistency is more important than perfection. If every tooth follows the same logic, the tool will behave predictably, and that’s when you’ll finally start seeing it outpace those noisy electric saws.
The Precision of a Tapered Triangular File
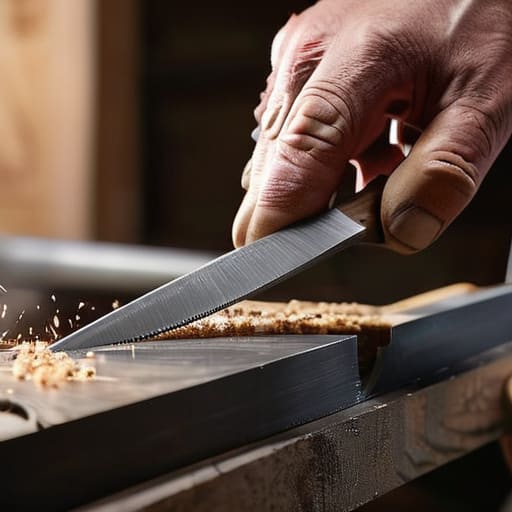
Now, if you think you can just grab any old flat file and get the job done, you’re asking for a headache. You need a proper tapered triangular file that fits the gullet of the tooth perfectly. If the file is too thick, you’ll mash the metal; too thin, and you’re just rubbing against the sides without actually cutting. I’ve seen many a lad ruin a perfectly good blade because they tried to force a wrong-sized tool into the work. A good file should slide in with a certain natural authority, following the line of the tooth without you having to wrestle it.
Once you have the right file, pay attention to your stroke. You aren't just scrubbing at the metal; you are following the existing saw tooth geometry to maintain the bevel. I always tell my students to work from the heel toward the tip, keeping the pressure steady and even. If you feel the file "skating" or jumping, your angle is off. You want a smooth, rhythmic motion. It’s about consistency over speed—if you rush the file work, you'll end up with uneven teeth that wander the moment they hit the timber.
Five things I wish my apprentices had learned sooner
- Don't go chasing perfection on every single tooth; if a saw is working well, sometimes a light touch with a fine file is better than a complete teardown that ruins your established rhythm.
- Always check your gullets for sawdust buildup before you even think about touching a file to the teeth, because you can't sharpen what you can't see.
- Stop using those cheap, stamped-out files from the big-box hardware stores; if the file isn't high-quality steel, you're just rubbing metal on metal and wasting your afternoon.
- Keep a close eye on your tooth height, because if you let one side get significantly taller than the other, you'll end up with a saw that wanders all over the cut like a drunkard.
- Work in a steady, rhythmic motion rather than forcing it; sharpening is about patience and a light touch, not about how much muscle you can throw at the tool.
The Finished Edge
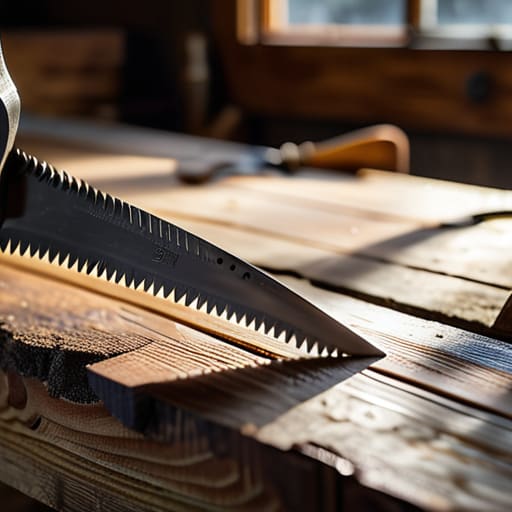
Now, don't go rushing off to the shed and putting that saw straight to work on a massive oak beam. You’ve spent the time getting the pitch right and working that tapered file with patience, so make sure you take a moment to inspect the teeth one last time. Check that the set is even across the whole blade and that you haven't left any burrs behind that might snag the wood. It’s a slow process, I know, but getting the geometry correct is the difference between a tool that sings through the grain and one that just fights you. If you’ve done it right, you haven't just sharpened a piece of steel; you’ve restored a precision instrument that’s ready to last another forty years.
I see too many young lads these days reaching for a cordless reciprocating saw the moment a blade feels a bit dull. They think they’re saving time, but they’re actually just losing the craft. There is a particular kind of satisfaction that comes from feeling a perfectly filed saw bite into a timber with nothing more than your own steady rhythm. It’s quiet, it’s controlled, and it’s honest work. Keep your files clean, keep your eyes sharp, and remember that mastery lives in the details. Once you truly feel the difference a hand-sharpened edge makes, you'll find it very hard to go back to the noise.