Insulating Without Trapping Damp
 Callum Reith-Sowande
I spent twenty years thinking a heavy-duty heater was the answer to a freezing morning in the shed, but I was just throwing money into a drafty hole. You can buy the most expensive electric radiator on the market, but if you haven't figured out how to insulate a workshop properly, you're just trying to warm up the entire neighbourhood. I learned that the hard way, standing there with numb fingers, unable to even hold a chisel steady because the damp chill had settled right into my bones. It wasn't about the heat; it was about keeping the warmth where it belongs.
I’m not going to bore you with fancy thermal imaging or expensive, high-tech nonsense that you can't fix yourself when it fails. Instead, I’m going to show you the practical, honest way to seal your space using materials that actually work and stay put. We’ll go over the essential layers, from the floor to the rafters, so you can stop fighting the weather and get back to the real work. This is about building a workspace that stays steady, no matter what the sky is doing outside.
Guide Overview
Tools & Supplies
- Utility knife for cutting insulation
- Tape measure for calculating coverage
- Staple gun for securing vapor barrier
- Safety gear (N95 mask, gloves, goggles)
- Fiberglass batts or mineral wool rolls (sq ft based on wall area)
- Vapor barrier/polyethylene sheeting (roll)
- Sealing tape for seams
- Expanding spray foam for gaps
Step-by-Step Instructions
- 1. First, you need to get in there and find where the heat is escaping. It’s a bit like checking a joint for a gap; if you don't find the source, you're just wasting your time. Go around with a torch when it's dark outside and look for light peeking through the door frames or floorboards. Check the eaves and the corners too. You can't fix a problem you haven't properly identified.
- 2. Once you know where the leaks are, you have to seal the gaps. I don't care how much insulation you buy; if there’s a draft whistling through the window frame, that expensive material is useless. Get yourself some decent quality caulk or weatherstripping. If it's a gap in the floor, plug it. You want that workshop to be as tight as a well-fitted dovetail.
- 3. Now, you tackle the walls. If you've got a stud wall, you'll want to get some mineral wool or rock wool in between. I’ve always preferred the mineral stuff over those foam boards you see in the big shops; it’s got more substance to it. Just make sure you don't compress it. If you squash the insulation down to make it fit, you're killing its ability to hold the heat.
- 4. If you're working with a shed that has single-skin timber, you’ll likely need to line the inside with something solid. I usually go for OSB or even thin plywood. It gives you a surface to hang your tools on, which is a practical necessity, and it acts as a secondary barrier. Nail it up straight—if your lining is wonky, your whole workspace will feel wrong from the start.
- 5. Don't forget the ceiling. Heat rises, plain and simple. If you've got a high, open roof, you're basically just heating the sky. You need to get insulation up there, even if it's just a layer of loft insulation laid over the top of your rafters. It’s a bit of a clumsy job, but it's the only way to keep the warmth down where you're actually working.
- 6. Finally, look at your floor. If you're standing on cold concrete all day, your feet will be numb before you've even finished sharpening your first chisel. If you can't lay a proper subfloor, at least get some heavy-duty rubber mats down. It makes a world of difference to your joints and keeps the chill from climbing up your legs.
Choosing Thermal Barrier Materials Over Blunt Wasteful Solutions
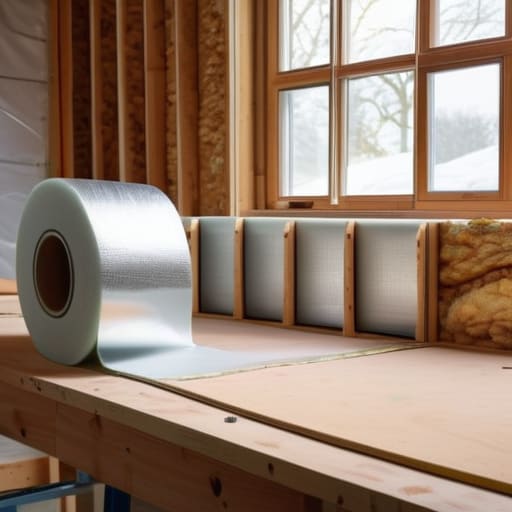
You’ll see plenty of lads heading to the big-box stores to grab a few cans of spray foam, thinking it’s a quick fix. In my experience, that’s a blunt solution to a precision problem. Spray foam can be messy and, if you haven't accounted for the right vapor barrier installation, you’re just trapping moisture behind a plastic seal. It’s better to think about your workshop like a well-fitted joint; everything needs to sit right. If you’re choosing between spray foam vs fiberglass, remember that fiberglass is easier to manage if you're working in tight spaces, but you have to be meticulous about how you stuff it to avoid gaps.
I always tell my former students that a workshop isn't just a shed; it's a controlled environment for your tools. If you ignore the floor, you're fighting a losing battle. Insulating workshop floors with a decent moisture barrier or rigid foam boards is the difference between a comfortable afternoon and damp, aching feet. Don't just chase a high R-value for outbuildings without considering how the air actually moves. You want a setup that holds steady, not one that relies on a heavy heater to fight a constant draft.
The R Value for Outbuildings Why Precision Beats Sheer Volume
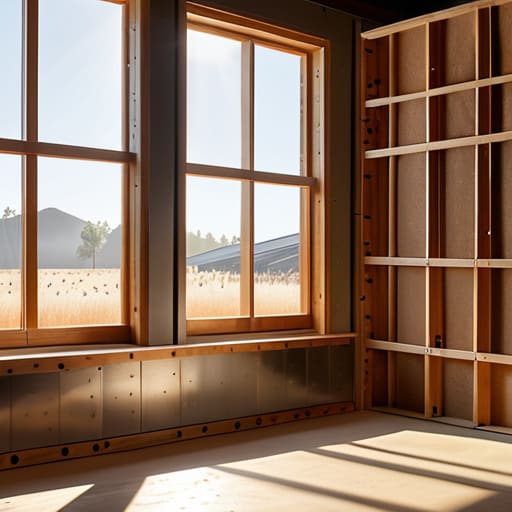
You’ll see folks talking about R-values like they’re measuring the grain in a piece of oak—as if a higher number always means a better result. In a house, sure, you want every bit of resistance you can get. But when you’re looking at the R-value for outbuildings, you have to be sensible. A workshop isn't a living room; it's a place of work. If you over-insulate with thick, expensive materials, you might find yourself trapping heat in a way that makes the space feel stifling when you’re mid-cut. It’s about finding that sweet spot where the temperature stays steady enough to keep your steel from contracting, without turning the shed into a sauna.
Don't get distracted by the flashy marketing for spray foam vs fiberglass, either. Spray foam can be a right mess if it isn't applied perfectly, and it’s a nightmare if you ever want to move a stud or run a new wire. I’ve always preferred a more controlled approach. You need to focus on the gaps and the junctions. If you don't get your vapor barrier installation right, you’re just inviting damp to settle into your timber. A bit of precision in the corners is worth more than a thick, uneven layer of cheap fluff slapped against the rafters.
Five ways to stop leaking heat and start working properly
- Seal the gaps before you buy the boards. You can put all the expensive insulation you want in the walls, but if there’s a draft whistling through the door frame or a gap under the sill, you’re just heating the garden. Get some decent sealant or weatherstripping on there first.
- Mind the floor. Most of you lot forget the ground. If you’re working on a cold concrete slab, that chill is going straight up through your boots and into your bones. Lay down a proper subfloor or at least some heavy-duty insulation boards before you put your workbench down.
- Don't ignore the ceiling. Heat rises, plain and simple. If you leave a void at the top of your workshop without any thermal barrier, you’re basically letting your hard-earned warmth float away through the roof. Insulate the ceiling as well as the walls to keep the heat where you actually need it.
- Avoid the "more is better" trap with cheap materials. I've seen plenty of lads cramming low-grade, airy foam into every corner thinking it'll work. It won't. It’s better to have a thin, solid layer of something decent than a thick layer of rubbish that’s full of air pockets.
- Think about your windows. If you've got single-pane glass in there, you might as well be working in a fridge. You don't need to go buying fancy double-glazing if it's out of budget, but a bit of thick, clear film or even a heavy curtain can make a world of difference when the temperature drops.
Getting the Job Done Right
At the end of the day, insulating a workshop isn't about chasing some fancy architectural standard or spending a fortune on high-tech foams that you can't fix if they fail. It comes down to the basics: choosing materials that actually hold their ground, understanding that a bit of precision in your R-value matters more than just stuffing every gap with cheap fluff, and ensuring your thermal barriers are built to last. If you do it properly, you aren't just keeping the heat in; you're creating a stable environment where your wood doesn't warp and your hands don't go numb the moment the sun goes down. It’s about building a workspace that respects the craft, rather than one that fights against the elements every single hour.
I’ve spent forty years watching men struggle with tools that were too blunt or environments that were too hostile to allow for real focus. A workshop should be a sanctuary, a place where the only thing you have to worry about is the grain of the timber or the edge of your chisel. When you invest the time to insulate correctly, you are essentially sharpening your entire workflow. You’ll find you stay at the bench longer, work with more steadiness, and ultimately produce better work. Don't settle for a drafty shed that makes your joints ache; do the job once, do it right, and get back to the bench.