Lighting That Shows the Line
 Callum Reith-Sowande
I remember a lad I taught back in the college days, a bright enough boy, but he spent half his time squinting at his chisel lines like he was trying to read fine print in a dark pub. He’d bought himself a massive, expensive industrial floodlight that sat in one corner, throwing harsh, blinding glares across the bench and leaving the rest of the workspace in deep, murky shadows. It’s a common mistake, thinking more power equals better sight, but if you don't understand how to light a workshop properly, you’re just inviting mistakes and tired eyes. You can buy every fancy LED panel on the market, but if you haven't planned for the shadows your own body casts, you're just wasting money.
I’m not here to sell you on high-tech gadgets or complicated electrical layouts that require a degree to install. I want to show you how to set up a workspace where you can actually see the grain of the wood and the true edge of your steel without fighting the light. I’ll be sharing exactly what I’ve learned from forty years on the tools about positioning, colour, and clarity. We’re going to get your shop sorted so you can focus on the work, not the struggle to see it.
Mastering Workshop Lumen Requirements for Sharp Work
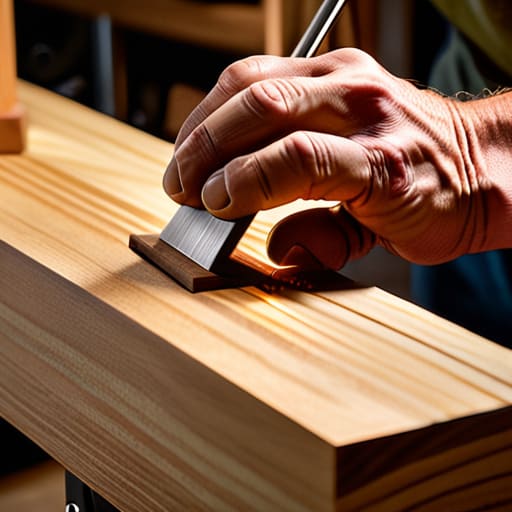
You can’t talk about workshop lumen requirements without understanding that more light isn't always better light. I’ve seen lads install enough high-wattage bulbs to mimic a football stadium, only to find themselves squinting because the light is bouncing off a finished oak surface like a mirror. You aren't looking for a flood; you're looking for clarity. If you're just staring at a pile of sawdust, a dim overhead light is fine, but when you’re setting a chisel or checking a dovetail, you need to balance ambient vs task lighting to ensure you aren't working in your own shadow.
The real trick is finding the right balance to avoid eye strain. When I'm setting up a new bench, I pay close attention to the color temperature for woodworking. If the light is too yellow, you’ll misjudge the grain; if it's too blue, it feels like a hospital ward and leaves you feeling drained by midday. You want a clean, neutral light that lets the wood speak for itself. More importantly, you need to focus on reducing glare in workspace areas, otherwise, you're just fighting the light instead of working with the timber.
Choosing Color Temperature for Woodworking Accuracy
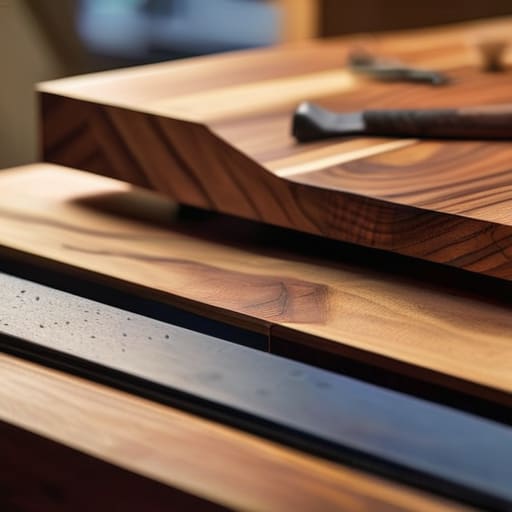
Now, don't go rushing out and buying every bright, blueish bulb you see on sale at the local hardware store. I’ve seen too many young lads set up their benches under that harsh, clinical light that looks more like an operating theatre than a proper joinery shop. That cold, bluish light might seem bright, but it’s a liar. It skews your perception of the wood, making it nearly impossible to judge the true warmth of an oak or the subtle variations in a walnut grain. When you're trying to match veneers or check a stain, you need a color temperature for woodworking that sits somewhere in the 4000K to 5000K range—what they call "natural daylight."
If you go too warm, like an old incandescent bulb, everything looks muddy and dim. If you go too cold, you'll find yourself squinting and straining by the end of the afternoon. You want a light that shows the timber for what it actually is. Finding that sweet spot is part of mastering your environment; it's about making sure your eyes aren't working harder than your hands ever do.
Five Rules to Stop Working in the Dark
- Get your light source above your shoulder. If you’re standing there casting your own shadow right over the joint you’re trying to cut, you’ve already lost the battle. You want the light coming from behind or slightly to the side so your hands aren't blocking your own view.
- Stop relying on a single overhead bulb. One big light in the middle of the ceiling is useless; it creates deep pockets of shadow in every corner and under every bench. You need layers—a general light for the room and task lights that you can point exactly where the work is happening.
- Fix your shadows at the bench. When you're paring a tenon or marking a line with a knife, you need dedicated lighting that sits low and close to the workpiece. A shop light on a flexible neck is worth its weight in gold here because it lets you direct the brightness exactly where the grain meets the steel.
- Watch out for glare on your tools. I’ve seen too many lads squinting because they’ve pointed a bright LED straight at a polished steel plane or a finished surface. If the light is bouncing off your tools and into your eyes, it’s not helping you work; it’s just causing a headache.
- Clean your fixtures regularly. It sounds like a chore, but sawdust is a magnet for light. A layer of fine dust on your bulbs or your plastic covers will dim your output and turn your crisp light into a dull, yellow mess. If you want to see the wood clearly, keep the glass clean.
Setting the Scene for Success
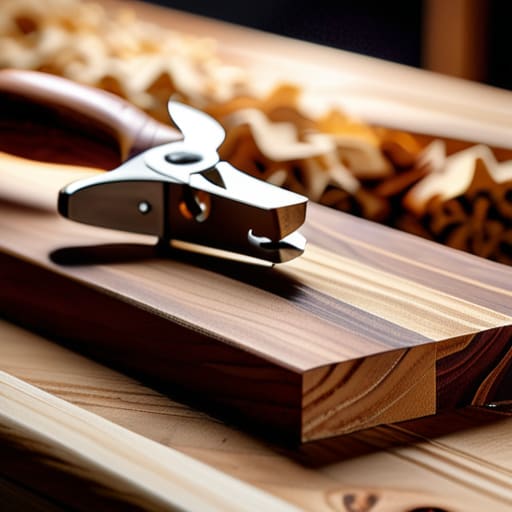
At the end of the day, getting your lighting right isn't about buying the flashiest LED rig on the market or following some complicated electrical manual. It’s about the basics: getting enough lumens on your bench so you aren't squinting, and picking a color temperature that actually shows you the truth of the timber. If you can't see the difference between a fine shaving and a bit of sawdust, or if the grain looks different under a yellow bulb than it does in the daylight, you're just guessing. Don't let a dim workspace turn a simple joint into a frustrating mess of errors. Invest the time to position your lights where the shadows fall, and you’ll find the work flows much smoother.
I’ve spent forty years at the bench, and I can tell you that a man who respects his tools usually respects his environment, too. Lighting is just another tool in the kit, much like a well-honed chisel or a finely tuned plane. If you treat your workspace with that level of care, the quality of your joinery will follow suit. Stop treating your workshop like a dark corner of the garage and start treating it like the precision studio it ought to be. When you finally step into a well-lit shop, you'll realize that clarity of sight leads directly to clarity of craft. Now, get to work.