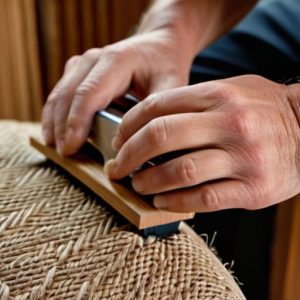
Setting Nails Below the Surface
 Callum Reith-Sowande
I remember a lad on my site back in the nineties, a bright enough boy but far too reliant on his cordless impact driver for everything. He was trying to finish a skirting board, and every time he drove a nail, he’d leave a bruised, ugly crater in the timber that he’d spend half an hour trying to hide with filler. I walked over, took the driver from him, and showed him how to use a nail punch instead. It took him ten seconds to sink that head perfectly flush, leaving the wood surface completely undisturbed. People think you need more power to get a job done, but half the time, you just need more control.
I’m not here to sell you some fancy, overpriced kit or give you a lecture on theoretical physics. I’m going to show you the proper, old-fashioned way to get a clean finish every single time. We’ll go over how to select the right punch for the job, how to steady your hand so you aren't mangling the grain, and exactly how much force you actually need to apply. If you want to stop fighting your materials and start working with them, this is for you.
Guide Overview
Tools & Supplies
- Nail punch (Steel tool used to drive nail heads below surface)
- Hammer (Standard claw or ball-peen hammer)
- Woodwork (Target material)
- Nails (Fasteners to be driven)
- Wood filler or putty (To conceal the hole)
Step-by-Step Instructions
- 1. First, you need to get your nail seated just right. Use your hammer to drive the nail in until the head is sitting just a hair above the surface of the timber. If you try to drive it all the way flush with a hammer, you'll likely end up with a bruised surface or a bent nail, and neither of those will do you any good.
- 2. Pick out your punch. Don't go grabbing a heavy-duty masonry bit or some scrap piece of steel; you want a proper, dedicated nail punch with a clean, flat tip. I’ve seen lads try to use a tapered center punch for this, but all that does is create a crater in your workpiece that you'll just have to spend more time filling later.
- 3. Place the tip of the punch directly onto the center of the nail head. This is where most people slip up. You have to ensure the punch is perfectly vertical to the wood. If you're leaning to one side, the punch will skitter across the nail, marring the timber and potentially sending a shard of metal flying toward your eyes.
- 4. Hold the punch with a firm but steady grip. You aren't trying to muscle it; you're looking for controlled precision. Use your non-dominant hand to steady the tool, but keep your fingers well clear of the strike zone. I always tell my students: if you're working with steel, keep your hands where they won't get bitten.
- 5. Give the top of the punch a single, sharp blow with your hammer. You aren't looking for a heavy, swinging smash; you want a decisive strike that transfers the energy straight down through the tool. One clean hit is usually all it takes to seat that head home without leaving a ring of damage around the hole.
- 6. Check your work before you move on. Once the head is driven below the surface, take a look at the surrounding grain. If you've done it right, the wood should look undisturbed and clean. If you see a dent, you've been too heavy-handed or your punch wasn't centered, and you'll need to decide if it's worth the effort to sand it out.
Using a Ball Peen Hammer With Nail Punch for Control
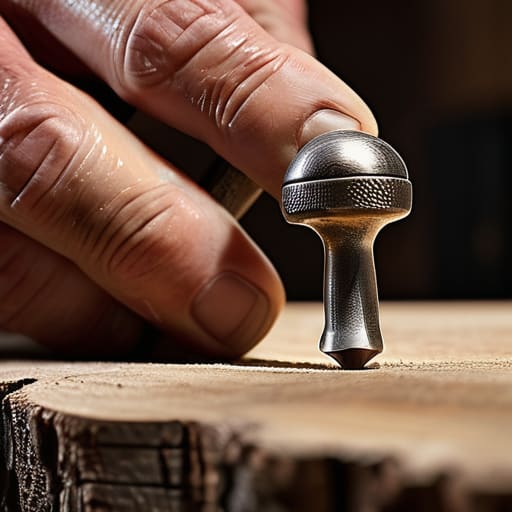
Now, you can’t just grab any old heavy mallet and hope for the best. If you’re serious about precision, you’ll want to reach for a proper ball peen hammer. The weight of a decent steel hammer gives you the momentum you need without requiring you to swing like a madman. When you're using a ball peen hammer with nail punch for fine work, the goal isn't brute force; it's about controlled, rhythmic strikes. I’ve seen too many lads try to muscle a nail into place, only to end up with a bruised thumb or a splintered workpiece. It’s about the feel of the impact traveling up the tool and into your hand.
If you're moving away from timber and into something a bit harder, like preventing metal deformation during a repair, that control becomes even more vital. You’ll find that the same steady hand I taught my apprentices works just as well for light metalwork as it does for joinery. Whether you are working on a delicate restoration or using basic automotive body repair tools, keep your strikes short and crisp. A heavy, clumsy blow is just a shortcut to a ruined surface.
Preventing Metal Deformation Through Manual Skill
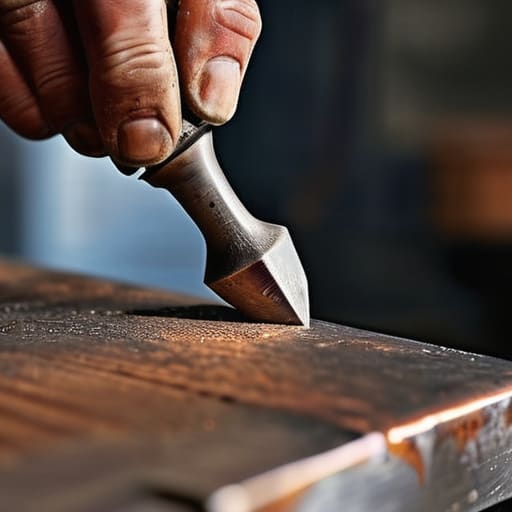
The trouble with most lads starting out is they treat the punch like a pile driver. They think more force equals a better result, but that’s the quickest way to ruin your workpiece. If you’re working on something delicate, like preventing metal deformation on a thin sheet, you have to learn the feel of the strike. It’s about the weight of the hammer doing the work, not the muscle in your shoulder. You want a controlled, decisive blow that seats the nail without mushrooming the surrounding material or denting the face of the wood.
I’ve seen plenty of apprentices try to use these for more complex jobs, like removing rivet heads or even light automotive body repair, and they end up making a mess because they lacked patience. If the metal starts to bulge, you’ve gone too far. Stop, check your alignment, and lighten your touch. It’s a matter of steady discipline. You aren't just hitting a piece of steel; you're managing the energy of the impact. Once you master that, you'll find you don't need any of those expensive, heavy-duty power drivers to get a clean, flush finish.
Five Ways to Avoid Making a Mess of Your Timber
- Keep the punch vertical. If you're leaning into it at an angle, you aren't driving the nail; you're just marring the grain and praying the nail goes straight.
- Don't go chasing the hammer. Use a light, controlled tap to seat the punch first. Once it's steady, then you can give it the proper weight.
- Watch your surface. If you're working on a finished piece, lay a scrap of thin veneer or a bit of masking tape over the area. It stops the punch from leaving a ring if your hand slips.
- Check your punch tip. I've seen too many lads using a mushroomed head on a punch. If the top is spreading, it'll flake off metal into your eyes or your wood. Grind it back to a clean, flat face.
- Listen to the wood. A dull thud means you're hitting too hard or the nail is binding. A crisp, sharp strike tells you the nail is seated exactly where it ought to be.
Getting It Right the First Time
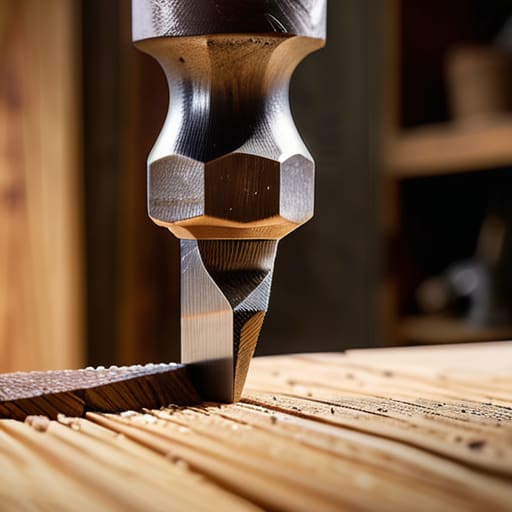
At the end of the day, using a nail punch isn't about brute force; it’s about precision and patience. You’ve learned that choosing the right hammer, keeping your punch straight, and avoiding that frantic, heavy-handed swinging is what separates a professional finish from a botched job. If you take the time to seat that nail head properly, you won't be left with scarred timber or a surface that needs endless sanding to hide your mistakes. It’s a simple bit of kit, but when you use it with a steady hand, it does more for the quality of your joinery than any expensive power tool ever could.
I know the modern workshop is full of gadgets that promise to do the thinking for you, but there is a specific kind of satisfaction that comes from mastering a manual skill. When you stop rushing and start feeling the weight of the hammer and the resistance of the metal, you aren't just finishing a task—you're building character. Don't be in such a hurry to get to the next job that you neglect the fundamentals. Treat your tools with respect, take your time with the small things, and I promise you, the work will speak for itself.