Bringing a Rusty Plane Back
 Callum Reith-Sowande
I found an old Stanley plane at a car boot sale last Tuesday, buried under a layer of orange grit that looked more like dried mud than metal. Most folks would see that pitted surface and think it’s time for the scrap heap, or worse, they’d head straight for a heavy-duty grinder to sand the life right out of the steel. But that’s where they go wrong. Learning how to clean a rusty tool isn't about aggressive destruction; it’s about patience and the right chemistry. If you treat the metal like an enemy to be conquered, you’ll end up with a ruined edge that'll never hold a keenness again.
I’ve spent forty years on sites and ten more in the classroom, and I can tell you that a bit of oxidation shouldn't stand between a craftsman and his kit. In this guide, I’m going to show you my proper way of doing things—the way that respects the tool. I'll walk you through the gentle methods that strip the rust without eating the good steel, from simple household solutions to the more methodical soak. No fancy power tools required, just some honest work and a bit of elbow grease.
Guide Overview
Tools & Supplies
- Wire brush for scrubbing rust
- Steel wool for fine polishing
- White vinegar 1 quart
- Baking soda 1/2 cup
- Microfiber cloth 1 unit
- Machine oil 1 small bottle
Step-by-Step Instructions
- 1. First, you need to decide how much trouble you're actually in. If it’s just a bit of surface orange dust, you can get on with it quickly. But if the rust has started to pitting the steel, you’re looking at a longer afternoon. Lay your tools out on a clean rag so you don't lose any small parts, and make sure you have a clear workspace.
- 2. I usually start with a soak in white vinegar. It’s cheap, it’s easy to find, and it works better than most of those fancy chemical sprays they sell in the hardware shops. Submerge the metal parts—but leave any wooden handles out of it, or you'll end up with a swollen mess that won't fit back on the tool. Let them sit for a few hours, or overnight if the rust is deep.
- 3. Once you pull them out, grab a stiff nylon brush or an old toothbrush to scrub away the loosened sludge. If the rust is stubborn, you might need a bit of fine steel wool, but don't go overboard with the abrasives. You want to remove the oxidation, not the actual steel you're trying to save.
- 4. If there are still stubborn spots clinging to the metal, a bit of elbow grease with a piece of fine-grade sandpaper will do the trick. I prefer using a wet-and-dry paper; keep the surface damp to prevent the heat from building up and to keep the dust down. It’s a slow process, but it’s the only way to ensure the surface stays flat.
- 5. Now, you must get that metal bone-dry immediately. Water is the enemy here, and even a tiny bit of moisture left in a pore of the steel will start the rusting process all over again before you've even finished. Use a clean rag and perhaps a bit of heat from a hairdryer to make sure every bit of moisture is gone.
- 6. This is the step most people skip, and it's why their tools look dull again within a week. You need to apply a thin, even coat of machine oil or a dedicated tool wax. I like to wipe it on with a lint-free cloth until the metal has a soft sheen. This creates a barrier that keeps the air and humidity from getting back to the steel.
- 7. Finally, once the tool is clean and protected, check the edge. Cleaning rust often reveals that the tool was actually quite sharp underneath all that grime. Take it to your sharpening stones and bring it back to life. A clean tool is a tool that’s ready to work, not one that's just sitting on a shelf looking pretty.
Mechanical vs Chemical Derusting Finding the Right Touch
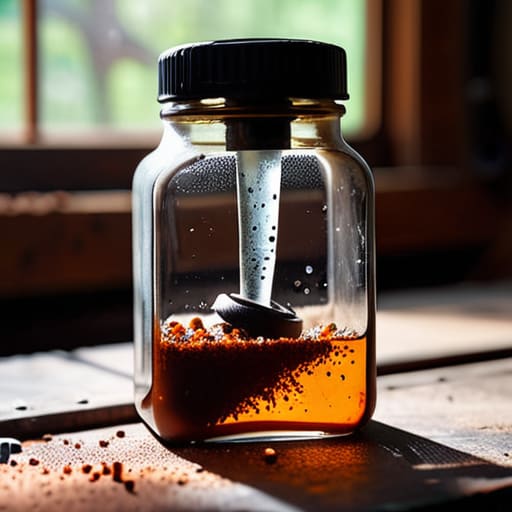
Now, you’ll find yourself at a bit of a crossroads: do you go at it with grit and elbow grease, or let a liquid do the heavy lifting? When I’m restoring old hand tools that have been sitting in a damp shed for a decade, I usually lean toward a soak. The vinegar rust removal method is a reliable old friend for this; it’s cheap, it’s effective, and it doesn't require much fuss. However, you have to be careful. If you leave a piece of high-carbon steel in a soak for too long, you’ll find the metal itself starts to get pitted and soft. It’s a fine line between cleaning the surface and eating into the tool.
If the rust is just a light dusting, don't bother with the chemicals. A bit of fine steel wool or a brass brush is plenty. But for heavy, flaky scale, you’re looking at mechanical vs chemical derusting as a combined effort. I’ve learned the hard way that a chemical soak gets the rust loose, but you still need a steady hand with a scraper to finish the job. Once that metal is bare and bright, though, you must act fast. The second you pull it out of the liquid, it's hungry for oxygen again. You've got to get right to protecting metal after cleaning with a bit of boiled linseed oil or a proper wax, or you'll be right back where you started.
Choosing Rust Removal Soak Solutions That Actually Work

Now, when you're looking at different rust removal soak solutions, don't just grab whatever's on the top shelf at the hardware store. I’ve seen plenty of lads ruin a perfectly good plane iron by using something far too aggressive. If it’s just surface tea-staining, a simple vinegar rust removal method is usually your best bet. It’s cheap, it’s accessible, and it’s gentle enough that you aren't stripping the very temper out of the steel. Just keep an eye on the clock; you don't want to leave a tool soaking for days on end, or you'll find the acid has started eating the good metal along with the bad.
If you're dealing with something more stubborn, like an old chisel that's been sitting in a damp shed for a decade, you might need a dedicated commercial soak. These are designed for restoring old hand tools without the guesswork, but they still require a steady hand. Whatever you choose, remember that the soak is only half the battle. The real work begins once you pull that tool out of the liquid. You have to move quickly to dry it and get a coat of oil on there, otherwise, you're just inviting the rust right back.
A few things I’ve learned the hard way
- Don't go at it with a wire brush like you're scrubbing a floor; you'll chew up the surface and ruin the precision of a plane or a chisel.
- Always dry the steel immediately after a soak—if you leave a tool sitting damp even for a minute, you're just inviting the rust right back on.
- Use a bit of paste wax or a light machine oil once the metal is clean; think of it as a protective skin for the tool.
- If you're working on something old and sentimental, start with the gentlest method first—it's easier to add more cleaning later than it is to fix a pitted surface.
- Keep an eye on your hands while you work; if you're using a chemical soak, don't be a hero and skip the gloves.
A Bit of Care Goes a Long Way
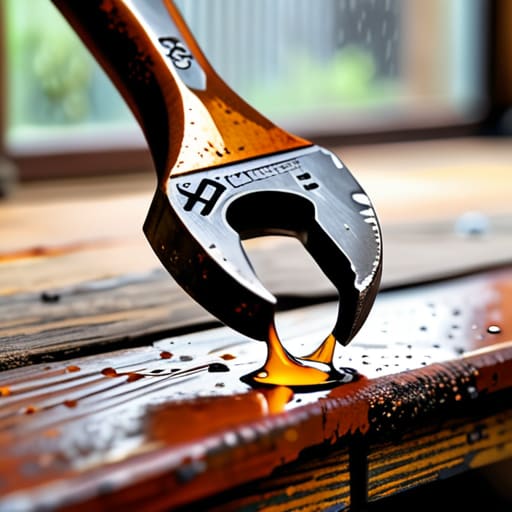
At the end of the day, whether you've spent the afternoon scrubbing with a brass brush or letting a soak do the heavy lifting, the goal is the same: stopping the rot. You don't need a chemistry degree or a belt sander to get the job done, just a bit of patience and the right approach for the specific piece of steel in your hand. Remember, if you go too hard with the chemicals, you risk pitting the metal, and if you're too timid with the mechanical side, you'll be scrubbing until next Christmas. The key is to respect the metal and always finish with a proper coat of oil to seal that surface before it has a chance to find the moisture in the air again.
I've seen too many young lads throw a decent chisel in the scrap bin just because it looked a bit orange around the edges. It’s a waste of good steel and a waste of a good tool. A bit of rust isn't a death sentence; it's just a sign that the tool has been working, or perhaps just sitting idle for too long. Take the time to restore it. There is a particular kind of satisfaction in seeing a tool go from a neglected bit of junk back to something that cuts like a dream. Once you've brought it back, you'll find you trust it more than any shiny new piece of plastic you'd buy off a shelf.