Practising One Cut Until It Is Straight
 Callum Reith-Sowande
I remember standing in a college workshop thirty years ago, watching a young apprentice struggle with a circular saw, fighting a vibrating, wobbling blade that left his timber looking like a jagged mess. He thought the machine was the problem, but I knew better; he was just trying to force a blunt edge through grain it wasn't ready for. People will tell you that you need expensive jigs or high-speed power tools to get precision, but that’s a load of rubbish. If you want to master how to cut a straight line by hand, you don't need more electricity; you need a properly sharpened blade and a bit of patience.
In this guide, I’m going to strip away the nonsense and show you the real way to work. I won't be wasting your time with fancy gadgets you'll just throw in a drawer next week. Instead, I'll teach you how to steady your grip, how to read the grain, and how to let a sharp saw do the heavy lifting for you. By the time we're done, you'll understand that a straight line isn't about luck—it's about mastering your tool.
Guide Overview
Tools & Supplies
- Handsaw (standard wood saw)
- Square (to ensure 90-degree angles)
- Pencil (for marking)
- Lumber (1 piece)
- Clamps (1-2 pieces)
Step-by-Step Instructions
- 1. First things first, you need to lay out your line. Don't go reaching for a wandering pencil and hoping for the best; get yourself a sharp marking knife and a try square. A pencil line is thick and forgiving, which is exactly what you don't want when you're aiming for precision. I want to see a physical groove in the wood fibers that your saw can actually settle into.
- 2. Once that line is cut, you have to secure your workpiece. If the timber is wobbling or vibrating, you’ve already lost the battle. Clamp it down firmly to your bench, making sure the piece you're cutting is dead steady. If it moves even a fraction of a millimeter while you're working, your cut will wander, and you'll be spending the next hour in the workshop trying to plane away your mistakes.
- 3. Now, take your saw and find your starting point. Don't just plunge straight in like you're trying to break something. Place the blade against the waste side of your knife line—never on the line itself—and use your thumb as a guide to start a small notch. Give the saw a few light, rhythmic pulls to create a shallow kerf before you start putting any real weight behind it.
- 4. This is where most people lose their nerve. As you begin the stroke, keep your elbow, wrist, and shoulder in a single, straight line with the saw. You aren't trying to muscle the tool through the wood; you want to let the teeth do the work. If you find yourself leaning hard on the blade, you're doing it wrong. A sharp saw should feel like it's gliding through butter, not fighting a war.
- 5. Watch your angle. If you're using a tenon saw, keep it square to the face of the timber. If you start tilting the blade, you’ll end up with a cut that looks like a staircase. I always tell my students to keep their eyes on the corner of the blade where it meets the wood. If that corner stays aligned with your mark, the rest of the cut will follow suit.
- 6. As you get halfway through, you'll feel the resistance change. This is the moment to slow down and check your progress. Take a second to look at the cut from the end of the board to make sure you haven't drifted. It’s much easier to correct a slight tilt now than it is once you’ve cut all the way through and realized you've ruined a perfectly good piece of oak.
- 7. Finally, when you're nearing the end of the cut, ease off the pressure. Don't go charging through the last bit of wood with heavy strokes, or you'll blow out the bottom edge and leave a nasty splintered mess. Use short, controlled strokes to finish the job cleanly. Once it's through, set the saw aside and take a moment to look at that line; if it's true, you've done it right.
Precision Starts With Marking Wood for Cutting
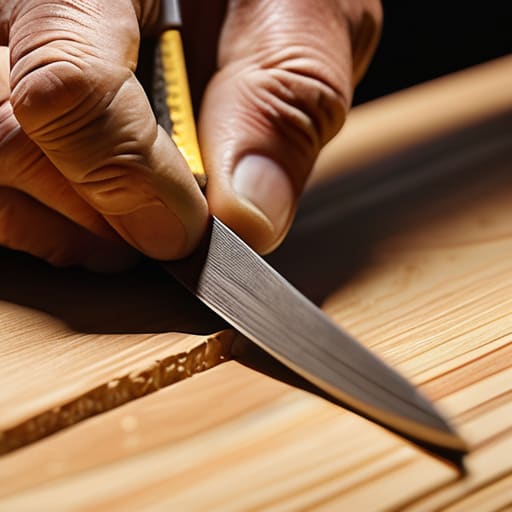
If you start with a messy line, you’ve already lost the battle. I’ve seen too many young lads rely on a thick, wandering pencil line, thinking it’s "close enough." It isn't. A pencil lead is blunt and wide; it creates a margin of error that no amount of sanding will ever fix. When you're marking wood for cutting, you want to use a sharp marking knife or a very fine mechanical pencil. You want a line that is a physical indentation in the grain, something your saw can actually "find" and sit into.
Once that line is set, don't just wing it. Using a square for layout is the only way to ensure your face and edge are truly perpendicular before you even touch a saw. I always tell my students: measure twice, mark once, and check it a third time with a square. If your layout is crooked, your cut will be crooked, no matter how steady your hand is. You aren't just drawing a line; you are creating a roadmap for the steel to follow.
The Art of Using a Square for Layout
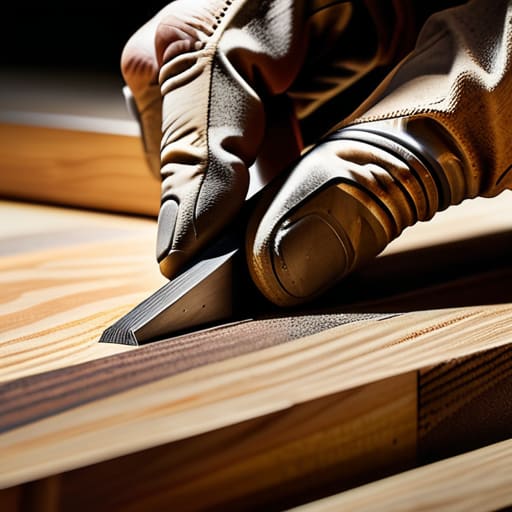
You can have the sharpest blade in the shed, but if your layout is crooked, you’re just making a very precise mistake. I’ve seen many young lads rely on a cheap, plastic square that’s been dropped a dozen times; they don't realize that if the tool is out of true, your line is a lie. When using a square for layout, don't just glance at it. Press the heel firmly against the timber and ensure the stock is seated tight against the edge. I always give my steel squares a quick check against a known straight edge before I start. If the tool isn't honest, your work won't be either.
Once you've drawn that line, don't just start hacking away. Use your knife to score a little "V" groove along the mark. This gives your saw a physical track to sit in, which is essential for manual woodworking precision. It stops the blade from wandering the moment you apply pressure. If you try to saw straight onto a pencil line, the wood grain will fight you. A scored line acts like a guide rail, keeping you true from the very first stroke.
Five ways to keep your saw on the path
- Don't try to muscle it. If you're leaning your whole weight into the saw, you've already lost the battle. Let the weight of the tool and the teeth do the work; your job is just to guide it.
- Watch your elbow. I spent years watching apprentices fight their own saws because their elbows were flaring out like wings. Keep that arm in a straight line with the blade, or you'll end up wandering off the mark.
- Use your thumb as a guide, but don't be a fool about it. Set the teeth in the kerf with your thumb pressed against the side of the blade to start the groove, but pull it away the second you start the stroke so you don't lose a digit.
- Listen to the wood. A good cut has a rhythm you can hear. If the sound changes to a ragged, choking noise, you're likely binding or your blade is dull. Stop, reset, and find that steady, slicing cadence again.
- Check your stance. You can't cut a straight line if you're wobbling on one leg like a newborn calf. Plant your feet, get your weight centered, and make sure you're stable before you even touch the steel to the timber.
The patience pays off
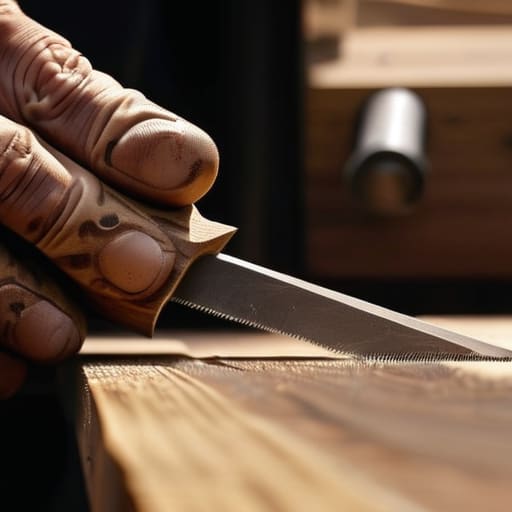
At the end of the day, cutting a straight line isn't some magic trick; it’s just the result of doing the prep work right. You can't expect a clean cut if your marking knife is dull or if you've been sloppy with your square. It comes down to having a properly sharpened blade, taking your time with the layout, and actually listening to what the wood is telling you as the teeth bite in. If you try to rush it or force the saw through the grain, you’ll end up with a wavy mess that no amount of sanding will ever truly fix. Respect the tool, respect the grain, and the accuracy will follow.
I know it’s tempting to just reach for the jigsaw when you’re tired or in a hurry, but there is a satisfaction in a hand-cut line that a machine simply can't replicate. It’s about that connection between your hands and the timber. Every time you master a steady stroke, you’re proving that you don't need a battery-powered motor to achieve perfection. Don't let the modern world convince you that speed is the same thing as skill. Keep practicing, keep your edges keen, and remember that true craftsmanship is built one steady, deliberate cut at a time.