Assessing Woodworm Before Treating It
 Callum Reith-Sowande
I remember sitting in my workshop last Tuesday, staring at a Victorian chair that looked more like Swiss cheese than furniture. Most people will tell you that you need to blast it with chemical sprays or hide the mess under a thick layer of plastic filler, but that’s just a way to mask a problem rather than fix it. If you want to know how to repair woodworm damage properly, you have to stop thinking about covering up the holes and start thinking about restoring the integrity of the timber. You can’t just slap some hardware-store putty on a structural weakness and expect it to last another decade; you need to treat the wood with the respect it deserves.
In this guide, I’m going to show you the honest way to handle these infestations using tools that actually work. I won't be wasting your time with expensive, disposable gadgets that'll end up in a landfill by next year. Instead, I’ll walk you through the exact process of cleaning out those tunnels, choosing the right resins, and using a sharp chisel to prep the surface for a seamless finish. We’re going to do this the right way—slowly, steadily, and so that the repair is stronger than the original wood.
Guide Overview
Tools & Supplies
- Vacuum cleaner with brush attachment to remove debris
- Small paintbrush for applying liquid treatments
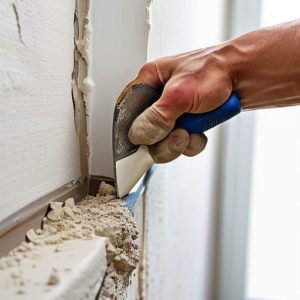
- Putty knife for smoothing filler
- Woodworm killer/insecticide treatment (500ml)
- Wood filler or wax hardener (1 tube)
- Sandpaper (medium and fine grit)
Step-by-Step Instructions
- 1. Before you even think about filling a hole, you have to stop the rot. Get yourself a decent woodworm killer—the liquid kind that soaks in, not some spray that just sits on the surface. Use a syringe to inject the treatment directly into every single exit hole you can see. Don't be stingy; you want that liquid deep in the grain where the larvae are actually doing the damage. Once you've done that, wrap the piece in cling film for a day or two to keep the moisture in.
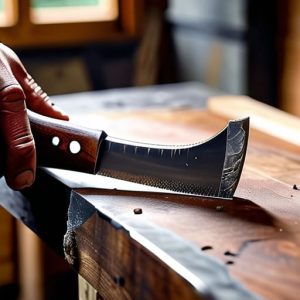
- 2. Now, you need to clear out the debris. I’ve seen people try to jam filler straight into a hole, but that's a fool's errand. Take a fine, sharp chisel—something you've spent the morning getting a proper edge on—and gently pick out the loose, powdery frass and any crumbling wood. You want to reach the solid, healthy timber underneath. If the wood feels soft or spongy, you've got more work to do, because filler won't bond to dust.
- 3. Once the holes are clean and dry, it's time to decide on your filler. For small, superficial holes, a high-quality wood putty is fine, but for anything deeper, I prefer a two-part wood filler. The chemical hardener makes it much more stable. Mix it up on a scrap piece of timber, not your workbench, and work in small, controlled increments. If you try to fill a deep cavity all at once, it'll likely shrink or crack as it cures.
- 4. When you're applying the filler, don't just smear it on like jam. Use a stiff-bristled brush or a small putty knife to force the material into the hole. You want to ensure there are no air pockets trapped inside. If you leave a gap of air, the repair will eventually fail and pop out. Press it in firm, then scrape the excess away so it's mostly flush with the surface.
- 5. After the filler has fully hardened—and I mean completely cured, so don't rush this—you'll need to level it off. This is where most people reach for the orbital sander and ruin the surrounding wood. Put the power tools away. Take a sharp block plane or a fine-cut rasp and carefully take the high spots down. If it's a very small hole, a bit of hand-sanding with a hard sanding block will do the job much more precisely without rounding off your edges.
- 6. The final step is making it look like the damage never happened. Once the surface is flat, you'll need to match the grain. If you're lucky, you can use a wood stain to blend the patch, but if the damage was extensive, you might need to apply a thin veneer over the repaired area. It's a bit more work, but it's the only way to ensure the piece looks whole again rather than a patchwork of repairs.
Identifying Common Wood Pests Before They Win
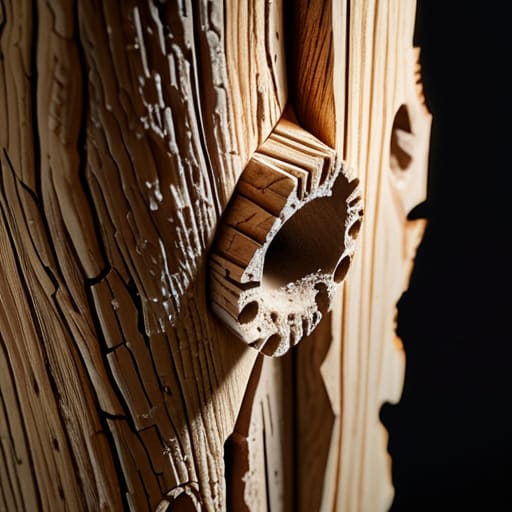
You can’t fix what you haven’t properly diagnosed. I’ve spent decades looking at timber, and the mistake most lads make is assuming every tiny hole is the same. Before you go reaching for the wood filler for insect holes, you need to know who's actually eating your joinery. If you see fine, flour-like dust—what we call frass—piled up under a joint, you’re looking at an active problem. If the holes are perfectly round and clean, it might just be old damage, but if that dust is fresh, they're still in there.
Don't just look at the surface, either. I always tell my apprentices to tap the wood; if it sounds hollow or feels spongy, the structural integrity is already compromised. Identifying common wood pests early is the difference between a simple patch job and having to scrap a whole sideboard. Once you spot those tell-tale woodworm infestation signs, like exit holes that seem to follow a pattern, you stop being a repairman and start being a detective. Only then can you decide if you need a light touch or a heavy-duty knockdown.
Restoring Damaged Timber Without the Heavy Machinery

You don’t need a workshop full of expensive dust extractors and heavy-duty sanders to fix what these pests have done. In my experience, the most effective way to start restoring damaged timber is to keep things quiet and controlled. If you go in with a power tool, you’re just kicking up fine, contaminated dust that carries the problem into every corner of your room. Instead, I prefer a fine-tooth hand saw or a sharp chisel to clear out any remaining loose debris or exit holes. It’s slower, yes, but you’ll actually see what you’re doing.
Once the area is clean, you’ll need to decide on your filler. Don't just grab the cheapest tub of stuff on the shelf; you want a high-quality wood filler for insect holes that actually mimics the density of the surrounding grain. I always suggest applying it in thin layers rather than one big glob. It gives you much better control and prevents that unsightly shrinking that happens when you try to rush the job. If you take the time to do it right with hand tools, the repair becomes part of the wood, rather than a patch sitting on top of it.
Five things I’ve learned from forty years of fixing what others break
- Don't just patch the hole; you have to clear the tunnels. I’ve seen too many lads slap some wood filler over a hole only for the larvae to keep eating underneath it. Use a fine needle or a thin, sharp chisel to ensure you're actually reaching the void before you try to fill it.
- Stop buying those cheap, pre-mixed fillers in the plastic tubs. They’re designed to be used once and tossed, and they never hold an edge or a grain. If you’re working on something decent, mix your own filler using fine sawdust from the actual timber and a bit of wood glue. It’ll blend far better.
- Check your tools for grit. If you’re using a chisel to scrape out old, crumbling wood, make sure you’ve given it a proper hone first. A dull tool will just tear at the surrounding healthy wood, making the damage look twice as bad as it actually is.
- Patience beats a power sander every time. When you’re trying to level a repair, a hand plane or a block plane will follow the natural contour of the wood. A heavy orbital sander will just dive into the soft, worm-eaten spots and leave you with a dip that no amount of filler can fix.
- Treat the wood, not just the hole. It’s a waste of time to fix the surface if you haven't dealt with the infestation. I always make sure the treatment has soaked deep into the grain before I even think about reaching for my sharpening stone.
A Final Word on the Work
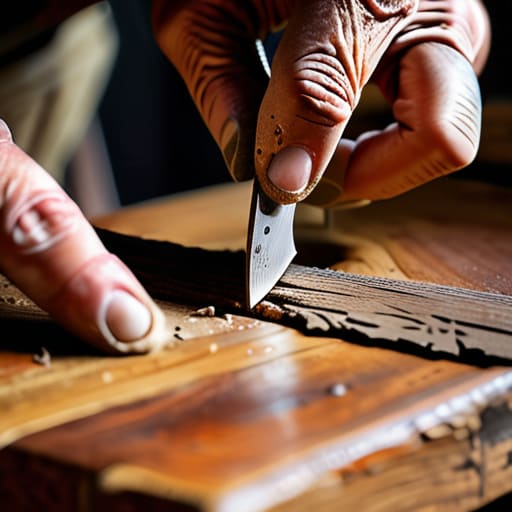
At the end of the day, dealing with woodworm isn't about finding a magic chemical or a heavy-duty sander to hide the mess. It’s about patience and the right approach. You’ve learned to spot the signs early, treat the timber properly, and use a steady hand to fill those holes and clean up the surface. By choosing to repair rather than replace, you aren't just saving a piece of furniture; you are preserving the integrity of the wood itself. Remember, the goal isn't to make it look like new factory work, but to ensure the piece is structurally sound and ready for another fifty years of use.
I know it feels like a lot of extra effort when you could just go to the shop and buy something new, but there is a deep satisfaction in fixing what is broken. There is a quiet sort of pride that comes from sitting at your bench, chisel in hand, and winning a battle against decay. Don't let the modern world convince you that everything is disposable. If you take the time to do it right, you'll find that true craftsmanship lies in the ability to mend, not just to build. Keep your tools sharp, keep your eyes peeled, and never underestimate the strength of a well-repaired joint.