Rebuilding a Knocked Corner
 Callum Reith-Sowande
I remember standing over a piece of seasoned oak in my workshop back in the nineties, staring at a corner that had been absolutely smashed by a heavy mallet. The young apprentice beside me immediately reached for a tub of pre-mixed wood filler and a sander, convinced that a bit of "plastic" would hide the mistake. I stopped him right there. Most people think you need a miracle or a heap of expensive chemicals to fix a mistake like that, but when it comes to how to repair a damaged corner, the truth is far more tactile. You don't need to hide the damage; you need to reclaim the wood.
In this guide, I’m going to show you how to do things properly, the way we did it before everything became a disposable consumable. I won't be peddling any quick-fix resins that will just crack and fail in six months. Instead, I’ll walk you through the honest process of using a sharp chisel to pare back the mess and how to create a matching timber Dutchman to restore the edge. We are going to focus on precision and patience to ensure that once the repair is done, nobody—not even you—will ever know it was broken.
Guide Overview
Tools & Supplies
- Putty knife for applying and smoothing compound
- Sanding block for smoothing dried patches
- Utility knife for trimming loose debris
- Spackling compound 1 small tub
- Sandpaper 120-220 grit sheets
- Touch-up paint 1 small container
Step-by-Step Instructions
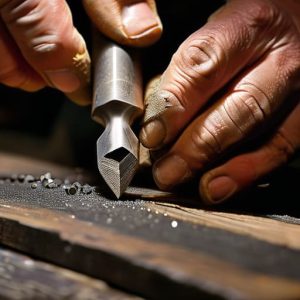
- 1. First, you need to get rid of the mess. If the corner is smashed or splintered, don't try to glue the old shards back in; they’ll never hold a proper line. Take a sharp chisel—and I mean actually sharp, not something you’ve been using to pry open paint tins—and carefully pare away the damaged wood until you have a clean, square face. You want to create a fresh starting point, even if it means taking a little more material away than you originally intended.
- 2. Once you've got a clean edge, it’s time to make a "stop cut." This is where most youngsters go wrong by trying to force a piece of wood into a space that isn't ready for it. Use your chisel to cut a small notch exactly where the damage ends and the good wood begins. This prevents the grain from splitting further down the length of your workpiece when you start the real repair work.
- 3. Now, you'll need to prepare your Dutchman—that’s what I call a repair patch. Don't just grab a random scrap from the offcut bin. Find a piece of timber that matches the grain direction of your main workpiece as closely as possible. If the grain isn't running the same way, the patch won't expand and contract at the same rate as the rest of the piece, and you'll find yourself doing this job all over again in six months.
- 4. Cut your patch to size, but give yourself a bit of breathing room. I prefer to cut the patch slightly oversized and then use a block plane or a fine chisel to shave it down until it fits the void like a hand in a glove. There should be no visible gaps around the edges. If you can see light through the joint, it’s too loose; if you have to hammer it in, it’s too tight. It should slide home with a firm, steady pressure.
- 5. Apply your adhesive. I'm not a fan of those fancy, instant-grab synthetics that dry before you've even finished positioning the piece. Use a decent quality wood glue and spread it thin and even across both surfaces. Once the patch is seated, use a couple of clamps to hold it steady. Be careful not to over-tighten; you want to see a tiny bit of "squeeze-out" at the seams, which tells you that you've actually got glue where it needs to be.
- 6. While the glue is still tacky, take a clean cloth and wipe away the excess. If you let it dry hard, you'll just end up sanding through your good timber trying to get the glue out later. Once the glue is fully cured, take your finest plane or a very sharp chisel and gently level the patch with the surrounding surface. It’s a slow process, but patience pays dividends when you're looking for a seamless finish.
- 7. Finally, if you need to hide the join, don't reach for a tub of colored wood filler—that stuff is just sawdust and cheap plastic. Instead, use a bit of fine sandpaper to smooth the area, and if the color is slightly off, a light application of shellac or a bit of wax can help blend the patch into the original wood. If you've done the prep work right, you won't even know it was ever broken.
Mastering Drywall Repair Techniques With Precision
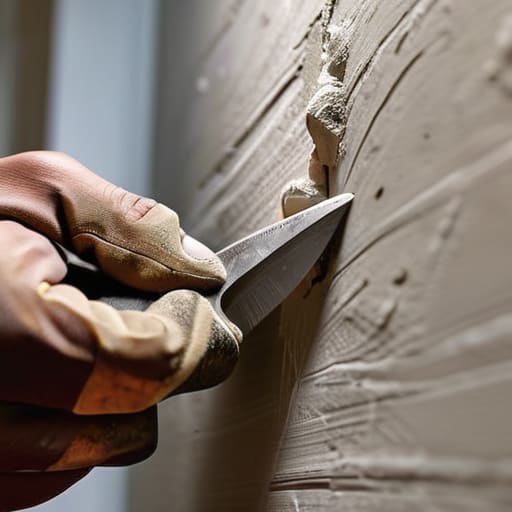
Now, I know what you’re thinking. A joiner talking about drywall seems a bit odd, but after forty years on site, I’ve learned that if the substrate isn't right, the finish will never be right. When you're looking at fixing chipped plaster or a nasty dent in a corner, don't just go slapping on thick layers of mud. It’s a common mistake to try and "build" the corner back up with sheer volume. That’s a recipe for cracking later on. You need to treat it like a fine piece of timber: work in thin, controlled layers.
If the damage is deep enough that the structural edge is gone, you’ll need to look at a proper corner bead installation to give the new plaster something solid to bite into. I always tell my students that patience is your best tool here. Instead of rushing to the sander, focus on your spackle application tips—keep your knife at a shallow angle and aim to leave as little excess as possible. If you can get the knife work right the first time, you won't spend half your afternoon fighting the dust while sanding smooth surfaces.
Fixing Chipped Plaster Using Only the Right Wall Patching Tools
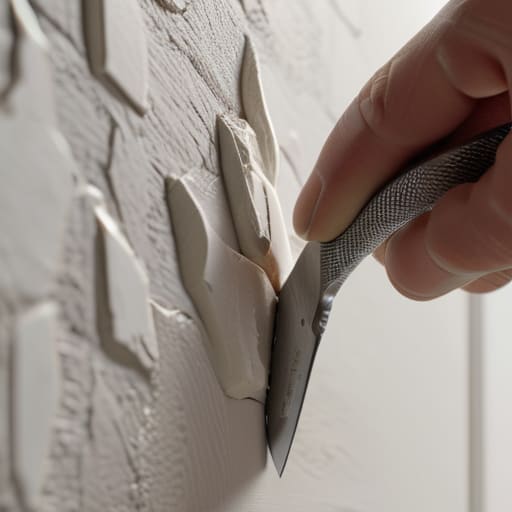
When you're fixing chipped plaster, the temptation is to grab a massive bucket of pre-mixed mud and a wide trowel, but that’s a recipe for a mess. If the chip is small, you don't need a construction site; you need the right wall patching tools to get in there. I always tell my students that a small, stiff putty knife is worth its weight in gold. It allows you to pack the material into the void rather than just smearing it across the surface. If you try to use a tool that's too large, you’ll end up with a hump that no amount of sanding will ever truly level out.
Once you've got the material in, focus on your spackle application tips: less is always more. It is far easier to add a second thin layer than it is to scrape away a thick, uneven glob. When you're working around a corner, keep your blade at a slight angle to ensure the patch sits flush against the existing wall. If the damage is deep, you might need to look at a proper corner bead installation to rebuild the structural edge, but for simple chips, a steady hand and a small blade will get the job done.
A Few Things I’ve Learned the Hard Way
- Don't go rushing in with a bucket of filler the moment you see a chip. If you don't clear out the loose, crumbling bits with a small, sharp chisel first, your repair will never sit flush. You need a solid foundation, not a patch sitting on top of dust.
- Stop trying to force a massive amount of compound into a small gap in one go. It’ll just shrink and crack as it dries, leaving you back where you started. Do it in thin, controlled layers. It takes longer, but you won't be doing the job twice.
- If you’re working with something more substantial than drywall—like a timber casing—forget the plastic fillers. They're rubbish. Use a bit of wood glue and a scrap of the same timber to create a Dutchman. It's a proper fix that lasts.
- Keep your tools clean between every single layer. If you've got dried plaster on your spatula or trowel, you'll just be dragging grit across your fresh work and ruining the finish. A quick wipe with a damp cloth is all it takes.
- Trust your hands, not just your eyes. When you're smoothing things over, run your fingers along the corner. If you can feel a ridge, someone else is going to see it too. If it doesn't feel smooth to your touch, it isn't finished.
A Final Word on Doing It Right
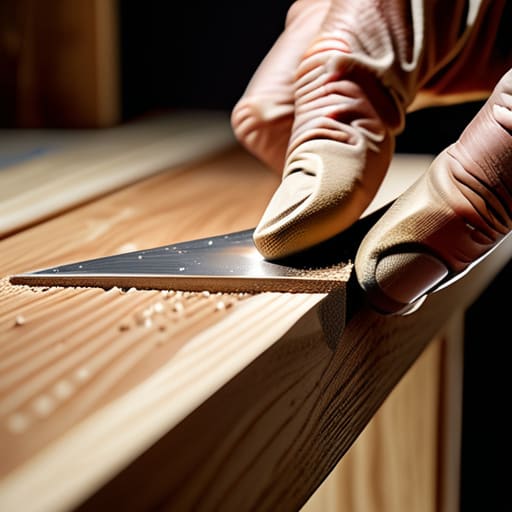
At the end of the day, repairing a damaged corner isn't about finding the fastest way to cover up a mistake with a thick layer of filler. It’s about the preparation. Whether you’ve been working with plaster or tackling a bit of timber, the secret lies in the precision of your cuts and the patience you show during the sanding stage. If you try to rush the process with a heavy-duty sander or a bucket of cheap compound, you’ll only end up masking a problem that’s still sitting there underneath. Take the time to clean the area, use the right tools for the job, and ensure your edges are as clean as they can be before you even think about the final finish.
I’ve spent forty years on site, and if there’s one thing I’ve learned, it’s that you can’t cheat a good finish. You can buy all the fancy, disposable power tools in the world, but they won't give you the control needed for those fine, delicate edges. A bit of steady handwork and a properly sharpened tool will always get you a better result than a machine ever could. Don't be afraid to slow down. There is a real satisfaction in looking at a repaired corner and knowing it was done properly, from the inside out, rather than just slapped together to meet a deadline.