Flattening a Dished Waterstone
 Callum Reith-Sowande
I remember sitting in the college workshop back in the nineties, watching a young apprentice spend three hours trying to get a chisel keen, only to end up with a bevel that looked like a mountain range. He was cursing the steel, blaming the quality of the tool, but the truth was much simpler: his stone was bowed. You can buy the most expensive Japanese water stone on the market, but if you don't know how to flatten a sharpening stone, you aren't sharpening anything—you’re just polishing a mistake. A stone that isn't dead flat will never give you a straight edge, and if your edge isn't straight, your joinery won't be either.
I’m not interested in fancy gadgets or expensive diamond plates that cost more than a decent set of chisels. In this guide, I’m going to show you the proper, old-fashioned way to get your stones level again using nothing more than grit and a bit of patience. I'll walk you through the methods I've used for forty years to ensure your equipment stays reliable and ready for real work. We’ll get your surface perfectly true so you can stop fighting your tools and start actually using them.
Guide Overview
Tools & Supplies
- Diamond Plate (Flat abrasive surface)
- Sandpaper (Various grits for fine-tuning)
- Silicon Carbide Carborundum Grit (Small amount)
- Water (As needed for slurry)
Step-by-Step Instructions
- 1. First, you need to get your workspace set up so you aren't fighting the stone while you work. Clear off a sturdy bench and lay down a bit of heavy rubber or a damp cloth to stop that stone from skating across the wood like a puck on ice. If the stone moves every time you apply pressure, you'll never get a true surface.
- 2. Grab your flattening tool. Now, you can go out and buy those fancy diamond plates that cost a small fortune, or you can use what I've used for forty years: a piece of thick float glass or a granite slab. The rule is simple: the flattening surface must be harder than the stone you're fixing. If the surface gives way, you're just making a mess of things.
- 3. Get your abrasive ready. If you're using a diamond plate, you're good to go, but if you're using the glass method, you'll need some silicon carbide grit or even just a bit of fine carborundum powder. Sprinkle it over the glass with a bit of water to create a slurry that actually works. This slurry is what does the heavy lifting, so don't be stingy with it.
- 4. Start the actual flattening. Place your stone face down on the glass and apply firm, even pressure with both hands. Don't just scrub at it aimlessly; use long, sweeping motions that cover the entire surface area of the stone. You aren't trying to sand it down like a piece of timber; you're just looking to take the high spots off.
- 5. Keep a close eye on the progress. You'll see the slurry start to build up in the low spots—that's the grit filling the hollows. Keep going until you can run your finger across the stone and feel no dips or valleys. If you can't feel it with your hand, you can't trust it with a chisel.
- 6. Clean the stone thoroughly once it's flat. This is a step most youngsters skip, and it's a mistake. Wash away all that grit and slurry with clean water. If you leave even a tiny bit of abrasive trapped in the pores of the stone, it'll act like a rogue grain of sand the next time you try to sharpen a blade, and you'll ruin a perfectly good edge.
- 7. Finally, do a quick check. Use a straight edge—a simple metal ruler will do—to ensure there's no light passing through the gap between the ruler and the stone. If it's flat, it's ready. Now you can stop wasting your time fighting a wavy surface and get back to real work.
Why a Diamond Flattening Plate Beats Manual Labor
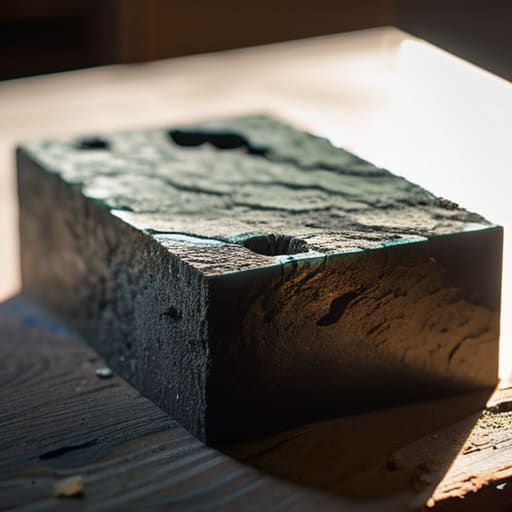
Now, I know what some of you are thinking. You’ve spent an hour hunched over a piece of silicon carbide on a glass plate, and your back is screaming at you. I’ve been there. In my early days, I thought the manual way was the "proper" way, but there is a massive difference between hard work and smart work. If you’re constantly fighting a hollowed-out surface, you aren't sharpening; you're just compensating for a bad stone.
Using a diamond flattening plate changed the game for me. It isn't about being lazy—it’s about precision. A diamond plate doesn't wear down like a traditional correcting stone dish might, meaning it stays true to itself while it levels your water stones. You get a perfectly flat surface in a fraction of the time, which means you can spend your energy where it actually matters: getting a keen edge on your chisels. If you value your time and your joints, stop treating stone flattening like a penance and start using a tool that actually does the job.
The Precision of Silicon Carbide Abrasive Over Crude Methods
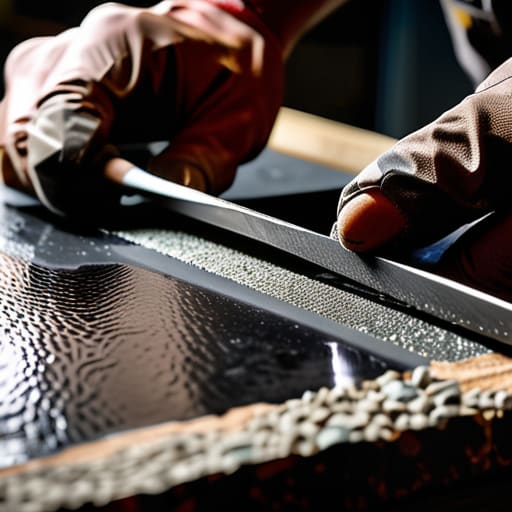
Now, I know some of you will swear by the old way—rubbing your stone against a piece of coarse sandpaper on a glass sheet. It’s a method I used for years in the college workshop, but it’s inconsistent. When you use a silicon carbide abrasive, you aren't just scratching the surface; you are dealing with a grit that is engineered to be uniform. If you use a cheap, uneven grit, you’ll end up with a stone that looks flat but has microscopic valleys. You’ll think you’ve finished, but your chisel will still wander when you try to take a shaving.
If you want to do this properly, you need to understand that consistency is everything. Using a dedicated lapping plate for whetstones ensures that every single grain is working at the same depth. It takes the guesswork out of it. I’ve spent too many hours trying to fix a stone that I thought was level, only to find it was still slightly concave. Don't waste your time fighting a surface that isn't true; get a grit that stays honest so you can get back to the actual joinery.
A Few Things I’ve Learned the Hard Way
- Don't trust your eyes alone. A stone might look flat under the workshop lights, but once you start honing a bevel, that hollow in the middle will show itself. Use a straight edge—even a machinist's rule—to check it before you waste an hour sharpening a tool on a wonky surface.
- Keep the slurry moving. If you’re using a manual method, don't let the grit sit and dry in the pores of the stone. It’ll clog up and stop cutting, leaving you spinning your wheels without actually removing any material.
- Stop the "rocking" habit. When you're flattening, keep your pressure even across the whole surface. If you lean too hard on one side, you'll just end up carving a new, unwanted dip into the stone, and we've already established that a wavy stone is a useless stone.
- Clean the stone properly after you're done. I've seen too many lads leave grit sitting in the stone, only to have it migrate onto their fine finishing stones later. That's how you ruin a good piece of Norton or Shapton by scratching it with coarse debris.
- Respect the grit. If you're using a coarse grit to flatten, don't expect it to be ready for fine honing immediately. You'll need to work your way up through the grits to polish out the scratches left by the heavy lifting, or your edge will never truly sing.
Getting Back to the Bench
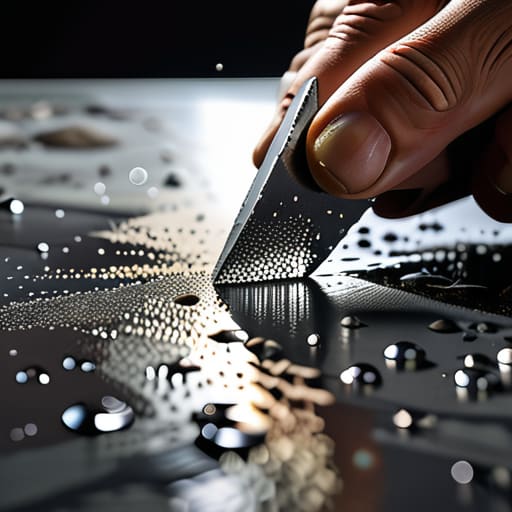
At the end of the day, flattening your stone isn't some extra chore to tack on to your afternoon; it is the very foundation of the work. If you skip the step of checking for a hollow in the middle, you might as well be trying to sharpen a chisel on a piece of cooked pasta. Whether you choose to spend the time with a silicon carbide slurry or invest in a proper diamond plate, the goal remains the same: a perfectly true surface. You can’t expect a straight edge from a tool that’s been worn into a bowl shape, and you certainly can't get that razor-sharp finish without a flat base to work from.
I’ve spent forty years watching men struggle with dull blades and frustrated expressions, all because they were too impatient to maintain the tools that serve them. They buy new ones when the old ones fail, never realizing the tool wasn't broken—it just wasn't cared for. Don't be one of them. Take the time to respect the edge and the stone that creates it. When you finally sit down at the bench with a truly flat stone and a tool that can shave the hair off your arm, you'll realize that the extra ten minutes spent flattening was the best investment you made all day.